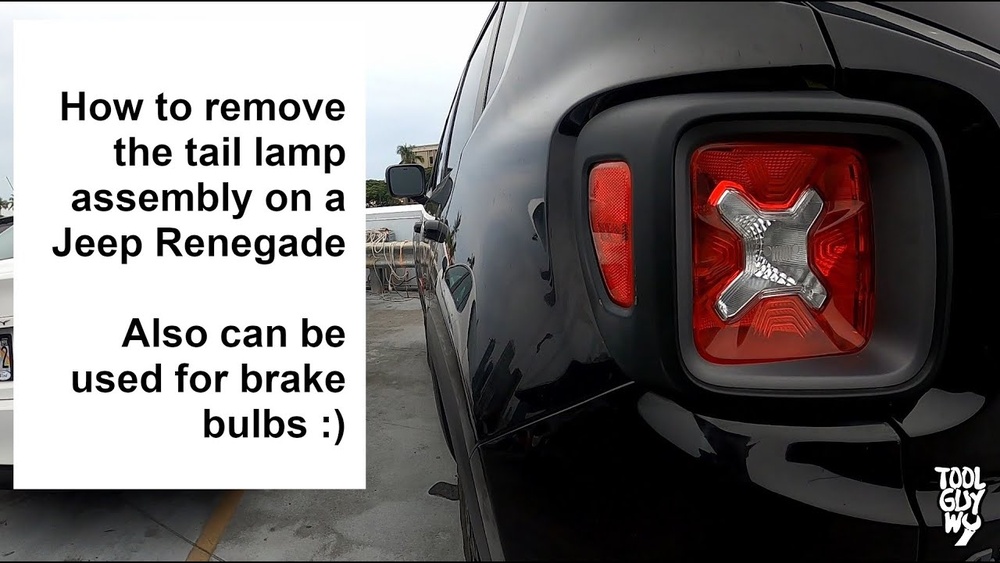
Removing the tail light on a Jeep Renegade is not difficult, but it needs careful handling to avoid damaging parts. Whether you’re changing a bulb, upgrading to LED, or fixing a broken light, knowing the right steps saves time and stress. Many owners worry about breaking plastic clips or getting stuck on hidden screws. This guide walks you through every step, explains common mistakes, and helps you finish the job safely.
Tools And Materials Needed
Before starting, gather these tools. Having everything ready makes the job smoother.
- Socket wrench (usually 10mm)
- Flathead screwdriver
- Torx screwdriver (T20 or T25, depending on model)
- Gloves (to protect your hands)
- Replacement bulbs (if changing bulbs)
- Clean cloth (to wipe dust)
Some Renegade models use different screws or clips. Check your manual to confirm tool sizes. Wearing gloves prevents cuts, especially when working around sharp plastic edges.
Step-by-step Removal Process
Follow these steps to remove the tail light safely. Each step is important for avoiding damage.
1. Open The Rear Hatch
Start by opening the hatchback. This gives you full access to the tail light assembly. If your Renegade is parked on a slope, use the parking brake for safety.
2. Locate The Tail Light Screws
Look inside the hatch area near the tail light. Most Renegades have 2–3 screws holding the light in place. These are usually visible once the hatch is open.
| Model Year | Screw Type | Number of Screws |
|---|---|---|
| 2015-2017 | Torx | 2 |
| 2018-2021 | Socket | 3 |
| 2022+ | Torx | 2 |
If you don’t see all screws, check for hidden ones under rubber covers or trim.
3. Remove The Screws
Use the correct tool to loosen all screws. Keep them safe—they’re small and easy to lose. If you feel resistance, stop and check if you missed a screw. Forcing the light can crack the housing.
4. Detach The Tail Light Assembly
With screws removed, gently pull the tail light away from the body. It may feel stuck because of plastic clips. Wiggle the assembly lightly. Avoid pulling hard—clips can snap easily.
Most beginners miss the fact that tail lights often have a hidden clip at the bottom. Look closely and press the clip with a flathead screwdriver if needed.
5. Disconnect The Wiring Harness
Once the tail light is free, you’ll see a wiring harness plugged into the back. Press the release tab and pull the connector out. Don’t yank the wires; use gentle force.
| Connector Type | Release Method |
|---|---|
| Standard plug | Press tab |
| Locking plug | Slide clip, then press tab |
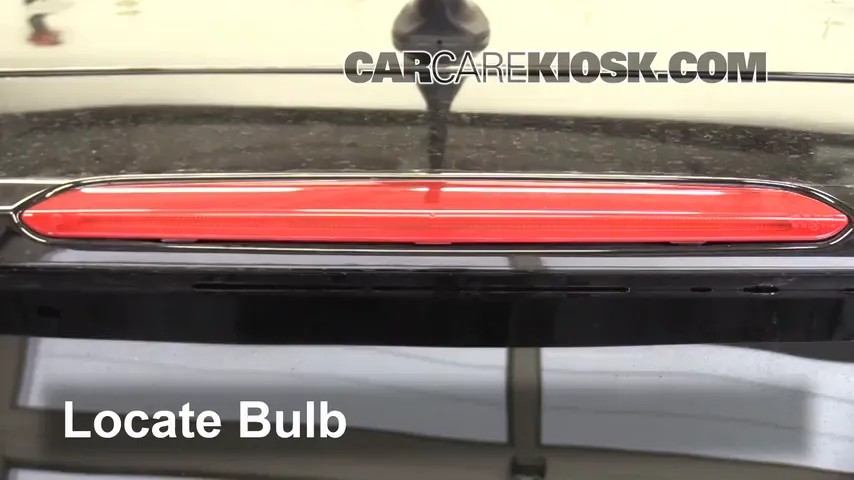
If you’re changing bulbs, now is the time. Twist out the bulb holders and replace bulbs as needed.
6. Inspect The Area
Check the mounting area for dirt or rust. Cleaning this spot prevents future issues. If you see moisture, dry it before re-installing the tail light.
Common Mistakes And Tips
Many DIYers make errors that can lead to costly repairs. Learn these tips to avoid trouble.
- Forcing the light: If the assembly won’t move, you likely missed a screw or clip. Double-check before applying more force.
- Losing screws: Use a magnetic tray or small container to keep screws safe.
- Touching bulbs with bare hands: Oils from your skin can shorten bulb life. Use gloves or a clean cloth.
- Misaligning clips: When re-installing, line up clips carefully. Misaligned clips can break or cause rattling.
- Ignoring moisture: If you see water inside the tail light, fix the seal before reinstalling. Moisture causes electrical problems.
One helpful trick: use your phone’s flashlight to check for hidden screws or clips. Shadows in the hatch area can hide important fasteners.
Re-installation Advice
Putting the tail light back is almost the reverse process. Make sure:
- All clips and connectors are aligned.
- Screws are tightened firmly but not over-tightened.
- Bulbs and seals are in place.
Many beginners skip testing the lights before closing the hatch. Always check brake, reverse, and indicator lights to confirm everything works.

When To Seek Professional Help
While most owners can handle tail light removal, some cases need a mechanic:
- Broken clips or stuck lights
- Water damage inside the tail light
- Electrical issues after removal
If you’re unsure, visit your dealer or a trusted shop. A mechanic can spot hidden problems and prevent further damage. For more details, see the official Jeep Owner’s Manual.
Frequently Asked Questions
How Long Does It Take To Remove A Jeep Renegade Tail Light?
Most people finish in 15–30 minutes if they have the right tools. First-timers may need more time to find screws and clips.
Can I Upgrade To Led Tail Lights During Removal?
Yes, you can switch to LED tail lights as long as the new lights fit your Renegade’s model year. Check compatibility before buying.
Do I Need To Disconnect The Battery?
It’s not required for basic tail light removal, but disconnecting the negative battery terminal adds safety, especially if you’re changing bulbs or wiring.
Is Removing The Tail Light Covered Under Warranty?
Usually, removing and replacing a tail light is not covered unless the assembly is defective. Check your warranty terms for details.
Where Can I Buy Replacement Tail Lights?
You can find replacement tail lights at auto parts stores, online retailers, or through your Jeep dealer. Always match the part number to your vehicle.
—
Removing the tail light on a Jeep Renegade is simple if you follow each step and use the right tools. Remember to check for hidden screws, handle clips gently, and inspect the area before re-installing. Taking extra care now prevents bigger problems later.
With this guide, you can confidently remove and replace your tail light without stress.