If you drive a Jeep Grand Cherokee, you know it’s a tough and stylish SUV. But sometimes, you need to remove the front grill. Maybe you want to upgrade it, clean behind it, or fix a damaged part. Many Jeep owners worry that this job is too complicated or risky. The truth is, with the right tools and a clear guide, anyone can do it. This article explains how to remove the grill safely, step by step. You’ll also learn some useful tips, mistakes to avoid, and answers to common questions.
Understanding The Jeep Grand Cherokee Grill
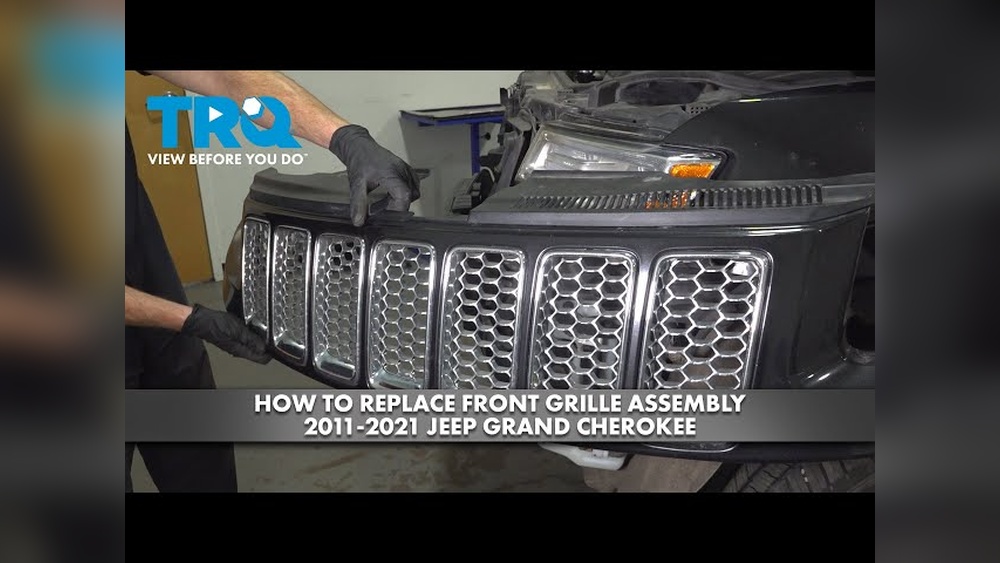
The Jeep Grand Cherokee grill is more than just a design feature. It protects the radiator and lets air flow to cool the engine. Most models use a clip-on grill made of tough plastic. The removal process is similar across the 2011–2023 models, but minor differences exist.
Here’s a quick comparison of grill types and removal difficulty:
| Model Year | Grill Material | Removal Difficulty |
|---|---|---|
| 2011–2013 | Plastic | Easy |
| 2014–2020 | Plastic/Chrome | Moderate |
| 2021–2023 | Plastic | Easy |
Tools You Need
Before starting, gather these tools:
- Flathead screwdriver (for popping clips)
- Phillips screwdriver (for screws)
- Trim removal tool (optional, prevents scratches)
- Ratchet and socket set (for bolts)
- Gloves (protect your hands)
Having these tools ready saves time and prevents damage.
Step-by-step Guide To Remove The Grill
Follow these steps carefully to take off the Jeep Grand Cherokee grill.
1. Open The Hood
Lift the hood and secure it with the hood prop. Make sure the engine is cool before you start.
2. Locate Fasteners And Clips
Look for the plastic clips and screws at the top and bottom of the grill. Most models have 6–8 clips along the top.
3. Remove Top Clips And Screws
Use a flathead screwdriver or trim tool to gently pry up each clip. Turn the screws counter-clockwise to remove.
4. Release Bottom Clips
Reach under the grill and feel for the lower clips. These are usually hidden and require a bit of patience.
5. Gently Pull The Grill Forward
Once all clips and screws are out, slowly pull the grill forward. Don’t yank—some models have additional clips on the sides.
6. Disconnect Fog Light Or Sensor Wires (if Present)
On newer models, the grill may have fog light or sensor wires attached. Unclip these before fully removing the grill.
7. Remove The Grill
Lift the grill away from the vehicle. Place it on a clean, soft surface to avoid scratches.
Here’s a comparison of removal steps for different Jeep Grand Cherokee years:
| Step | 2011–2013 | 2014–2020 | 2021–2023 |
|---|---|---|---|
| Clip Removal | Top only | Top & bottom | Top only |
| Screw Removal | 2 screws | 4 screws | 2 screws |
| Wire Disconnect | None | Possible | Yes (sensors) |
Practical Tips And Common Mistakes
Many beginners make mistakes that cause damage or extra work. Here’s how to avoid them:
- Don’t force the clips. If a clip won’t move, check for hidden screws or bolts.
- Label wires. If you disconnect fog lights or sensors, label the wires for easy reinstallation.
- Work slowly. Rushing can break clips or scratch the grill.
- Keep track of fasteners. Put screws and clips in a small container so you don’t lose them.
- Check for hidden bolts. Some aftermarket grills may use extra bolts—double-check before pulling.
A non-obvious tip: Some clips may be stuck due to dirt or rust. Spray a little WD-40 on stubborn clips and wait a few minutes. This makes removal easier and avoids breakage.
Cleaning And Maintenance After Removal
With the grill off, it’s a great time to clean areas that are usually hidden. Use a soft brush to remove dust from the radiator and air intake. Wipe the grill itself with warm soapy water. If you plan to install a new grill, compare sizes and fit before putting it on.
Here’s a quick table showing cleaning options and their benefits:
| Cleaning Method | Best For | Time Needed |
|---|---|---|
| Soap & Water | Plastic grill | 10 min |
| Detail Spray | Chrome grill | 5 min |
| Compressed Air | Radiator fins | 3 min |
Reinstallation Tips
When putting the grill back, align it carefully and press the clips in until you hear a click. Reattach all screws and wires. Test fog lights and sensors before closing the hood.
If you’re upgrading to a custom grill, check the fit and clip positions. Some aftermarket options need extra mounting hardware.
Safety And Warranty Considerations
Removing the grill is safe if you follow the steps above. However, some new Jeep models have sensors for adaptive cruise control. Disconnecting these can cause error messages. Always check your owner’s manual for warnings. If your Jeep is under warranty, ask the dealer if DIY removal affects coverage.
For more details on Jeep model differences and parts, you can visit the official Jeep Grand Cherokee page.
Frequently Asked Questions
Can I Remove The Grill Without Removing The Bumper?
Yes, most Jeep Grand Cherokee grills can be removed without touching the bumper. Only a few custom setups require bumper removal.
How Long Does It Take To Remove The Grill?
For most models, it takes about 20–30 minutes. If you clean after removal, add another 10 minutes.
Will Removing The Grill Affect My Warranty?
If you damage sensors or wiring, your warranty may be affected. Always check with your dealer first.
Is It Safe To Drive Without The Grill?
No, driving without the grill can expose your radiator to rocks and debris. Always reinstall before using your Jeep.
Can I Upgrade To A Different Grill Style?
Yes, many aftermarket grills fit Jeep Grand Cherokee models. Make sure the new grill matches your year and trim.
Removing the Jeep Grand Cherokee grill is easier than most people think. With the right tools, patience, and attention to detail, you can do it safely and efficiently. Whether you’re cleaning, repairing, or upgrading, following these steps will save you time and trouble. Remember to check your owner’s manual for special instructions, and always handle clips and wires gently. If you’re unsure, consulting a professional or visiting the official Jeep website can help.