Removing the Jeep Wrangler center console can feel intimidating at first, but with the right approach, it’s a straightforward DIY task. Whether you’re upgrading your interior, repairing wiring, or simply cleaning, this guide will help you do it safely and efficiently. Most Jeep Wrangler models, from TJ to JL, follow similar steps, but always check your manual for details. Before you start, know that a careful removal prevents damage and saves you money on repairs.
Preparation: What You Need
Before you begin, gather these tools:
- Phillips screwdriver
- Flathead screwdriver
- Socket wrench (usually 10mm or 13mm)
- Trim removal tool (optional, but helps prevent scratches)
- Gloves (optional for hand protection)
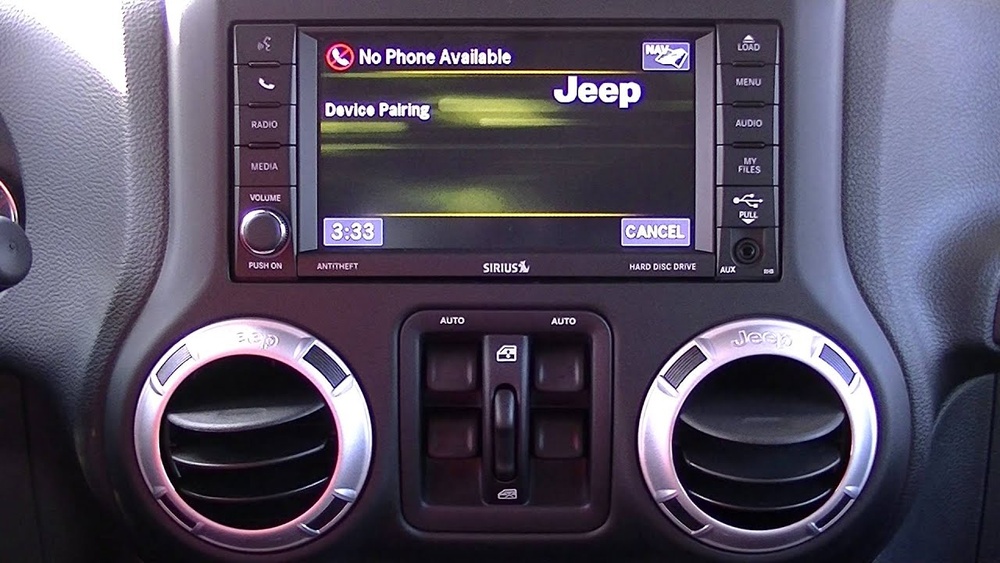
Park your Jeep on a flat surface and disconnect the battery. This is critical to avoid electrical shorts if your console has wiring for USB ports or auxiliary power.
Step-by-step Removal Process
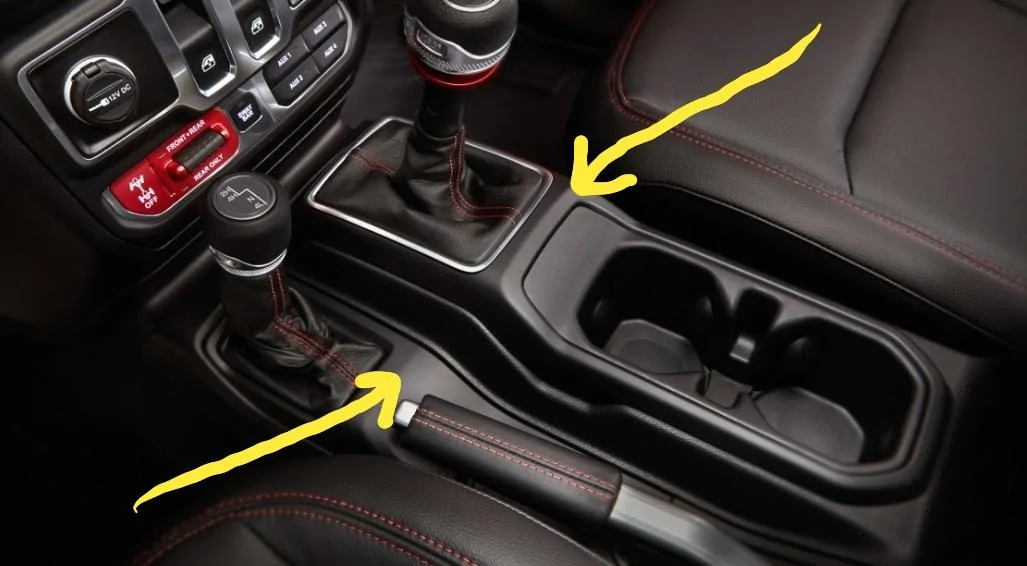
1. Clear Out The Console
Start by emptying the center console. Remove all items inside, including loose change, papers, and electronics. Take out floor mats to get clear access.
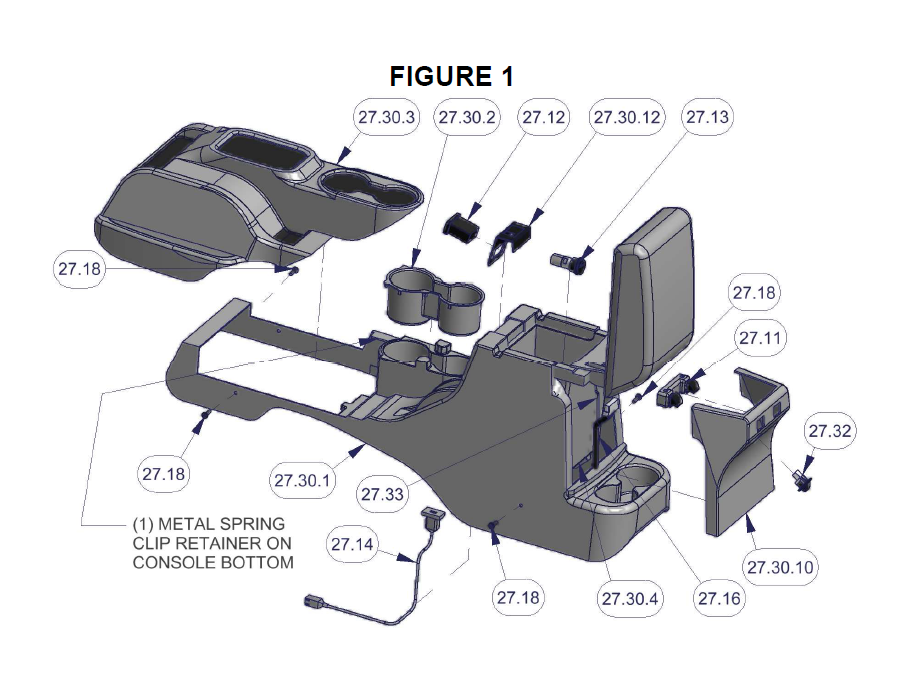
2. Locate And Remove Screws
Most Jeep Wrangler consoles are attached with screws or bolts:
- Open the lid and look inside for two screws at the bottom.
- In some models, you’ll also find screws near the cup holders or beneath the shifter trim.
Use your screwdriver or socket wrench to remove these. Keep them in a safe place for reinstallation.
3. Remove Trim Pieces
Use a trim removal tool or flathead screwdriver to gently pry off plastic trim pieces around the console. Work slowly to avoid cracking the plastic. Pay attention to clips—forcing them can break them.
4. Disconnect Wiring
If your console includes power outlets or USB ports, locate the wiring underneath. Carefully pull the connectors apart. Do not yank on wires; use your fingers or a small flathead screwdriver to release clips.
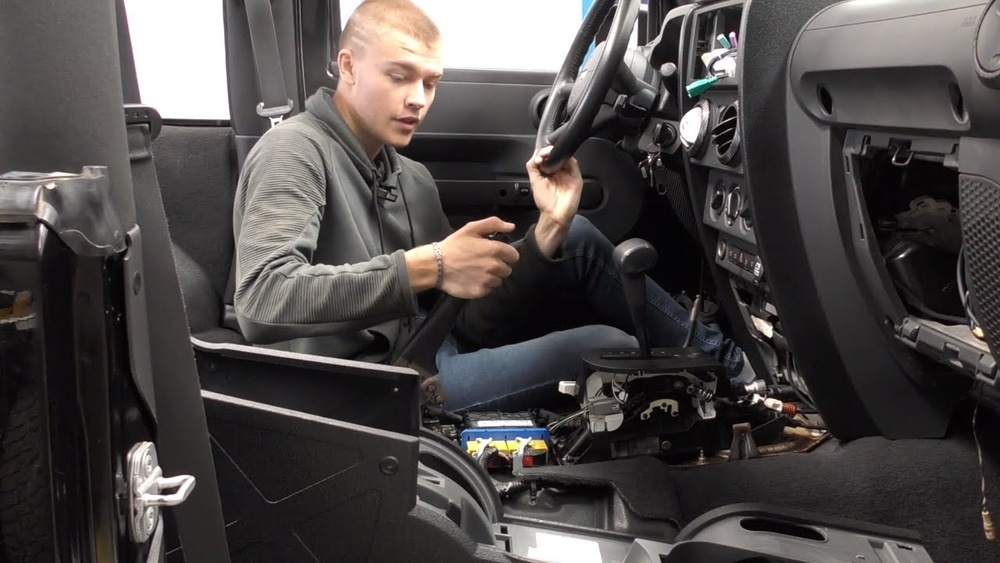
5. Lift Out The Console
Once all screws and wiring are detached, gently lift the console upward. It may feel snug due to plastic clips. Rock it side to side to loosen. If you feel resistance, double-check for any hidden screws.
6. Inspect And Store
Inspect the removed console for cracks or damage. If you plan to reinstall, keep it in a clean, dry place. If you’re replacing it, compare the old and new part for correct fit.
Common Challenges And Solutions
Some Jeep Wrangler models hide screws under rubber mats or inside the shifter boot. If your console won’t budge, look for these spots.
Stuck Wiring
If connectors are stubborn, avoid pulling hard. Use a small tool to press release tabs. Damaging connectors can lead to costly repairs.
Broken Clips
Clips often break during removal. You can buy replacement clips from a dealer or auto parts store. Having spares before starting helps.
Practical Tips For Safe Removal
- Label screws and clips using tape or small bags.
- Take photos at each stage. This helps during reinstallation.
- Work in good lighting to spot hidden fasteners.
- If you’re removing for deep cleaning, vacuum under the console before reinstalling.
A common beginner mistake is skipping battery disconnection. Even if you don’t see wires, newer Wranglers often have hidden electrical connections. Another overlooked step is checking for extra screws around the rear seats—some versions include these.

Data: Console Removal Time By Wrangler Model
Here’s a quick comparison of average removal times for different Wrangler generations:
| Model | Estimated Removal Time | Unique Steps |
|---|---|---|
| TJ (1997–2006) | 20–30 minutes | Simple design, fewer screws |
| JK (2007–2018) | 30–45 minutes | Wiring for power outlets |
| JL (2018–present) | 35–50 minutes | Advanced wiring, more clips |
Comparison: Oem Vs Aftermarket Center Consoles
If you’re replacing your console, consider these differences:
| Type | Material | Features | Price Range |
|---|---|---|---|
| OEM | Plastic, factory fit | Standard storage, USB (JL) | $200–$350 |
| Aftermarket | Metal, custom plastics | Extra storage, lockable | $150–$500 |
OEM consoles guarantee fit and finish, while aftermarket versions offer extra features like lockable storage. However, aftermarket consoles sometimes need extra modifications for proper installation.
Example: Removing Console From A 2017 Wrangler Jk
On the 2017 JK, start by removing the two screws inside the console box. Next, pry off the trim around the cup holders. Disconnect the power outlet wiring under the console. Remove two bolts near the shifter. Finally, gently lift the console and set aside.
This process takes about 40 minutes.
Safety And Aftercare
Once removed, clean the area thoroughly. If you’re installing a new console, double-check alignment before screwing down. Avoid overtightening bolts—they can crack the plastic. Reconnect all wiring before finishing. Finally, reconnect your battery.
For more details and model-specific diagrams, the Jeep Official Site offers downloadable manuals.
Frequently Asked Questions
What Tools Do I Need To Remove A Jeep Wrangler Center Console?
You will need a Phillips screwdriver, socket wrench, and a trim removal tool. Gloves and a flathead screwdriver are also useful for prying trim pieces.
Should I Disconnect The Battery Before Removing The Console?
Yes. Disconnecting the battery is important to prevent electrical shorts, especially if your console has power outlets or USB ports.
Some models hide screws under rubber mats, inside the shifter boot, or near the rear seats. Always check these areas if the console won’t lift out.
Can I Reuse The Clips After Removal?
You can reuse clips if they’re not broken. However, clips often snap during removal. It’s wise to have replacement clips ready before you begin.
How Long Does It Take To Remove The Center Console?
Most removals take 30–50 minutes, depending on the Wrangler model and your experience. Older models are quicker due to simpler design.
Removing your Jeep Wrangler center console is a manageable project for most owners. With careful planning and the right tools, you can upgrade, repair, or clean your interior with confidence. Taking your time and following each step closely helps prevent mistakes and keeps your Jeep in great shape.