Building your own mini Jeep at home is a fun and educational project. It combines creativity, basic engineering, and hands-on work. Whether you want a small vehicle for your kids, a garden ride, or simply enjoy DIY projects, making a mini Jeep can be very rewarding. This guide breaks down the process, highlights key decisions, and shares practical tips even beginners often miss. With clear steps and some patience, you can create a working, safe, and stylish mini Jeep using common tools and materials.
Planning Your Mini Jeep Project
Before you start, it’s important to set clear goals. Decide if your mini Jeep is for kids, adults, or display. Consider where you’ll use it—yard, driveway, or off-road. Your choices will affect the materials, size, and power source.
Key factors to plan:
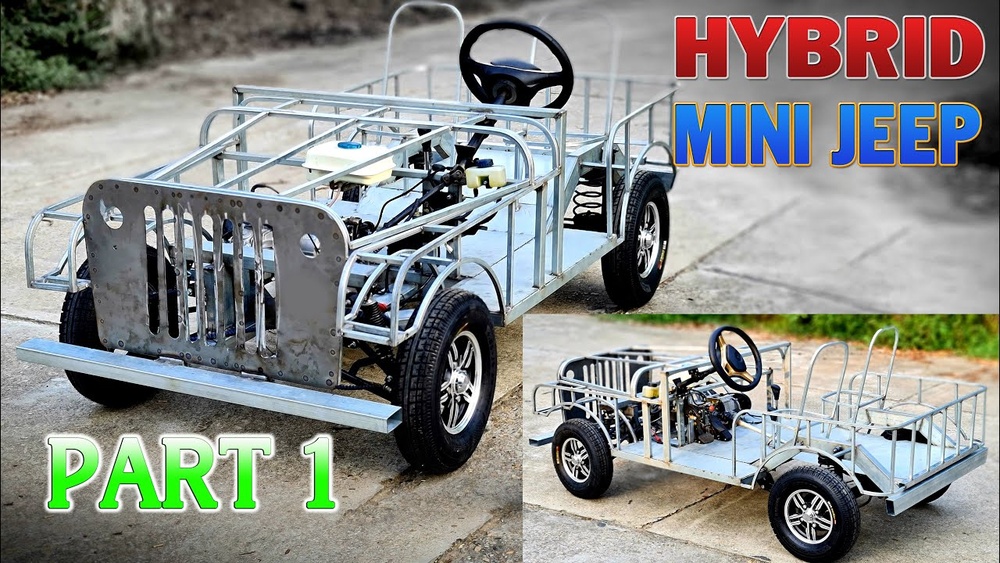
- Size: Typical mini Jeeps are 3–5 feet long.
- Budget: Expect to spend between $400–$1,200, depending on parts.
- Power source: Electric motors are safer for kids, while gas engines are more powerful.
- Skill level: Basic tools and some mechanical knowledge are needed.
Many beginners overlook the importance of weight distribution. If the Jeep is too heavy in the back, it may tip. Always plan for balanced placement of the motor and batteries.
Choosing Materials And Tools
You need strong, lightweight materials. Steel is best for the frame, but aluminum works if you want something lighter. For body panels, use metal sheets, plywood, or durable plastic.
Common materials:
- Steel square tubing: For the frame.
- Sheet metal or plywood: For the body.
- Wheels: Go-Kart or ATV wheels.
- Motor: Electric or gas engine.
- Seat: Old car seat, ATV seat, or custom bench.
- Steering components: Go-Kart steering kit or salvaged parts.
- Brakes: Mechanical disc or drum brakes.
- Wiring: For electric builds.
Essential tools:
- Angle grinder
- Welder (for steel frame)
- Drill and drill bits
- Wrenches and screwdrivers
- Measuring tape
- Saw (for wood/plastic)
- Safety gear (gloves, goggles)
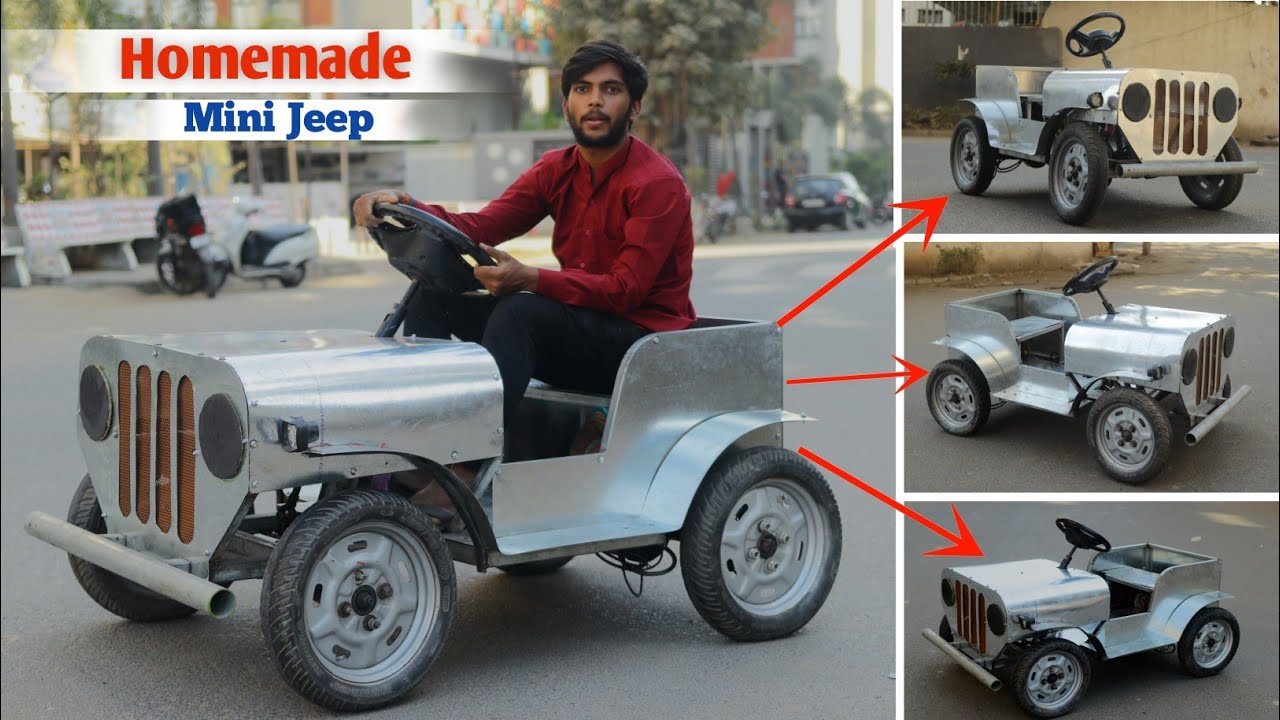
Frame Construction And Assembly
The frame is the backbone of your mini Jeep. It must be strong, straight, and safe. Start by measuring and cutting the steel tubing. Weld or bolt together a rectangle for the base, then add supports for the seat, wheels, and steering.
Here’s a simple comparison of frame materials:
| Material | Strength | Weight | Ease of Use |
|---|---|---|---|
| Steel | High | Heavy | Requires welding |
| Aluminum | Medium | Light | Can be bolted |
| Wood | Low | Medium | Easy to cut |
Assembly steps:
- Lay out and cut frame pieces.
- Connect the pieces using welding or bolts.
- Attach wheel mounts.
- Install seat supports.
- Check all joints for strength.
Tip: Beginners often forget to check for square corners. Use a carpenter’s square for accuracy.
Mounting Wheels, Steering, And Suspension
The mini Jeep’s wheels and steering decide how well it drives. Use go-kart wheels for smooth surfaces, or ATV wheels for rough ground. Attach wheels with solid axles and bearings. For steering, use a simple rack-and-pinion kit.
Suspension is optional, but it improves ride comfort. For basic builds, skip suspension and focus on strong axles.
Below is a quick comparison of wheel choices:
| Wheel Type | Surface | Durability | Cost |
|---|---|---|---|
| Go-Kart | Pavement | Medium | Low |
| ATV | Grass/Dirt | High | High |
| Bicycle | Light | Low | Very Low |
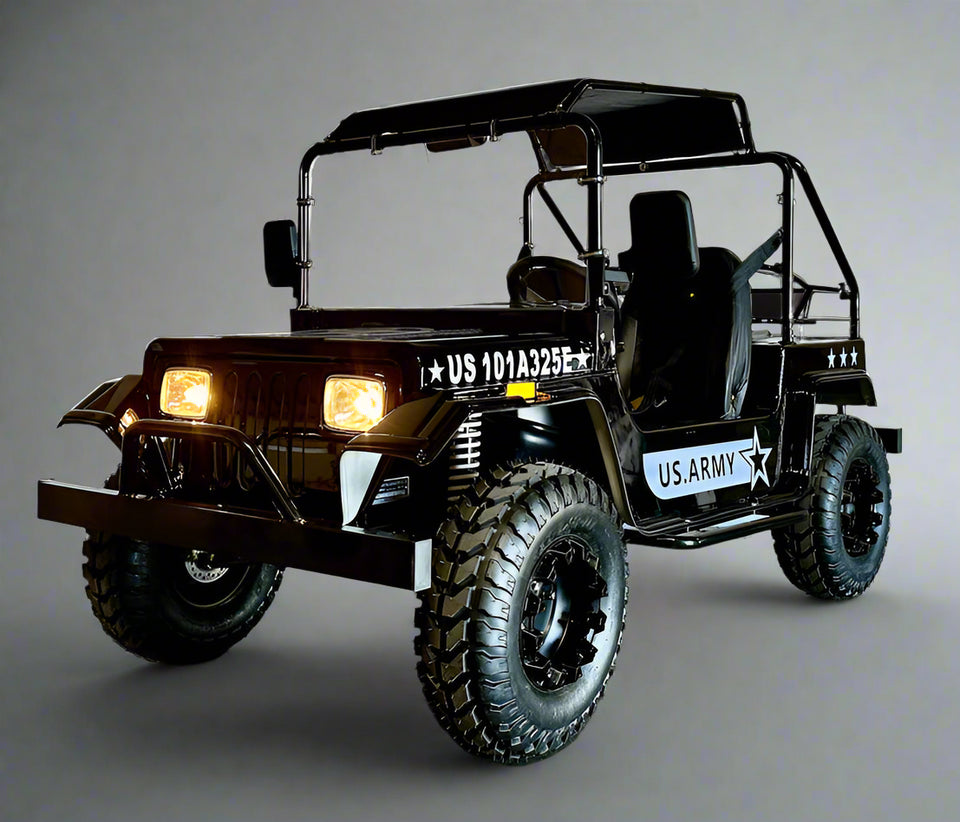
Installing Power And Controls
Choose between electric motors and gas engines. Electric is quieter and cleaner, but gas gives more speed. For kids, stick with electric.
Electric build basics:
- 24V or 48V motor
- Battery pack (lead-acid or lithium-ion)
- Simple controller and throttle
Gas build basics:
- Small engine (2–5 HP)
- Fuel tank
- Throttle cable
Install the motor securely. Run wiring or fuel lines safely. Add a basic control panel for starting, stopping, and speed.
Safety tip: Always install a kill switch and teach users how to stop the vehicle in an emergency.
Designing The Body And Custom Features
The body is where your mini Jeep gets its style. Use sheet metal, plywood, or plastic. Cut panels to size and attach with bolts or rivets. Paint and decorate as you like.
Ideas for custom touches:
- Working headlights (LEDs)
- Jeep-style grille
- Roll bar for safety
- Custom paint job
Many people skip weatherproofing. Use outdoor paint and seal joints to protect your mini Jeep from rain.
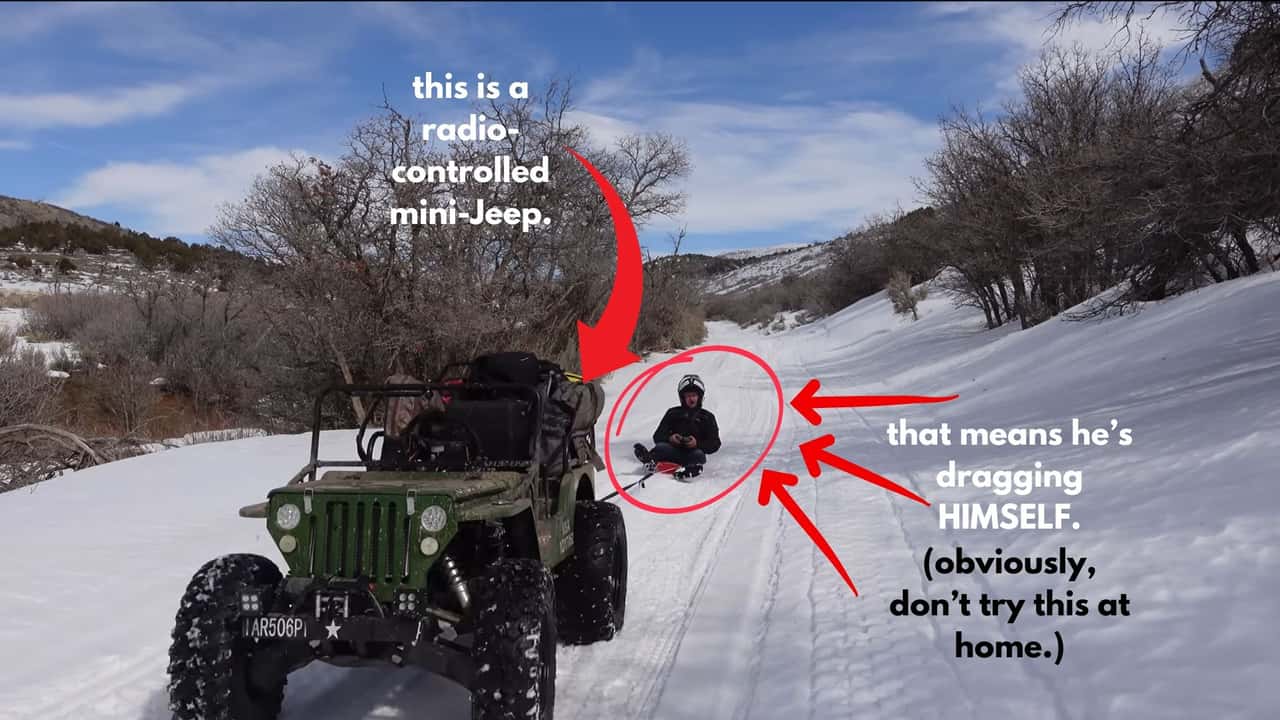
Testing And Safety Checks
Before driving, check every bolt, wire, and weld. Test steering and brakes. Go slow at first and watch for any problems.
Checklist for safety:
- Seat securely mounted
- Steering tight and smooth
- Brakes stop quickly
- Motor responds to controls
- No exposed wires or fuel lines
If possible, test on soft ground first. Adjust if you notice wobbles or strange noises.
Frequently Asked Questions
How Long Does It Take To Build A Mini Jeep At Home?
Most people finish in 2–4 weeks if working part-time. Complex builds may take longer, especially if you add custom features or use advanced materials.
Is It Safe For Kids To Drive A Homemade Mini Jeep?
It can be, if you use a low-power electric motor, strong brakes, and proper supervision. Always test carefully and set speed limits.
What Is The Average Cost Of Building A Mini Jeep?
Expect to spend $400–$1,200. Costs depend on materials, motor type, and whether you buy or salvage parts. Gas builds usually cost more.
Do I Need Welding Skills For The Frame?
Welding makes the frame stronger, but you can use bolted aluminum for lighter builds. Wood frames are easier but less durable.
Where Can I Find Parts For A Mini Jeep?
Check local hardware stores, auto shops, and online sellers. Many people use go-kart kits, ATV wheels, and salvaged engines. For more ideas, see Go-Kart Wikipedia.
Building a mini Jeep at home is a great way to learn about mechanics and enjoy hands-on creativity. With careful planning, safe choices, and a touch of style, you’ll create a unique vehicle that turns heads and brings smiles. Remember, patience and attention to detail are your best tools.