Installing a light bar on your Jeep is one of the best ways to improve night driving, off-road visibility, and add a rugged look. Many Jeep owners want to do this themselves, but the process can be confusing if you’re new to vehicle modifications. With the right tools and clear steps, anyone can install a light bar safely. This guide helps you avoid common mistakes and makes the job easier, even if it’s your first time.
Choosing The Right Light Bar
Before you start, it’s important to pick a light bar that matches your needs and your Jeep’s size. Light bars come in many shapes and sizes, but not all fit every Jeep model.
- Size: Most Jeeps use a 20–50 inch light bar. Measure your mounting area before buying.
- Brightness: Light bars are rated in lumens. For off-road use, 10,000–30,000 lumens is common.
- Type: There are spot, flood, and combo beams. Combo beams give both distance and spread.
- Waterproof Rating: Look for IP67 or higher for protection against water and dust.
- Mounting Style: Decide if you want roof, bumper, or grille mounting.
Here’s a quick comparison of popular options:

| Light Bar Type | Beam Pattern | Ideal Use | Average Price |
|---|---|---|---|
| Spot | Narrow, long range | Highway, distance | $60–$180 |
| Flood | Wide, short range | Trail, work area | $70–$200 |
| Combo | Spot + flood | Off-road, mixed use | $100–$250 |
A common mistake is buying a light bar without checking the mounting brackets. Always confirm compatibility with your Jeep model.
Gathering Tools And Materials
You don’t need advanced tools, but using the right ones makes installation much smoother. Here’s what you’ll need:
- Light bar kit (with wiring harness)
- Socket wrench set
- Screwdriver
- Drill (if mounting holes needed)
- Electrical tape
- Wire connectors
- Zip ties
- Safety glasses
- Voltage tester
Most kits include basic mounting hardware and instructions. If your Jeep already has factory holes, you can skip drilling.

Step-by-step Installation Guide
Follow these steps carefully to install your light bar without damaging your vehicle. Take your time, and never rush wiring.
1. Plan Your Mounting Location
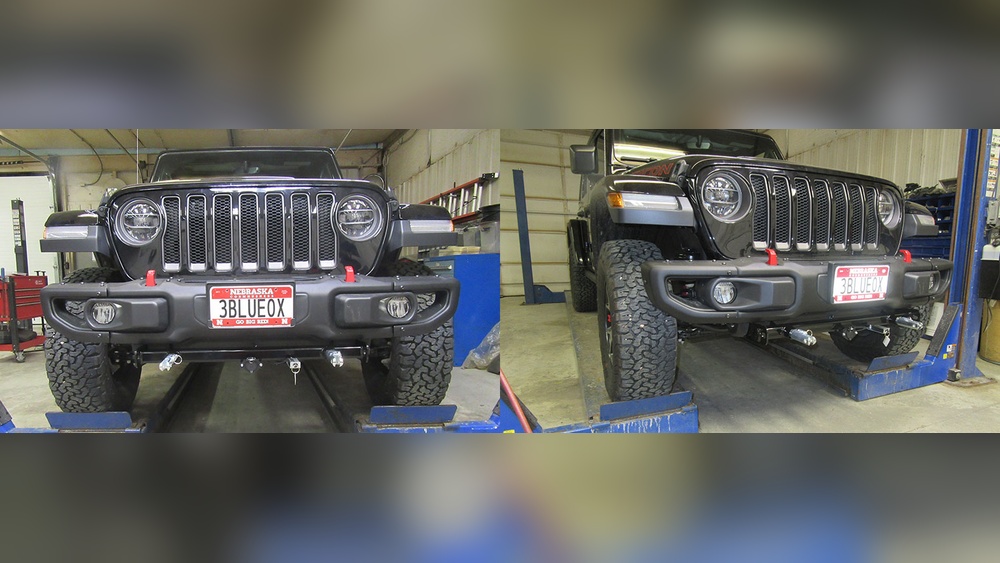
Decide where you want the light bar. Roof, bumper, or grille are the most popular spots. Roof mounting gives wide coverage; bumper mounting is easier and protects the bar from obstacles.
2. Attach The Mounting Brackets
- Clean the mounting area.
- Position the brackets and mark the holes.
- Drill holes if needed (use safety glasses).
- Secure brackets with bolts.
3. Install The Light Bar
- Place the light bar on the brackets.
- Tighten the bolts evenly.
- Double-check alignment for a straight look.
Many beginners forget to check the angle. Aim the bar slightly down to avoid blinding other drivers.
4. Wiring The Light Bar
Wiring is the part most people worry about, but it’s simple if you follow instructions.
- Route the wiring harness from the light bar to the engine bay.
- Keep wires away from moving parts and hot surfaces.
- Use zip ties to secure the harness.
| Wire Color | Function | Connects To |
|---|---|---|
| Red | Power | Battery positive |
| Black | Ground | Chassis/negative |
| Blue | Switch | Dashboard switch |
- Use a relay for safety. This prevents electrical overload.
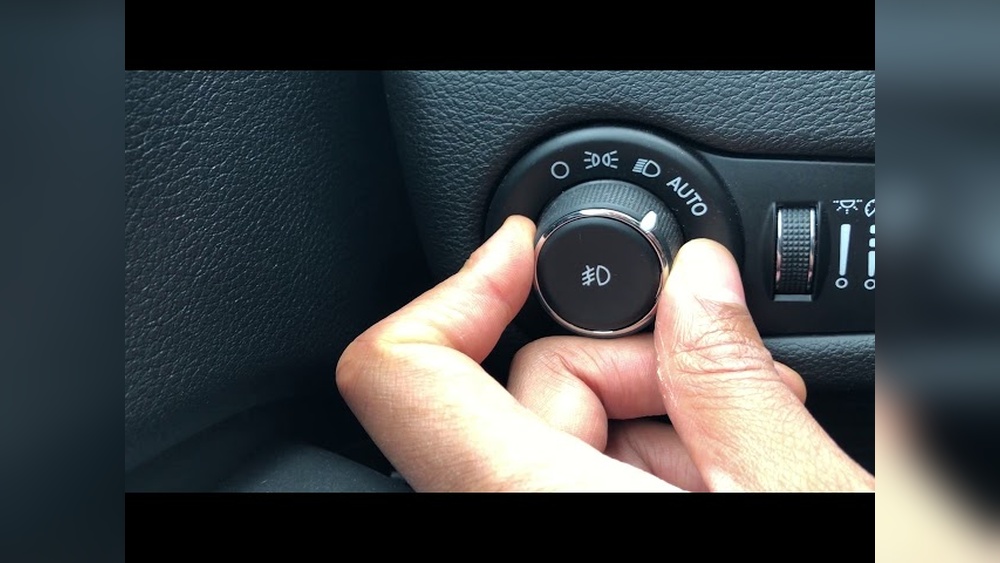
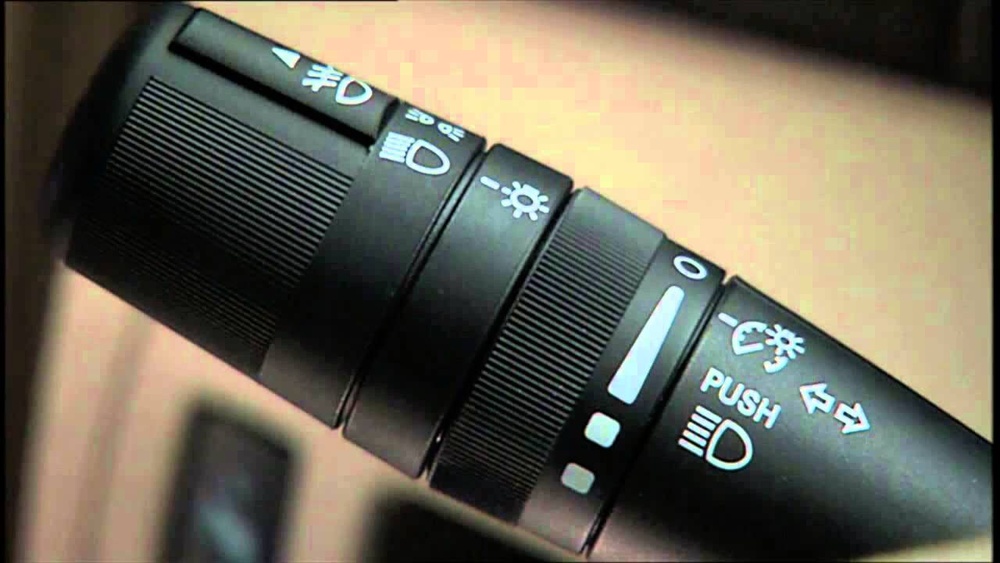
- Connect the switch wire to an easy-to-reach spot on the dashboard.
A non-obvious tip: Always add a fuse in the power line to protect your Jeep’s electrical system.
5. Test And Adjust
- Turn on the light bar and check for proper function.
- Adjust the angle as needed.
- Check for any loose bolts or wires.
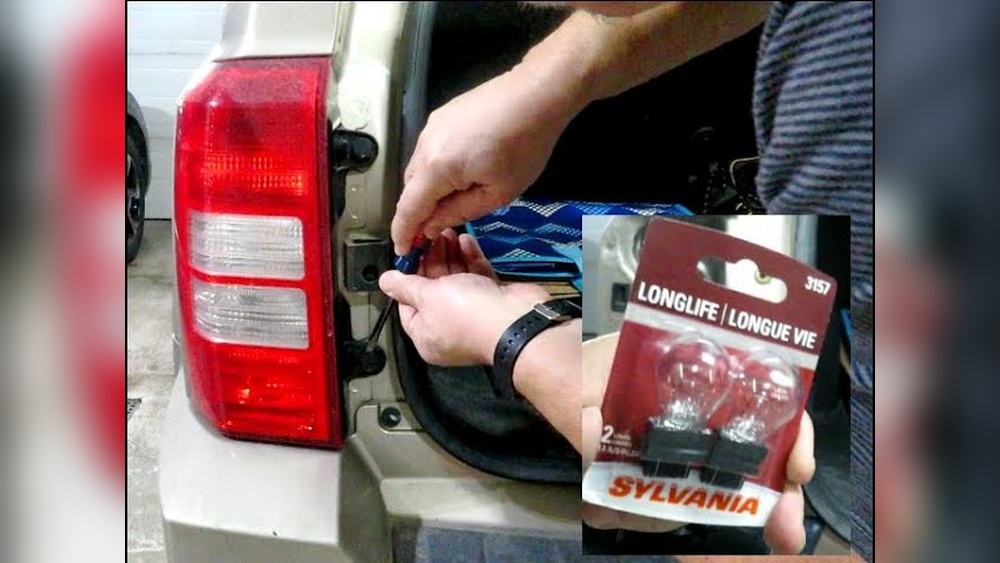
If the light doesn’t turn on, use a voltage tester to check connections.
Practical Tips For Safe Installation
- Disconnect the battery before starting any wiring.
- Use waterproof connectors for outdoor durability.
- Don’t overtighten bolts — too much force can crack the housing.
- Route wires through factory grommets to avoid leaks.
- Test the bar before final tightening.
One insight many miss: If you drive in areas with strict lighting laws, check local rules before installation. Some states require covers on aftermarket light bars.

Comparing Roof Vs. Bumper Mounting
Many Jeep owners wonder which mounting position is best. Here’s a quick look:
| Position | Visibility | Ease of Install | Protection |
|---|---|---|---|
| Roof | Maximum | Moderate | Exposed to branches |
| Bumper | Good | Easy | Better protected |
Roof mounting gives the widest spread, but is more exposed. Bumper mounting is easier and safer for city driving.
Final Checks Before Driving
After installation, check these points:
- All wires are secure and hidden.
- Light bar turns on/off with the switch.
- No flickering or strange sounds.
- Mounts are tight but not overdone.
- Light angle doesn’t blind other drivers.
If everything looks good, reconnect your battery and enjoy better visibility!

Frequently Asked Questions
How Long Does It Take To Install A Light Bar?
Most installations take 1–2 hours. If you need to drill holes, it may take longer.
Can I Install A Light Bar Without Professional Help?
Yes, most Jeep owners can do it themselves with basic tools. Just follow the wiring steps carefully.
Will A Light Bar Drain My Battery?
A typical light bar uses 5–10 amps. If wired correctly, it won’t drain the battery unless left on for hours.
Is It Legal To Use A Light Bar On Public Roads?
Some states restrict light bar use on highways. Always check local laws and use covers if required.
What Is The Best Light Bar Size For A Jeep Wrangler?
Most Wrangler owners choose 30–50 inch bars for roof mounting and 20–30 inch for bumper mounting.
Installing a light bar on your Jeep is a rewarding project that boosts safety and style. With careful planning and the right tools, you’ll enjoy brighter trails and safer night drives. For more details on wiring and mounting, check guides from the official Jeep site. Always follow safety steps and double-check your work. Now, your Jeep is ready for adventure!