Removing the center console from your Jeep can seem difficult, but with the right steps and tools, you can do it safely. Whether you need to replace a part, install new accessories, or clean deeply, knowing how to remove the console helps you maintain your vehicle better.
This guide walks you through every step, explains which tools you need, and highlights common mistakes. You’ll also find useful tips and data about Jeep models, plus answers to frequent questions.
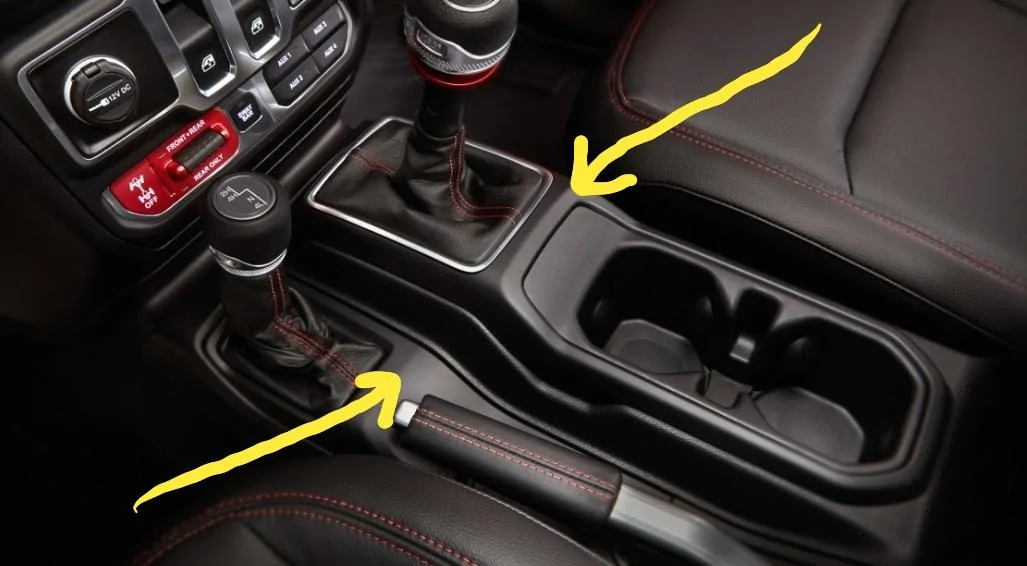
Why Remove The Jeep Center Console?
The center console is more than just a storage space. It houses controls, cup holders, and sometimes electrical wiring. Removing it lets you:
- Fix broken components
- Install upgrades like new radios or USB ports
- Clean hidden areas
- Access wiring for repairs
Most Jeep owners remove the console for deep cleaning or to reach wiring for electronic accessories.
Tools And Preparation
Before starting, gather these tools:
- Phillips screwdriver
- Flathead screwdriver
- Socket wrench set
- Trim removal tool
- Flashlight
- Gloves (optional)
For safety, park your Jeep on a flat surface, set the parking brake, and disconnect the battery if your console contains electrical components.
Here’s a quick comparison of tools needed for popular Jeep models:
| Jeep Model | Phillips | Socket Wrench | Trim Tool |
|---|---|---|---|
| Wrangler (JK) | Yes | 10mm | Recommended |
| Grand Cherokee | Yes | 8mm/10mm | Essential |
| Liberty | Yes | 8mm | Optional |
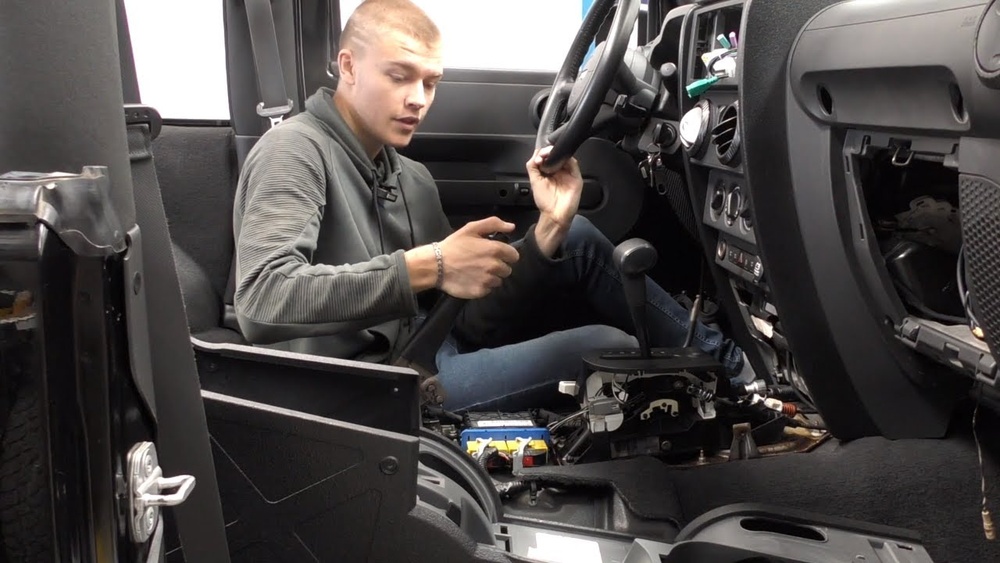
Step-by-step Removal Process
The removal process is similar for most Jeep models, but always check your owner’s manual for special instructions.
- Empty the Console: Take out all items, including coins, papers, or electronics.
- Remove Floor Mats: If mats block access, move them out of the way.
- Detach Trim Panels: Use a trim removal tool to pry off panels gently. Be careful not to break the clips.
- Unscrew Fasteners: Locate screws inside the console and cup holders. Use the right screwdriver or socket wrench. Most consoles have 4–6 screws.
- Disconnect Electrical Wires: If your Jeep has electronic features, disconnect the wiring. Always unplug the battery first to avoid short circuits.
- Lift Console Out: Once all screws and wires are removed, gently lift the console. You may need to wiggle it to free stuck clips.
- Inspect for Hidden Screws: Some models have hidden screws under rubber mats or inside storage compartments.
Here’s a table comparing the average time needed for console removal by Jeep model:
| Jeep Model | Time Needed | Difficulty Level |
|---|---|---|
| Wrangler (JK) | 20–30 min | Moderate |
| Grand Cherokee | 30–45 min | Hard |
| Liberty | 15–25 min | Easy |
Practical Tips For Success
- Label Screws: Keep screws organized by labeling them or storing them in small containers.
- Take Photos: Snap pictures of each step, especially wiring locations. This helps during reinstallation.
- Don’t Force Parts: If something feels stuck, check for missed screws or clips. Forcing can cause cracks.
- Use the Right Tool: Using a trim tool prevents scratches and broken clips.
Many beginners forget to disconnect the battery, which can lead to electrical shorts. Also, people often misplace screws—labeling helps avoid this.
Reinstalling The Center Console
After your work is done, reinstalling is usually easier. Just reverse the steps:
- Place the console back in position.
- Reconnect wires (if any).
- Insert and tighten screws.
- Attach trim panels.
- Replace floor mats and items.
Always check for leftover screws or loose panels before finishing.
Common Mistakes To Avoid
- Skipping Battery Disconnection: Always disconnect the battery if you handle wires.
- Losing Screws: Use containers or a magnetic tray to keep screws safe.
- Breaking Clips: Pry gently and use proper tools.
- Not Checking for Hidden Screws: Some screws are under covers or mats.
- Rushing the Process: Take your time to avoid damage.
Jeep Console Removal: Model Differences
Jeep consoles vary by year and model. Here are some examples:
- Wrangler JK: Console attaches with four main screws. Electrical wiring for USB ports is common.
- Grand Cherokee: More complex, with extra screws and wiring for climate control.
- Liberty: Simpler, fewer screws, less wiring.
Always check your Jeep’s manual for diagrams and specific instructions.
Deeper Cleaning And Maintenance
Once the console is out, take advantage:
- Clean carpet underneath
- Wipe dust from hard-to-reach areas
- Inspect for mold or rust
Most Jeep owners notice dirt buildup under the console after years of use. Removing the console once a year can prevent odors and keep the interior fresh.
Data On Jeep Center Console Upgrades
According to a survey by JeepForum, about 30% of owners who remove their center console do so to install new accessories like wireless chargers or custom switches. Upgrades can increase comfort and convenience, but require careful wiring.
External Resource
For more detailed Jeep interior diagrams, check Jeep Official Manuals.

Frequently Asked Questions
How Long Does It Take To Remove A Jeep Center Console?
Most Jeep consoles take 15–45 minutes to remove, depending on the model and your experience. Wranglers are faster, while Grand Cherokees require more time due to extra wiring.
Can I Remove The Console Without Disconnecting The Battery?
If your console has electrical wiring (USB ports, climate controls), disconnecting the battery is important for safety. If there are no wires, battery disconnection is optional but still recommended.
Will Removing The Console Damage My Jeep?
If you follow the steps carefully and use proper tools, there’s little risk. The most common damage comes from broken clips or scratched panels, so pry gently.
Do I Need Special Tools For Console Removal?
Most jobs need only standard tools like screwdrivers and socket wrenches. Trim removal tools are helpful but not always required.
Can I Reinstall The Console Myself?
Yes. Reinstalling is simply reversing the removal steps. Take photos during removal to help with wiring. Double-check that everything is tight and properly connected.
Removing your Jeep’s center console is a practical skill for any owner. With the right tools and careful steps, you can do it safely and improve your vehicle’s interior. Take your time, keep screws organized, and always check your manual for model-specific tips.