Changing the transfer case fluid in your Jeep JK is an important step for keeping your vehicle running smoothly. Many drivers skip this task, but old fluid can cause shifting problems and even damage the transfer case over time. If you want your Jeep JK to handle off-road and daily driving reliably, learning to change the transfer case fluid is a smart move. This guide shows you exactly how to do it, even if you’re not an expert mechanic.
Why Change Transfer Case Fluid?
The transfer case sends power to your Jeep’s front and rear wheels. Its fluid lubricates gears and chains inside. Over time, the fluid gets dirty, loses its ability to protect parts, and can lead to excessive wear. Most experts suggest changing the fluid every 30,000 to 60,000 miles. If you drive off-road or in tough conditions, change it more often.
Neglecting this maintenance can cause:
- Grinding noises
- Difficulty shifting
- Premature transfer case failure
It’s easier and cheaper to change fluid regularly than to repair a broken transfer case.
Tools And Materials Needed
Before you start, gather these items:
- Socket set (mainly 10mm or 13mm for drain/fill plugs)
- Fluid pump (for adding new fluid)
- Drain pan
- Rags
- Jack and jack stands (if needed)
- New transfer case fluid (usually Mopar ATF+4 or recommended type)
- Gloves
Check your owner’s manual for the exact fluid type and quantity. Most Jeep JKs need about 2 quarts.

Step-by-step: Changing Transfer Case Fluid
Follow these steps to change the fluid safely and correctly.
1. Prepare Your Jeep
Park your Jeep JK on a flat surface. If needed, raise the vehicle with a jack and secure it using jack stands. Let the Jeep cool down if it’s been running.
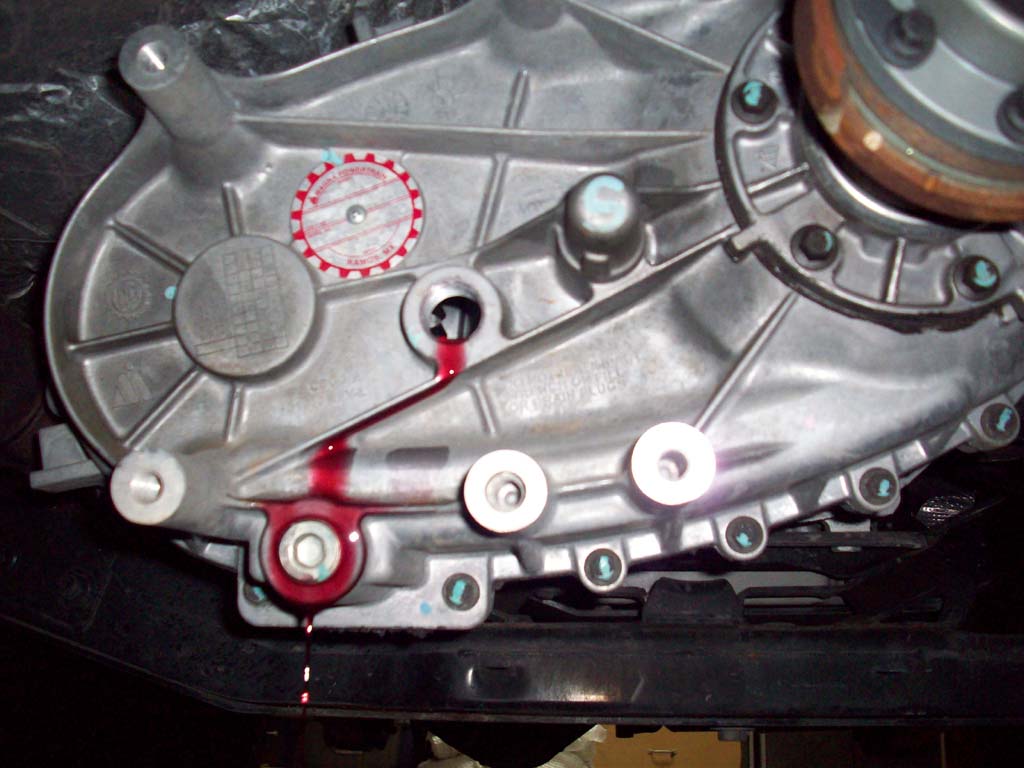
2. Locate Drain And Fill Plugs
The transfer case is near the center of the vehicle, behind the transmission. The drain plug is usually at the bottom; the fill plug is on the side.
Here’s a quick comparison of plug locations for common Jeep JK transfer cases:
| Model | Drain Plug Location | Fill Plug Location |
|---|---|---|
| NV241 | Bottom center | Passenger side |
| NV241OR | Bottom center | Driver side |
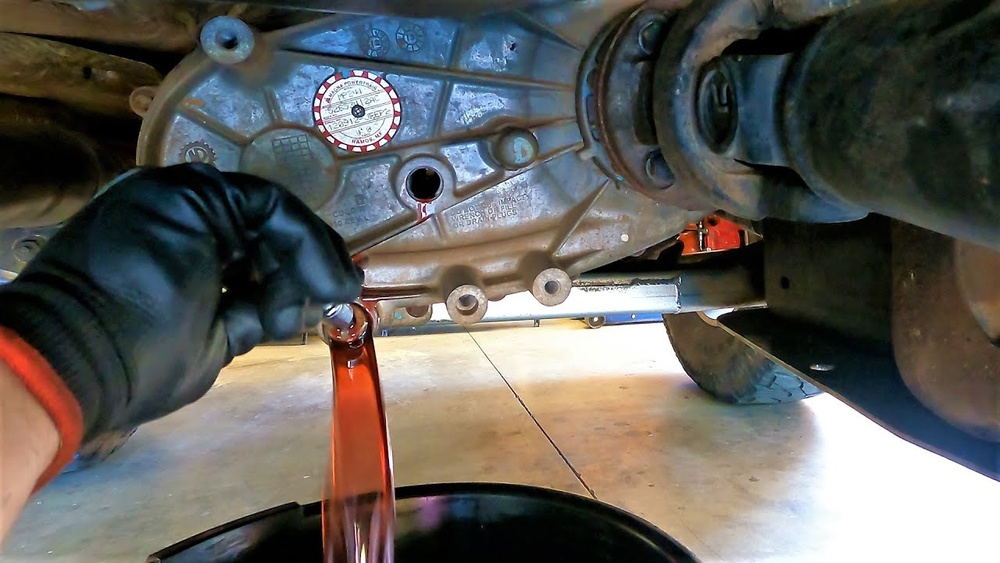
3. Drain The Old Fluid
Place your drain pan under the transfer case. Remove the fill plug first—this helps fluid drain smoothly and confirms you can refill. Next, remove the drain plug. Old fluid will flow out quickly.
Let it drain fully for a few minutes. Check the fluid: if it’s dark, gritty, or smells burnt, it was overdue for a change.
4. Inspect And Clean
Wipe the drain and fill plugs. Many plugs have a magnet that catches metal shavings. Clean off any metal bits. If you see lots of shavings, it could signal internal wear.
5. Reinstall Drain Plug
Replace the drain plug and tighten it to the manufacturer’s torque spec (usually 15–20 ft-lbs). Avoid overtightening, which can damage threads.
6. Add New Fluid
Using your pump, add fresh fluid through the fill hole. Pour slowly to avoid spills. When fluid starts to spill out of the fill hole, the transfer case is full.
Here’s a simple table showing fluid capacity for Jeep JK transfer cases:
| Transfer Case | Fluid Capacity |
|---|---|
| NV241 | 2 quarts |
| NV241OR | 2 quarts |
7. Install Fill Plug
Replace the fill plug and tighten it to spec. Wipe away any drips.
8. Clean Up And Test
Lower your Jeep if you lifted it. Start the engine and shift through the gears. Take a short drive and check for leaks under the transfer case.
Practical Tips For Beginners
- Always remove the fill plug before the drain plug. If the fill plug is stuck, you won’t end up with an empty transfer case you can’t refill.
- Buy slightly extra fluid in case of spills or incorrect filling.
- Use a fluid pump—trying to pour from the bottle directly is messy and difficult.
One mistake many beginners make is using the wrong type of fluid. The Jeep JK transfer case needs ATF+4, not gear oil. Using gear oil can damage the transfer case.
How Often Should You Change It?
Most Jeep JK owners should change the fluid every 30,000 to 60,000 miles. If you drive off-road, through water, or in hot climates, check the fluid more often. Some Jeep forums suggest even 20,000 miles for heavy use.
Signs You Need To Change Transfer Case Fluid
Watch for these signs:
- Grinding or whining noises
- Difficulty shifting between 2WD/4WD
- Fluid looks dark or gritty
- Leaks under the Jeep
If you notice any of these, check your fluid right away.

Cost Comparison: Diy Vs Shop
Here’s a quick look at the difference in cost between doing it yourself and hiring a shop:
| Method | Estimated Cost |
|---|---|
| DIY | $25–$40 (fluid, tools) |
| Shop | $80–$150 (labor, fluid) |
Doing it yourself saves money and lets you spot early signs of wear.
Where To Find Official Guidance
Always consult your owner’s manual for the right fluid type and torque specs. For more technical details, the official Jeep service manual and trusted sources like Jeep.com are helpful.
Frequently Asked Questions
How Long Does It Take To Change Transfer Case Fluid?
Most Jeep JK owners can finish the job in 30–45 minutes. If it’s your first time, expect closer to an hour.
Can I Use Any Automatic Transmission Fluid?
No. The Jeep JK transfer case needs ATF+4 or the exact fluid listed in your manual. Other fluids can cause shifting problems and damage.
What Happens If I Overfill The Transfer Case?
Too much fluid can lead to leaks or pressure problems. Stop when fluid drips from the fill hole; that means it’s full.
Is It Okay To Drive With Old Transfer Case Fluid?
Driving with dirty fluid for a short time is usually safe, but over months or years, it increases wear and risk of failure.
Can I Change Transfer Case Fluid Without A Pump?
It’s possible but difficult. A fluid pump makes the job much cleaner and easier, especially with tight spaces.
Changing your Jeep JK’s transfer case fluid is a simple DIY task that protects your vehicle and saves money. With the right tools and steps, you can do it confidently and extend the life of your Jeep.