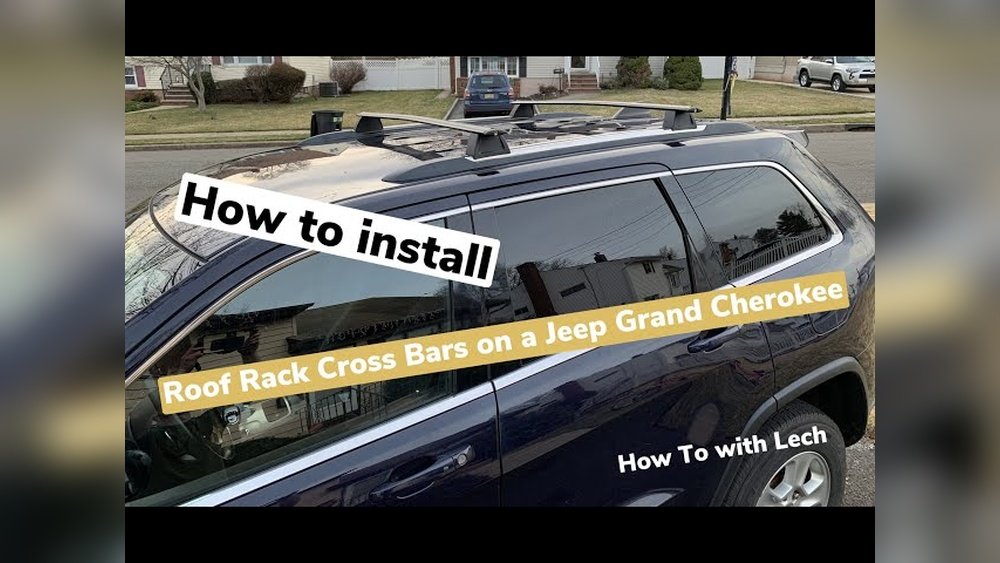
If you own a Jeep Cherokee and want to carry bikes, kayaks, or extra cargo, installing crossbars on your roof is a smart upgrade. These bars help you use roof racks and carriers, making your SUV more useful for travel or adventure. But for beginners, the process can feel confusing. This guide makes installation simple, step-by-step, and shares expert tips to avoid mistakes. You’ll learn what tools you need, how to choose the right crossbars, and how to install them securely—even if you’ve never done it before.
Choosing The Right Crossbars
Before installing, you need to select the right crossbars for your Jeep Cherokee. Not all bars fit every model. Most Cherokees from 2014 and newer use factory roof rails, but some older models have bare roofs.
Key factors to consider:
- Fitment: Check if the crossbars are designed for your Cherokee’s year and roof style.
- Material: Aluminum is lightweight and resists rust. Steel is stronger but heavier.
- Load rating: Most crossbars support 150–220 lbs. Don’t overload—check your Jeep’s manual.
- Locking mechanism: Some bars have locks for extra security.
Below is a quick comparison of common crossbar types:
| Type | Material | Max Load | Fits Factory Rails? |
|---|---|---|---|
| OEM (Original) | Aluminum | 150 lbs | Yes |
| Aftermarket | Steel/Aluminum | 180–220 lbs | Varies |
| Universal | Aluminum | 120 lbs | No |
Tip: Always measure your roof rails before buying. Some crossbars are adjustable, but others are fixed.
Tools And Preparation
You don’t need many tools, but having the right ones saves time and prevents mistakes.
Basic tools required:
- Allen wrench (often included with crossbars)
- Tape measure
- Screwdriver (for some aftermarket kits)
- Step stool (for easier access)
Before starting:
- Check your roof rails for damage or rust.
- Lay out all parts and read the instructions.
- Clean the roof rails to ensure a tight fit.

Step-by-step Installation Guide
Most crossbars install in less than 30 minutes. Follow these steps for a secure fit.
1. Assemble The Crossbars
Unpack the bars and connect any end caps or mounting feet. Some kits come pre-assembled, but double-check all screws.
2. Position The Crossbars
Place the bars across the roof rails. The front bar should be about 8–10 inches behind the windshield, and the rear bar about 8–10 inches in front of the rear hatch.
| Crossbar | Recommended Distance | Purpose |
|---|---|---|
| Front | 8–10 inches from windshield | Supports front of cargo |
| Rear | 8–10 inches from rear hatch | Supports rear of cargo |
Insight: Many beginners place bars too close together. Wider spacing gives more stability for long cargo.
3. Attach And Secure The Crossbars
Align the mounting feet with the roof rails. Tighten the bolts using the Allen wrench. Don’t overtighten—this can damage the rails.
- If your bars have locks, engage them for security.
- Check that the bars don’t move or wiggle.
4. Double-check Everything
Shake the bars gently. If you hear rattling or see movement, re-tighten the bolts. Make sure the bars are parallel and not tilted.
5. Test Load Capacity
Before loading bikes or boxes, test the bars with light cargo first. This helps you spot any weak points.
Expert tip: If you plan to use roof racks often, check the bolts monthly. Weather and vibration can loosen them.
Common Mistakes To Avoid
Many new installers make small errors that cause problems later. Here’s what to watch for:
- Ignoring weight limits: Overloading can bend the bars or damage the roof.
- Misaligning bars: Uneven bars make cargo unstable and can cause wind noise.
- Skipping instructions: Every bar kit is different. Read instructions, even if you’re experienced.
- Using wrong tools: Forcing bolts with wrong tools can strip threads.
Another issue: not checking compatibility. For example, some aftermarket bars need adapters for certain Jeep Cherokee models.

Maintenance Tips
Crossbars need little care, but regular checks keep them safe.
- Inspect bolts and locks every few months.
- Remove bars if you won’t use them for a long time—this prevents rust and saves fuel.
- Clean bars and rails after muddy or salty trips.
Below is a simple maintenance checklist:
| Task | Frequency |
|---|---|
| Check bolts | Monthly |
| Clean bars | After off-road trip |
| Inspect locks | Every 3 months |
Final Thoughts
Installing crossbars on your Jeep Cherokee is a quick upgrade with big benefits. You’ll be ready for road trips, sports, and extra cargo. With the right tools and careful setup, even beginners can do it safely. Remember to check compatibility, follow instructions, and test your installation before loading heavy gear. A little attention now prevents trouble later.
For detailed specs and more tips, visit the official Jeep Cherokee site.
Frequently Asked Questions
How Much Weight Can Jeep Cherokee Crossbars Hold?
Most crossbars for the Cherokee hold 150–220 lbs. Always check your Jeep’s manual and the bar’s rating. Overloading can damage the roof or bars.
Do I Need Roof Rails To Install Crossbars?
Yes, most crossbars require factory roof rails. If your Cherokee doesn’t have them, you’ll need to install rails first or choose special “bare roof” kits.
Can I Install Crossbars By Myself?
Yes, installation is easy for one person with basic tools. A helper can make it faster, but it’s not required.
How Do I Stop Wind Noise From Crossbars?
To reduce noise, make sure bars are parallel and spaced correctly. Some bars have aerodynamic shapes. Removing bars when not needed also helps.
Will Crossbars Affect Fuel Economy?
Yes, crossbars (especially with cargo) can lower fuel economy by 2–5%. Remove bars when not using them to save gas.


