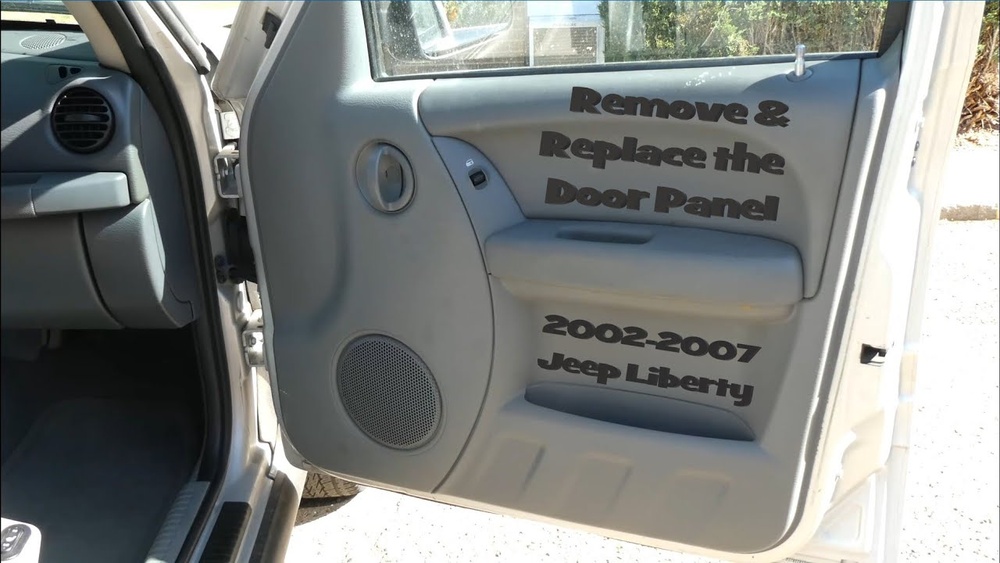
Removing the door panel from a Jeep Liberty might seem challenging, but with the right steps and tools, it becomes a simple DIY task. Whether you need to fix a window, replace a speaker, or check the wiring, taking off the door panel is often the first step. Many owners avoid this job, fearing they’ll damage clips or wiring, but with a careful approach, you can prevent costly mistakes and save money on repairs.
Tools And Materials Needed
Before you begin, gather the essential tools. Having the right equipment will help you avoid damaging the panel or clips.
- Phillips screwdriver
- Flathead screwdriver or panel removal tool
- Socket wrench set (commonly 7mm or 10mm)
- Trim clip remover (optional, but helpful)
- Small container for screws
- Flashlight
It’s important to use a plastic trim tool instead of a metal one to avoid scratching the surface. Many beginners overlook this and end up with visible marks on the door.
Preparing Your Jeep Liberty
For safety, park your vehicle on a flat surface and turn off the ignition. Lower the window if possible. This gives you more room to maneuver and reduces the risk of breaking the glass. If you have power windows, disconnect the battery to avoid short circuits.
Step-by-step Door Panel Removal
Taking off the door panel requires careful attention. Each Jeep Liberty model year may differ slightly, but the basic steps remain the same.
1. Locate And Remove Screws
Start by locating all visible screws. Common places include:
- Inside the door handle
- Behind the armrest
- Along the bottom edge of the panel
Remove these screws using the Phillips screwdriver. Keep them in your container to prevent loss.
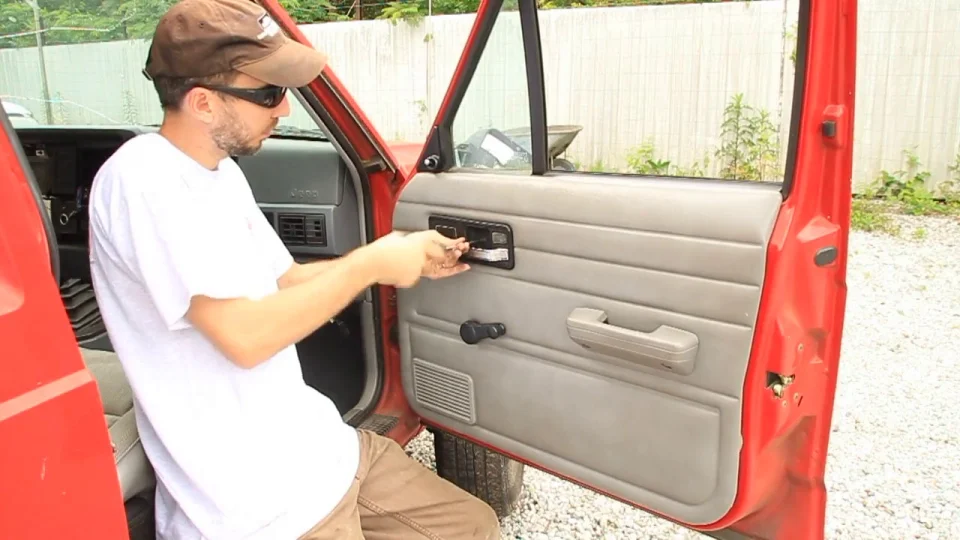
2. Pry Off Trim Pieces
Use a flathead screwdriver or trim tool to gently remove any trim covers. In most Liberties, there’s a small trim piece behind the door handle and sometimes around the speaker area. Be gentle—these plastic pieces can crack easily.
3. Release The Door Panel Clips
Most of the panel is held with plastic clips. Insert the trim tool or flathead screwdriver between the panel and the metal door frame at the bottom corner. Pry gently to pop the first clip. Work your way around the edge, releasing each clip one by one.
4. Lift The Panel Upward
Once all clips are free, grasp the panel at the bottom and lift it straight up. This releases it from the window channel. Don’t pull outward too much, as wiring for power windows or locks will still be attached.
5. Disconnect Electrical Connectors
Carefully reach behind the panel to unplug any electrical connectors. There may be one for the window switch, one for the door lock, and possibly the speaker. Most connectors have a small tab—press and pull gently.
6. Remove The Panel
With all wires disconnected, you can now set the door panel aside. Place it on a soft surface to avoid scratches.
Common Mistakes To Avoid
Many beginners make small errors that can cause extra work or damage. Here’s a quick comparison of common mistakes and how to avoid them:
| Mistake | Consequence | Prevention Tip |
|---|---|---|
| Using metal tools | Scratched door or trim | Use plastic trim tools |
| Forcing clips | Broken clips, loose panel | Work slowly, apply even pressure |
| Losing screws | Loose fitting when reassembling | Use a container for hardware |
| Ignoring wire connectors | Torn wires, electrical issues | Disconnect carefully before removing panel |
Tips For Reinstalling The Door Panel
Reinstallation is the reverse of removal, but a few details matter.
- Reconnect all wiring before positioning the panel.
- Align the panel with the window channel and slide it downward into place.
- Press around the edges to snap all clips back in.
- Replace all screws and trim pieces.
- Test the window and lock functions before finishing.
A helpful tip: Test the door handle and window switches with the panel loosely in place. This way, if you missed a connection, you can fix it before securing everything.
Model Year Differences
While the basic process is similar, some Jeep Liberty years have small differences. For example:
| Model Year | Main Screw Locations | Common Trim Features |
|---|---|---|
| 2002-2004 | Behind door handle, armrest | Basic speaker trim |
| 2005-2007 | Armrest, bottom edge | Upgraded switch panel |
| 2008-2012 | Armrest, hidden under trim cap | Power lock wiring |
Always check for hidden screws or clips, especially on newer models. For detailed diagrams, refer to your owner’s manual or a trusted resource like wikiHow.
What To Check While The Panel Is Off
With the panel removed, take a moment to inspect:
- Window regulator: Look for loose cables or worn gears.
- Speaker condition: Check for water damage or cracks.
- Wiring: Inspect connectors for corrosion or fraying.
- Weatherstripping: Ensure the seal is intact to prevent leaks.
Many owners miss this chance to spot early problems. Fixing small issues now can prevent bigger repairs later.
Additional Insights For Success
A few advanced tips can make your work easier:
- Photograph each step before disconnecting anything. This helps you remember where each wire and screw belongs.
- If a plastic clip breaks, replacements are available at auto parts stores. Never reuse a broken clip, as it can lead to rattling or loose panels.
- Keep all tools and parts organized. Losing a single screw or clip can delay reassembly and compromise the fit.

Frequently Asked Questions
How Long Does It Take To Remove A Jeep Liberty Door Panel?
Most DIYers finish the job in 30-45 minutes for one door. Beginners may need up to an hour, especially if it’s their first time.
Do I Need To Disconnect The Battery Before Removal?
It’s best to disconnect the battery if your Jeep has power windows or locks. This prevents accidental electrical shorts.
Can I Reuse The Plastic Clips?
You can reuse clips if they’re not damaged. However, if any clips break or lose tension, replace them to keep the panel secure.
What If A Screw Is Stripped Or Stuck?
Use a screw extractor or apply gentle pressure with a larger screwdriver. Avoid forcing it, which can make removal harder.
Where Can I Find A Wiring Diagram For My Jeep Liberty?
The owner’s manual or official service guides provide wiring diagrams. Some trusted online sources, such as wikiHow, offer visual guides and step-by-step instructions.
Removing a Jeep Liberty door panel is a manageable project with the right preparation. By working carefully and using the tips above, you can handle repairs confidently and keep your vehicle in great shape.