If you drive a Jeep Wrangler, you probably know about the Freedom Top. This modular hardtop design lets you enjoy both the security of a hard roof and the open-air feeling Jeep is famous for. But if you’ve never removed the Freedom Top before, the process can seem confusing. Taking it off safely is important—not just to protect your Jeep, but also to avoid damaging the panels or hurting yourself. Here’s how to remove your Jeep Wrangler Freedom Top step by step, with essential tips that make the process smooth and stress-free.
Understanding The Jeep Wrangler Freedom Top
The Freedom Top is a multi-piece hardtop found on many Jeep Wrangler models, especially the JK (2007–2018) and JL (2018–present) generations. It usually includes two lightweight front panels (often called “Freedom Panels”) and a larger rear section. This setup allows you to remove just the front for a partial open-air feel, or the whole top for full exposure.
Not all Jeep hardtops are the same. Here’s a quick comparison of the Freedom Top and other popular roof types:
| Roof Type | Material | Removability | Security |
|---|---|---|---|
| Freedom Top | Hard plastic/fiberglass | Modular (front/rear) | High |
| Soft Top | Vinyl/fabric | Fully removable | Medium |
| One-piece Hardtop | Fiberglass | All-or-nothing | High |
Many Jeep owners don’t realize that the Freedom Top’s modular design means you rarely need to remove the entire top unless you want maximum sun and air. For quick drives, just removing the front panels is often enough.
Tools And Preparation
You don’t need many tools, but preparation is key for a hassle-free experience. Here’s what you’ll need:
- Torx T-40 bit (included in most Jeep toolkits)
- Ratchet or driver
- Soft blanket or foam pads (to protect panels)
- A friend (the rear panel is heavy)
- Clean hands (to avoid smudges)
Before starting, park your Jeep on a flat surface, set the parking brake, and power off all electronics.
Step-by-step Removal Process
1. Take Off Front Freedom Panels
- Unclip the sun visors and swing them down.
- Release all latches (usually 6) above the windshield and center bar. Start with the center, then work outward.
- Turn the locking levers (if present) to the open position.
- Carefully lift the driver-side panel up and out. Set it on a soft surface to prevent scratches.
- Repeat for the passenger-side panel.
Beginners often forget to unlatch the center lever, which can make the panels stick. If you feel resistance, check all levers again.
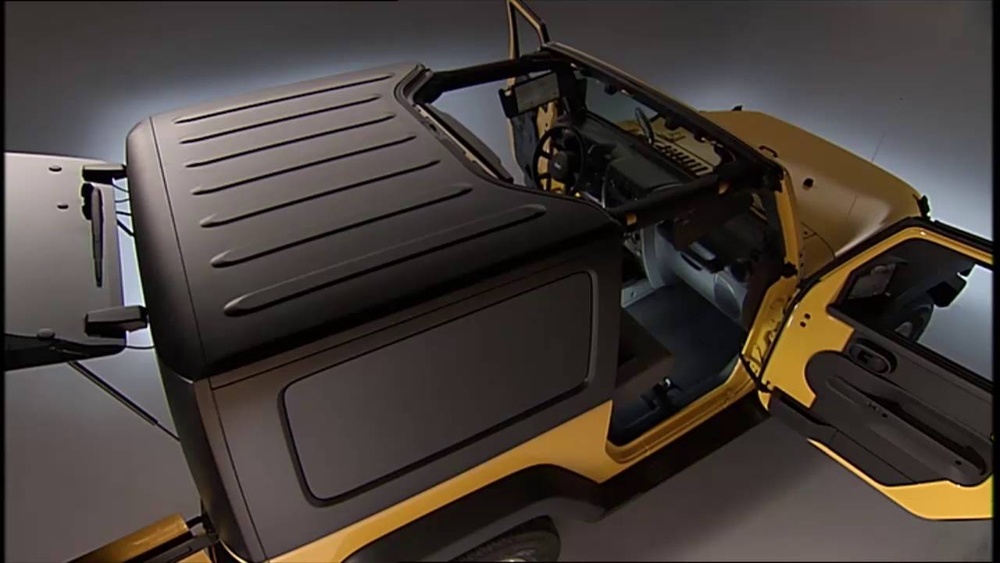
2. Remove Rear Hardtop Section
- Open the rear doors and the tailgate. This gives you access to all bolts.
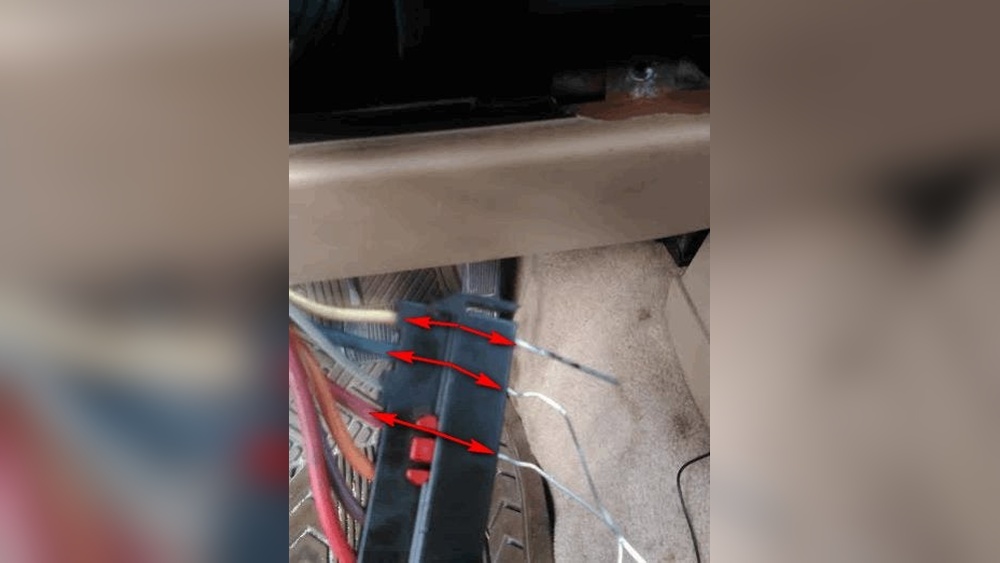
- Disconnect the wiring harness and washer fluid hose. These are usually on the driver’s side near the roll bar.
- Use your Torx T-40 bit to remove the hardtop bolts. There are 6–8 bolts, depending on your Jeep model.
- With a friend, carefully lift the rear hardtop section straight up and off the Jeep. The rear section is bulky and heavy (about 75–100 lbs).
- Place it on a soft, flat surface.
Here’s a quick overview of how long each step usually takes:
| Step | Estimated Time | Tools Needed |
|---|---|---|
| Remove Freedom Panels | 2–5 minutes | None |
| Disconnect Harness/Hose | 1–2 minutes | None |
| Remove Hardtop Bolts | 5–10 minutes | Torx T-40 bit |
| Lift Rear Section | 2–3 minutes | Assistant |
A common mistake is forgetting to disconnect the washer fluid hose. If you pull the top off without this step, you can break the connector and cause a leak.
Storage And Protection Tips
Hardtop panels are tough but can be scratched or cracked if dropped. Here’s how to store them safely:
- Use blankets or a hardtop storage bag to protect the paint.
- Store panels in a dry, shaded area to prevent sun damage.
- Keep all bolts and hardware in a labeled bag.
- Never set the panels on their edges—flat is best.
Many Jeep owners invest in a hoist system for their garage. This lets one person remove and store the hardtop easily. For more on storage solutions, check out ExtremeTerrain’s hardtop storage guide.

Reinstallation Tips
Putting the Freedom Top back on is just as important as removing it. Here’s how to avoid issues:
- Line up the rear section carefully; don’t force it into place.
- Reconnect the wiring and washer hose before tightening bolts.
- Hand-tighten all bolts first, then snug them with the Torx bit.
- Check all latches and locks before driving.
- Test the washer fluid and interior lights to confirm all connections.
A non-obvious tip: If you hear wind noise after reinstalling, the panels might not be seated properly. Remove and realign them for a perfect fit.
Frequently Asked Questions
How Heavy Is The Jeep Wrangler Freedom Top?
The front panels weigh about 10–15 pounds each. The rear section is heavier, usually 75–100 pounds. It’s best to have help for the rear section to prevent injury or damage.
Can One Person Remove The Entire Freedom Top Alone?
Removing the front panels is easy for one person. The rear section can be done solo with a hoist system, but it’s risky to lift alone. Two people are recommended for safety.
Do I Need Special Tools To Remove The Freedom Top?
You only need the Torx T-40 bit and a basic ratchet, both included in most Jeep toolkits. For added protection, use soft pads for the panels.
Will Removing The Freedom Top Affect My Jeep’s Warranty?
As long as you follow the owner’s manual instructions, removing the Freedom Top does not void your warranty. Avoid forcing parts or using incorrect tools.
Is It Safe To Store The Freedom Top Outside?
Storing panels outdoors is not recommended. Sun, rain, and dust can damage the panels over time. Always store them indoors or use a dedicated storage cover.
Removing your Jeep Wrangler Freedom Top is a straightforward process once you know the steps. With the right tools, some preparation, and a little care, you’ll be ready to enjoy open-air driving any time you want. Just remember to store the panels safely and double-check all connections when reinstalling.
Your Jeep was built for adventure—now you’re ready for the ride.