Testing a car’s distributor is an important step in keeping your engine healthy. The distributor controls the timing and delivery of electrical current to the spark plugs. If it fails, your car may run rough, misfire, or not start at all. Many car owners fear electrical diagnostics, but with the right steps and tools, you can check your distributor at home. This guide will walk you through how to test a distributor, the tools you need, and some common mistakes to avoid.
Why Testing A Distributor Matters
The distributor is a key part of older ignition systems. Its job is to take the high-voltage current from the ignition coil and send it to the right spark plug at the right time. Modern cars may use distributorless systems, but millions of vehicles on the road still rely on this part. A weak or faulty distributor can cause:
- Engine misfires
- Hard starting
- Poor fuel economy
- Loss of power
- Stalling
Ignoring distributor problems can damage other engine components over time. Testing it early can save money and prevent breakdowns.
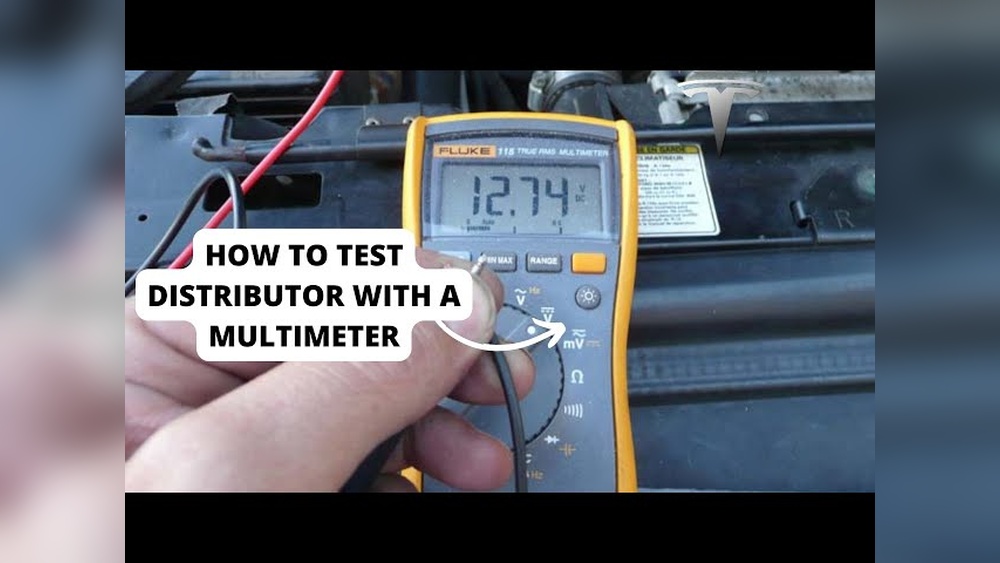
Tools Needed For Testing
Before you begin, gather these basic tools:
- Multimeter (for voltage and resistance tests)
- Screwdriver set
- Timing light (optional, for checking timing)
- Spark tester (for checking spark delivery)
- Gloves and safety glasses
Using the right tool ensures accurate results and helps you avoid accidental damage.
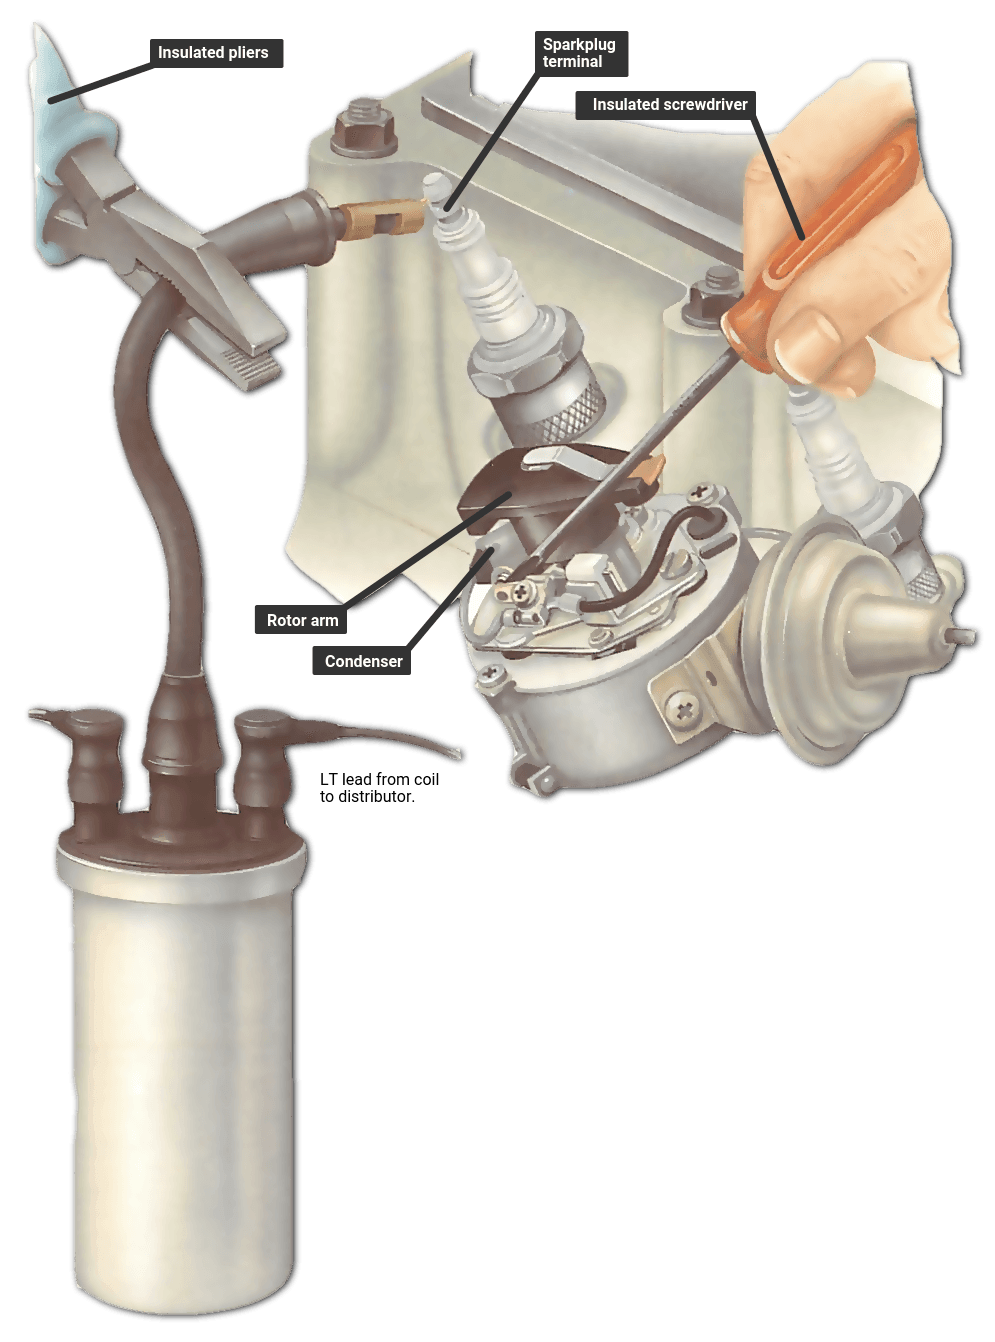
Visual Inspection: The First Step
Start with a simple visual inspection. Many distributor problems are visible without any testing equipment.
- Check for cracks in the cap or housing.
- Look for corrosion or burnt marks on the terminals.
- Inspect the rotor for excessive wear or burning.
- Ensure wires are secure and not frayed.
If you spot any of these, replace the damaged parts before moving to deeper tests.
Step-by-step: Electrical Tests
Here’s how you can test your distributor for common electrical problems:
1. Testing For Spark
This is the most basic distributor test.
- Remove one spark plug wire from the distributor cap.
- Insert a spark tester into the wire.
- Crank the engine and watch for a strong, blue spark.
No spark or a weak spark means a problem with the distributor or ignition coil. A strong spark suggests the distributor is working, but continue with other checks for complete certainty.
2. Testing The Cap And Rotor
Remove the distributor cap. Use your multimeter to check resistance between the center and outer terminals.
- Expected resistance: 5,000–15,000 ohms (check your vehicle’s manual for exact numbers)
- If resistance is outside this range, replace the cap or rotor.
3. Testing The Ignition Pickup Coil
Many distributors have a pickup coil inside. This tiny coil generates the signal that triggers the ignition.
- Disconnect the pickup coil’s wires.
- Set your multimeter to the ohms (Ω) setting.
- Touch the probes to each wire terminal.
- You should see 500–1,500 ohms (verify for your car model).
If you get no reading or infinite resistance, the pickup coil is bad.
4. Testing The Distributor Module
Some distributors have an ignition control module inside or attached to the housing.
- Remove the module as per your service manual.
- Set your multimeter to the diode check or resistance setting.
- Touch the meter leads to the module’s terminals as shown in your manual.
If the readings are out of range, the module may be faulty.
Comparing Distributor Failure Signs
Here is a quick comparison of symptoms and their likely causes:
| Symptom | Possible Issue | Test to Perform |
|---|---|---|
| Engine misfires | Worn rotor or cap | Visual inspection, resistance test |
| No start | Bad ignition module or pickup coil | Module/coil resistance test |
| Weak spark | Corroded cap terminals | Visual inspection, spark test |
Common Mistakes When Testing
Many beginners miss these important details:
- Testing with a weak battery: Always test with a fully charged battery for accurate results.
- Skipping the basics: Simple visual checks can spot many issues quickly.
- Not checking the service manual: Resistance values and procedures may vary by car.
- Forgetting safety: High voltage is dangerous. Always wear gloves and eye protection.

Advanced Testing: Using A Timing Light
If all basic tests pass but you still have issues, check the ignition timing.
- Attach the timing light to the number one spark plug wire.
- Point the light at the timing marks while the engine runs.
- If the marks jump or are out of alignment, the distributor may be worn or out of adjustment.
Correct timing is critical for proper engine operation.
Distributor Types And Testing Differences
Different engines use different distributor types. Here’s a quick guide:
| Distributor Type | Main Feature | Testing Difference |
|---|---|---|
| Points-type | Mechanical breaker points | Check point gap and wear |
| Electronic | Solid-state module | Test module and pickup coil |
Always identify your distributor type before testing, as the steps and values may change.
When To Replace The Distributor
Even if you can repair some issues, sometimes replacement is better. Replace your distributor if:
- The housing is cracked or warped
- The shaft is loose or wobbly
- Internal wear is severe
A new distributor can restore lost performance and reliability.
Practical Tips For Accurate Testing
- Label wires before removing them, so you can reinstall them correctly.
- Always clean terminals before testing for better contact.
- Check all related ignition parts (coil, plugs, wires) for a complete diagnosis.
Many people overlook the importance of checking the ignition coil together with the distributor. A faulty coil can give similar symptoms.
For more background, see this detailed explanation of ignition distributors.

Frequently Asked Questions
How Do I Know If My Distributor Is Bad?
Common signs include engine misfires, hard starting, or no spark at the plugs. If basic tests show no spark or abnormal resistance values, your distributor likely needs repair or replacement.
Can I Drive With A Bad Distributor?
Driving with a failing distributor can cause poor performance and potential engine damage. It’s best to repair or replace it as soon as possible.
Do Modern Cars Use Distributors?
Most modern cars use distributorless ignition systems. However, many vehicles built before the 2000s still use distributors and need regular checks.
How Often Should I Test My Distributor?
Test your distributor if you notice performance issues or during regular tune-ups. Annual checks are a good practice for older vehicles.
What’s The Cost To Replace A Distributor?
Replacement costs vary by vehicle, but parts and labor can range from $150 to $400. DIY replacement can save money if you have the skills and tools.
Taking the time to test your distributor properly can keep your car running reliably and prevent bigger repairs down the road. With the right approach and careful checks, you’ll get a clear answer on whether your distributor is working as it should.