Removing the Jeep Wrangler fender flares is a popular upgrade for many owners. Whether you want to install new flares, add bigger tires, or simply refresh your Jeep’s look, knowing the right steps is essential. The process is straightforward, but some hidden details can save you time and prevent damage. This guide will help you remove the fender flares safely and efficiently, even if you are not a car expert.
Understanding Jeep Wrangler Fender Flares
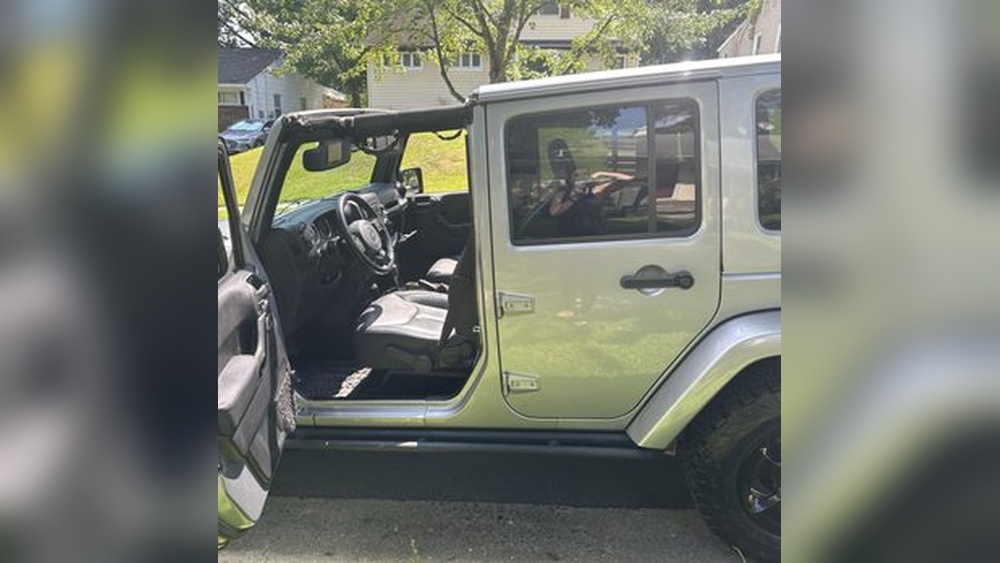
The fender flares on a Jeep Wrangler protect the vehicle from mud, rocks, and debris. They also add style and help with legal requirements for tire coverage. Factory flares are usually made of plastic and attached with clips, screws, and sometimes adhesive. Removing them is possible with basic tools, but each Jeep model (YJ, TJ, JK, JL) may have slight differences.
| Model | Number of Clips | Number of Bolts | Flare Material |
|---|---|---|---|
| YJ (1987–1995) | 6 | 4 | Plastic |
| TJ (1997–2006) | 8 | 6 | Plastic |
| JK (2007–2018) | 10 | 8 | Plastic |
| JL (2018–present) | 12 | 10 | Plastic |
Tools And Preparation
Before you start, gather the right tools:

- Trim removal tool or flat screwdriver
- Socket wrench (usually 10mm or 8mm)
- Torx bit set (some models use Torx bolts)
- Safety gloves
- Microfiber cloth (for cleaning after removal)
Make sure your Jeep is parked on a flat surface. Clean the area around the flares to prevent scratches.

Step-by-step Guide: Removing Fender Flares
1. Locate All Fasteners
Look for plastic clips and bolts securing the flare. Most are visible, but some are underneath or inside the wheel well. On newer models like the JL, there may be hidden clips behind the liner.
2. Remove The Bolts
Use your socket wrench or Torx bit to unscrew the bolts. Start from the top and work your way down. If a bolt is rusted or stuck, spray some WD-40 and let it sit for a few minutes.
3. Pop Out The Clips
Insert the trim removal tool under each clip. Gently pry up to avoid breaking the clip or scratching your Jeep. If a clip breaks, don’t worry replacement clips are cheap and widely available.
4. Detach The Fender Flare
Once all clips and bolts are removed, pull the flare away slowly. Some adhesive may resist; wiggle the flare side to side. If it’s tough, use a plastic pry tool to avoid damage.
5. Clean The Mounting Surface
Wipe the area with a microfiber cloth. Remove any leftover adhesive or dirt. This step prevents scratches and preps the area for new flares or paint.
6. Repeat For Each Fender
Each fender flare is removed the same way. For rear flares, you may need to remove the wheel for better access, especially on JK and JL models.
| Front vs Rear Removal | Difficulty | Extra Steps Needed |
|---|---|---|
| Front | Easy | None |
| Rear | Moderate | Remove wheel (sometimes) |
Common Mistakes And How To Avoid Them
- Breaking clips: Use the right tool and gentle pressure. Many beginners force clips and end up buying extras.
- Scratching paint: Always clean before removal and use plastic tools. Metal tools can scratch the body.
- Missing fasteners: Double-check for hidden bolts or clips. Missing one can crack the flare when pulling.
- Ignoring rust: If you see rust, treat it before installing new flares. Rust spreads quickly and can damage your Jeep’s body.
Extra tip: If you plan to reuse the flares, keep all bolts and clips organized. Use a small box or bag and label each part.

What To Do After Removal
Once the flares are off, inspect the mounting area. Some Jeeps have holes left behind; you can plug these with rubber grommets or fill them before painting. If you plan to upgrade to aftermarket flares, check the instructions—they may require drilling or new hardware.
| Aftermarket Flare Type | Requires Drilling? | Hardware Included? |
|---|---|---|
| OEM-Style | No | Yes |
| Heavy-Duty Steel | Sometimes | Yes |
| Wide Flare | Rarely | Yes |
Non-obvious Insights
- Weather matters: Removing flares in cold weather can make plastic brittle and easier to crack. Try to work when it’s above 50°F.
- Hidden rust spots: Many Jeep owners find rust behind the flares. It’s smart to check and fix these spots before installing new flares.

Frequently Asked Questions
How Long Does It Take To Remove Jeep Wrangler Fender Flares?
Most people finish in 1–2 hours. If you’re new, plan extra time for cleaning and organizing parts.
Do I Need To Remove The Wheels To Take Off The Flares?
For front flares, wheels can stay on. For rear flares, removing the wheel makes access easier, especially on newer models.
Are All Jeep Wrangler Fender Flares Removed The Same Way?
The basic process is similar, but the number of clips and bolts changes by model. Always check your Jeep’s manual for details.
Will Removing Fender Flares Damage My Jeep’s Paint?
If you use plastic tools and clean first, damage is unlikely. Avoid metal tools and harsh force.
Where Can I Buy Replacement Clips For My Fender Flares?
You can find clips at auto parts stores or online. Check Jeep’s official site for model-specific parts.
Removing Jeep Wrangler fender flares is a smart DIY project that can change your Jeep’s look and performance. With careful steps, the right tools, and attention to detail, you’ll get professional results and avoid common mistakes.
Take your time, organize your parts, and enjoy the process your Jeep will thank you.