If you own a Jeep Gladiator, you know how versatile this truck is. Many drivers want to remove the front bumper—maybe to add a winch, upgrade to an off-road bumper, or repair damage. The process can seem tough, especially if you’re new to car DIY. This guide walks you through each step, highlights common mistakes, and shares key tips that most beginners miss. You’ll learn how to safely remove your Gladiator’s front bumper without damaging your vehicle or wasting time.
Tools And Materials Needed
Before you start, gather these tools and materials:
- Socket wrench set (especially 10mm, 13mm, and 18mm sockets)
- Torx bit set (T15 and T20 often required)
- Flathead screwdriver
- Trim removal tool
- Ratchet extension
- Safety gloves
- Protective eyewear
Having the right tools matters. Many beginners try to use only basic wrenches, but specialty bits (like Torx) are required for some Jeep bumper bolts.

| Tool | Purpose | Common Mistake |
|---|---|---|
| Socket wrench set | Removes main bolts | Using wrong size |
| Torx bit set | Removes specialty screws | Skipping Torx screws |
| Trim removal tool | Pry off clips gently | Using screwdriver—damaging trim |
Preparation Steps
- Park on a flat surface. Ensure your Jeep Gladiator is stable. Set the parking brake.
- Disconnect the battery. Always unhook the negative terminal before working near wiring.
- Lift the Jeep (optional). If you have low clearance, use jack stands for extra room.
- Lay out your tools. Organize everything so you don’t search mid-task.
Many beginners skip disconnecting the battery. This can lead to accidental short circuits, especially if your bumper has lights or sensors.
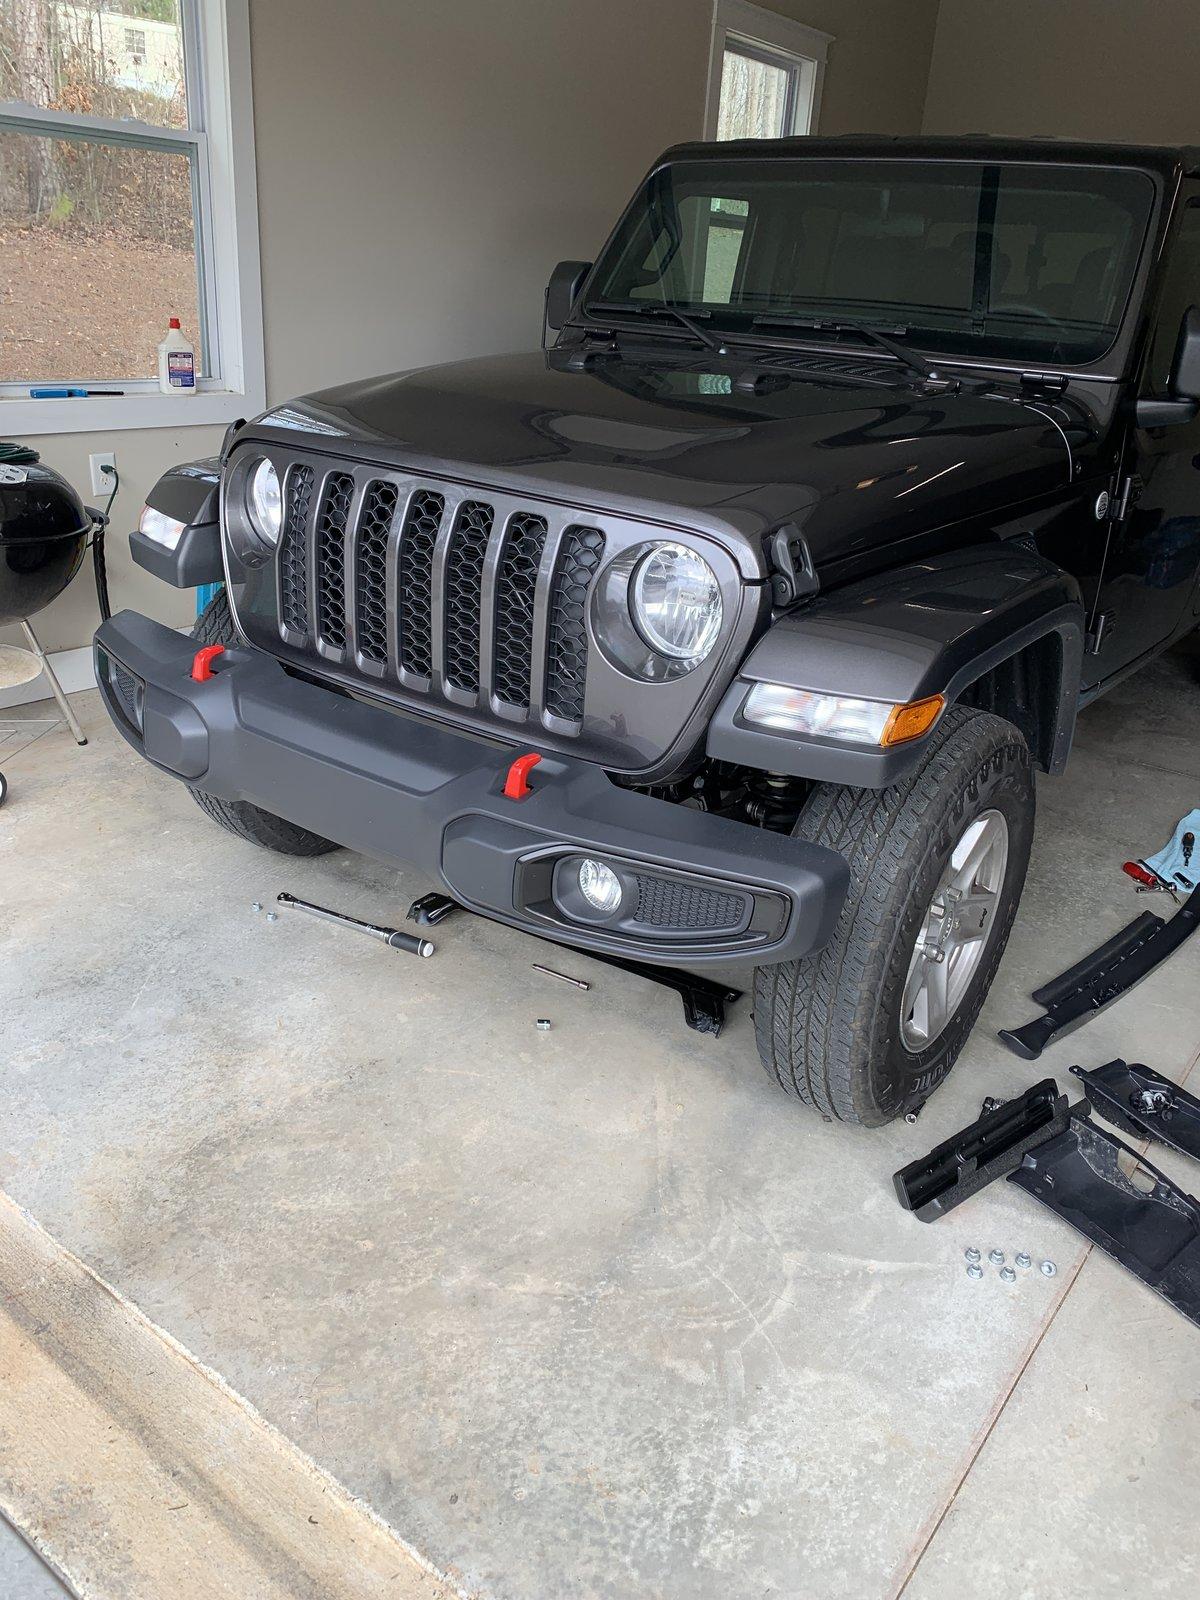
Removing The Jeep Gladiator Front Bumper
Step 1: Remove The Skid Plate
Most Gladiators have a front skid plate under the bumper.
- Use a 13mm socket to remove the four bolts holding the skid plate.
- Carefully pull down and set aside.
If your Gladiator doesn’t have a skid plate, skip this step.
Step 2: Unplug Fog Lights And Sensors
If your bumper has fog lights, parking sensors, or other electronics:
- Locate wiring harnesses behind the bumper.
- Use a flathead screwdriver to press the clip and disconnect the plug.
| Component | Location | Removal Tip |
|---|---|---|
| Fog light harness | Driver/passenger side | Press clip before pulling |
| Sensor wiring | Center bumper | Check for hidden wires |
Common mistake: Pulling wires too hard—always press the release clip.
Step 3: Remove The Bumper Bolts
Locate the main bolts connecting the bumper to the frame:
- There are typically eight main bolts (four per side, usually 18mm).
- Use your ratchet extension for hard-to-reach bolts.
Start with the outer bolts, then remove the inner bolts. Support the bumper as you loosen the final bolts.
Step 4: Remove Plastic Clips And Trim
Some Gladiator models have plastic clips or trim pieces:
- Use a trim removal tool to pop out clips along the top and bottom of the bumper.
- Remove any attached splash guards.
Avoid using a metal screwdriver, which can scratch paint.
Step 5: Pull Off The Bumper
With bolts and clips removed, gently pull the bumper forward.
- It may be heavy—get help if needed.
- Watch for any remaining wires or clips.
Do not force the bumper off. If it sticks, double-check for missed bolts or clips.
Practical Tips For A Smooth Removal
- Label bolts and clips. Use bags or tape so you remember where each piece goes.
- Take photos before removal. This helps you reinstall later.
- Check for rust. If bolts are stuck, spray penetrating oil and wait 10 minutes.
- Work slowly. Rushing often leads to broken clips or scratched paint.
Non-obvious insight: Some Gladiator bumpers have hidden bolts behind the fog light housings. Always check inside the bumper cavity with a flashlight.

Comparing Aftermarket And Oem Bumpers
If you’re replacing your bumper, it’s helpful to compare options. Here’s a quick data table:
| Bumper Type | Material | Weight | Winch-Ready |
|---|---|---|---|
| OEM Factory | Plastic/Steel | ~40 lbs | No |
| Aftermarket Steel | Steel | ~70 lbs | Yes |
| Aluminum Off-Road | Aluminum | ~35 lbs | Yes |
Aftermarket bumpers are often heavier and tougher, but may require additional brackets or wiring changes.
Safety And Mistakes To Avoid
- Do not reuse damaged bolts. Weak bolts can fail during off-roading.
- Don’t skip wiring checks. Leaving wires attached can break connectors.
- Avoid over-tightening on reinstallation. This can strip threads.
Many beginners forget to check for hidden clips inside the bumper. If you feel resistance, stop and inspect.
Frequently Asked Questions
How Long Does It Take To Remove A Jeep Gladiator Front Bumper?
Most people need 1 to 2 hours. Experienced mechanics can do it faster. Beginners should plan for extra time to avoid mistakes.
Can I Remove The Bumper Without Special Tools?
You need Torx bits and a socket wrench set. Basic tools are not enough for some factory bolts. Having the right tools prevents damage.
Will Removing The Bumper Affect Airbag Sensors?
No, the front bumper removal does not affect airbag sensors directly. But always disconnect the battery before working near sensors.
Is It Safe To Drive Without A Front Bumper?
Driving without a bumper is not recommended. It exposes important parts and can be illegal in some states.
Where Can I Find Official Jeep Gladiator Bumper Removal Instructions?
The official Jeep Gladiator owner’s manual or Jeep’s official website has step-by-step instructions and diagrams for your exact model.
Removing your Jeep Gladiator’s front bumper is a manageable task when you follow each step and use the right tools. Take your time, keep safety in mind, and double-check every connection. Whether you’re upgrading or repairing, careful removal helps keep your truck in top shape.
With these tips and insights, you’ll avoid common mistakes and finish the job smoothly.