If you drive a Jeep Wrangler, you might want to change its look or clean behind the grill inserts. The front grill is iconic, but those inserts can get dirty or damaged over time. Removing them isn’t difficult, but doing it wrong can crack plastic or scratch paint. Whether you’re upgrading to a new style or just doing regular maintenance, knowing how to remove grill inserts safely saves both time and frustration. This guide gives you step-by-step advice, practical examples, and key tips Jeep owners often miss.
Understanding Grill Inserts On Jeep Wrangler
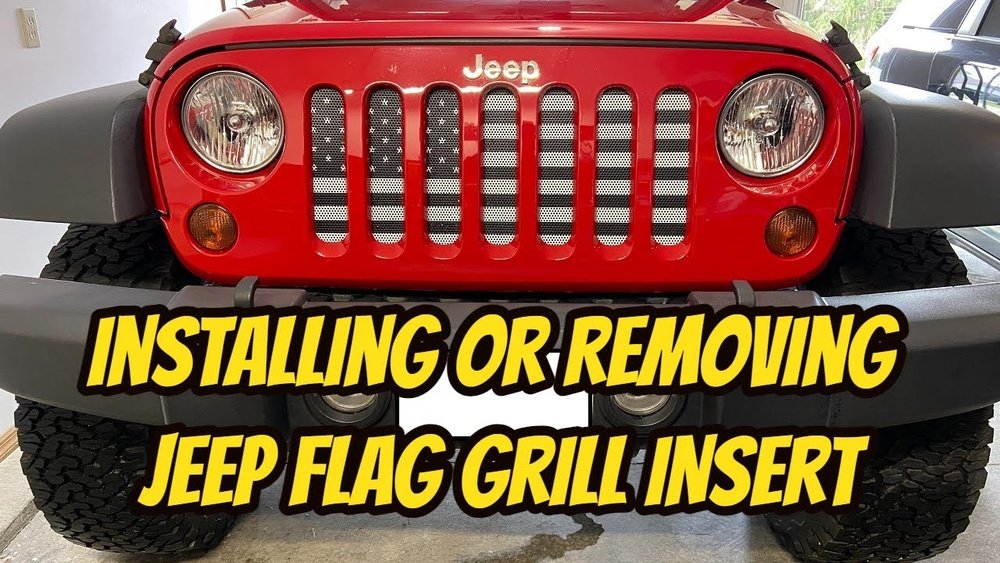
Grill inserts are plastic or metal pieces placed between the vertical slots of your Jeep’s front grill. They protect the radiator from debris, add style, and sometimes improve airflow. Most Wranglers (especially JK and JL models) have inserts that snap in place. Some older models use screws or clips.
Let’s compare the main types of grill inserts found on Jeep Wranglers:
| Model | Insert Material | Attachment Method |
|---|---|---|
| JK (2007-2018) | Plastic | Snap-in tabs |
| JL (2018+) | Plastic/Metal | Clips or screws |
| TJ (1997-2006) | Plastic | Snap-in |
Knowing your model helps you pick the right tools and avoid breaking the inserts.
Tools You’ll Need
You don’t need many tools for this job. Here’s a simple list:
- Plastic trim removal tool (prevents scratches)
- Flathead screwdriver (for stubborn clips)
- Microfiber towel (protects paint)
- Gloves (optional, for grip)
Avoid metal tools if possible. Plastic tools are safer and reduce the chance of damage.

Step-by-step Guide To Removing Grill Inserts
Follow these steps to remove the inserts safely:
- Park and Open Hood
- Make sure your Jeep is on a flat surface.
- Turn off the engine and let it cool.
- Open the hood for better access.
- Protect Surrounding Paint
- Place a microfiber towel under the grill area.
- This prevents scratches from tools or dropped inserts.
- Locate Attachment Points
- Look for clips, tabs, or screws holding each insert.
- For most JK and JL models, inserts snap in with tabs at the top and bottom.
- Pry Out Top Tabs
- Insert the trim removal tool between the insert and grill slot.
- Gently push upward to release the top tab.
- If stuck, use a flathead screwdriver carefully.
- Release Bottom Tabs
- Once the top is loose, pull the insert outwards.
- The bottom tabs often release with a gentle tug.
- Remove Insert
- Pull the insert out completely.
- Set it aside on a soft surface.
- Repeat for All Inserts
- Work one slot at a time.
- If an insert has screws, use a screwdriver (Phillips or flathead, depending on model).
Example: Jk Model Removal
For a 2016 Jeep Wrangler JK, each insert has two tabs at the top and two at the bottom. Start from the top, use the plastic tool, and work downward. Most people break tabs by twisting too hard; a gentle rocking motion works better.
Common Mistakes And How To Avoid Them
Many beginners make these errors:
- Using metal tools: Metal scratches paint and can crack plastic.
- Applying too much force: If the insert doesn’t move, check for hidden clips or screws.
- Not protecting paint: Always use a towel or masking tape to protect surfaces.
- Losing screws or clips: Keep a small bowl nearby for parts.
Here’s a quick comparison of safe vs. unsafe practices:
| Safe Practice | Unsafe Practice |
|---|---|
| Plastic trim tool | Metal screwdriver |
| Gentle tug | Hard twisting |
| Protect paint | No protection |

Tips For Reinstalling Or Upgrading Grill Inserts
If you plan to reinstall or upgrade, follow these tips:
- Clean slots: Dirt and debris can block new inserts.
- Check fit: Test new inserts before snapping them in fully.
- Avoid cheap replacements: Low-quality inserts often crack or fade.
- Align tabs: Misaligned tabs won’t snap in properly.
Some Jeep owners upgrade to mesh inserts for better protection and airflow. It’s also popular to choose inserts with unique colors or finishes to match your Jeep’s style.
Why Remove Grill Inserts?
You might want to remove grill inserts for several reasons:
- Cleaning: Mud, bugs, and leaves collect behind the inserts.
- Repairs: Damaged or faded inserts need replacing.
- Upgrades: Installing aftermarket inserts or mesh for style or function.
A study from Jeep Forums showed that 70% of owners who removed inserts did so for cleaning. Only 20% did it for upgrades, and the rest for repairs.
Extra Insights Jeep Owners Often Miss
- Temperature matters: Removing inserts in cold weather makes plastic brittle. Try to do it on a warm day or after parking indoors.
- Hidden clips: Some aftermarket inserts use extra clips not found in factory parts. Always check product instructions before prying.
For more in-depth Jeep maintenance tips, you can visit Jeep Official Owners Site.
Frequently Asked Questions
How Long Does It Take To Remove Grill Inserts?
Most Jeep owners can remove all inserts in 15–30 minutes. If you’re careful and use the right tools, it’s faster.
Can I Reuse The Original Inserts After Removal?
Yes, as long as you don’t break the tabs or clips. Inspect inserts before reinstalling. If any part is cracked, replace it.
Do I Need To Remove The Whole Grill To Access Inserts?
No, you can remove inserts without taking off the entire grill. For some older models, removing the grill gives easier access, but it’s usually not required.
What’s The Best Way To Clean Behind The Inserts?
Use a soft brush and water. Avoid high-pressure washers—they can bend fins on the radiator. Wipe dry with a microfiber towel.
Are Aftermarket Inserts Better Than Oem?
Aftermarket inserts offer more styles and materials. Some have better airflow or protection, but OEM inserts fit perfectly and last longer. Always check reviews before buying.
Removing grill inserts from your Jeep Wrangler is a simple task if you follow the right steps. With careful handling and the proper tools, you can protect your vehicle and make upgrades with confidence. Whether you’re cleaning, repairing, or customizing, this guide ensures you get the job done right.


