Building your own remote control Jeep is a fun project for anyone who loves cars, electronics, or just wants to try something creative. You don’t need to be an expert. With the right tools, some patience, and clear instructions, you can create a working model that looks and drives like a real Jeep. This guide will show you step-by-step how to make a remote control Jeep from scratch, including parts, assembly, wiring, and troubleshooting. Along the way, you’ll learn practical tips that most beginners miss, so your Jeep performs well and lasts longer.
Choosing The Right Parts
Before starting, it’s important to pick the right parts. If you use poor quality or mismatched pieces, your Jeep may not work well.
| Component | Recommended Specs | Typical Price |
|---|---|---|
| Chassis | Plastic or metal, 1:10 scale | $20–$40 |
| Wheels & Tires | Rubber, 4-inch diameter | $10–$25 |
| Motor | DC 12V, 200–300 RPM | $15–$30 |
| Servo | Standard, 5–7kg torque | $10–$20 |
| Remote & Receiver | 2.4GHz, 2 channels | $20–$35 |
| Battery | Li-ion, 7.4V, 1500mAh | $15–$25 |
Most hobby stores sell remote control kits, but for a Jeep, you’ll want parts that give good ground clearance and power. Don’t forget a body shell that looks like a Jeep. Buying everything separately lets you customize, but kits are easier for beginners.
Assembling The Chassis And Wheels
Start by putting together the chassis. This is the frame that holds everything. Make sure it’s straight and strong, because a weak chassis can break easily.
- Attach the axles to the chassis.
- Fix the wheels onto the axles. Tighten the nuts so wheels spin smoothly but don’t wobble.
- Check the ground clearance. Jeeps need extra space under the body for off-road driving.
If your wheels are too small, your Jeep may not go over rough surfaces. Bigger wheels can help, but don’t use tires that are too heavy for your motor.

Installing The Motor And Steering
Your Jeep needs a motor for movement and a servo for steering.
- Place the motor in the center or rear of the chassis. Connect it to the rear wheels with gears or a drive shaft.
- Mount the servo near the front axle. This will control the steering. Make sure the servo arm is aligned with the wheels.
Many beginners forget to test the motor and servo before assembly. Try running them briefly to check for noise or vibration. If you hear grinding, adjust the gears.
| Motor Type | Speed (RPM) | Torque (kg/cm) | Best For |
|---|---|---|---|
| Brushed | 200–300 | 1.5–3 | Beginners, easy setup |
| Brushless | 400–600 | 3–6 | Advanced, higher speed |
A brushed motor is easier to wire, but brushless motors last longer and give more power.
Wiring The Electronics
Now connect the battery, remote receiver, motor, and servo. This step needs care, because bad wiring can cause short circuits or weak signals.
- Connect the battery to the electronic speed controller (ESC).
- Attach ESC to the motor.
- Plug the servo and ESC into the receiver.
- Place the receiver away from the motor to avoid interference.
- Use zip ties to secure wires, so they don’t touch moving parts.
If your Jeep doesn’t respond to remote signals, check the antenna and battery charge. Low voltage can make the Jeep slow or unresponsive.
| Component | Common Mistakes | How to Fix |
|---|---|---|
| Battery | Wrong voltage | Use correct battery (7.4V) |
| Receiver | Antenna too close to motor | Move receiver further away |
| ESC | Loose wires | Tighten and secure connections |

Finishing Touches And Testing
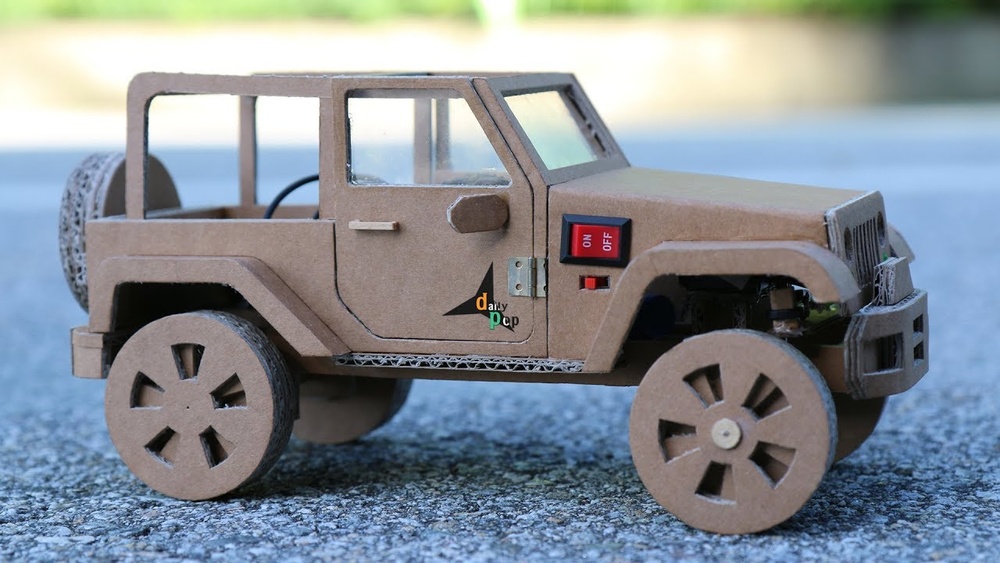
Once your Jeep is wired, fit the body shell. Use small screws or clips to hold it in place. Paint your Jeep if you want a custom look.
Before driving, test the controls:
- Turn on the remote and battery.
- Check the steering left and right.
- Accelerate slowly, then brake.
Try your Jeep on different surfaces. Avoid deep water or mud, as electronics can get damaged.
Here are two things many beginners forget:
- Balance the weight. If your Jeep is too heavy in front or back, it may tip over. Place the battery near the center.
- Lubricate moving parts. A small drop of oil on the axles and gears helps them last longer.
For more advanced tips or troubleshooting, hobby forums and guides like Wikipedia can be helpful.
Frequently Asked Questions
How Long Does It Take To Build A Remote Control Jeep?
Most people need about 3–5 hours for assembly and wiring. Painting and decorating can add another hour. Beginners should take it slow to avoid mistakes.
What Is The Best Battery For A Remote Control Jeep?
A 7.4V Li-ion battery with 1500–2000mAh capacity is ideal. It gives enough power for 30–40 minutes of driving. Higher capacity batteries last longer but are heavier.
Can I Use A Normal Car Motor?
No. Regular car motors are too large and need much higher voltage. Use a DC hobby motor made for remote control vehicles.
How Far Can My Jeep Go With A Remote?
With a 2.4GHz remote, most Jeeps can drive 50–100 meters from the controller. Obstacles like walls or trees can reduce the range.
What Are Common Mistakes When Building A Remote Control Jeep?
Some frequent errors are wrong wiring, loose wheels, and poor weight balance. Always double-check connections and test each part before final assembly.
Building your own remote control Jeep is not just a hobby—it’s a learning experience. With careful planning, the right parts, and a little patience, you can enjoy hours of fun and creativity. Remember, each Jeep is unique, so experiment, test, and improve.
You’ll soon have a Jeep that looks great and runs smoothly on any terrain.