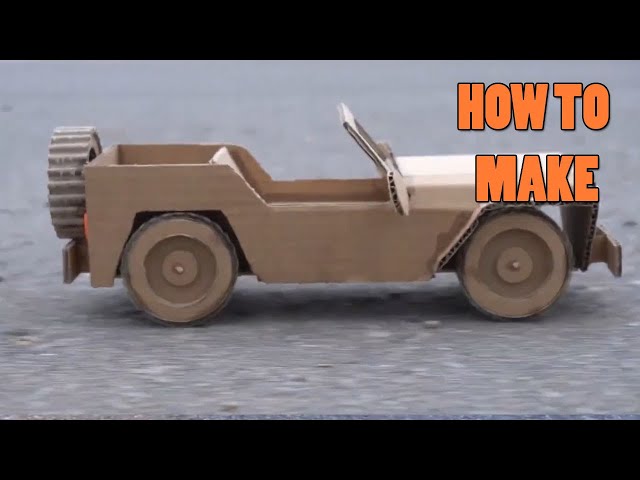
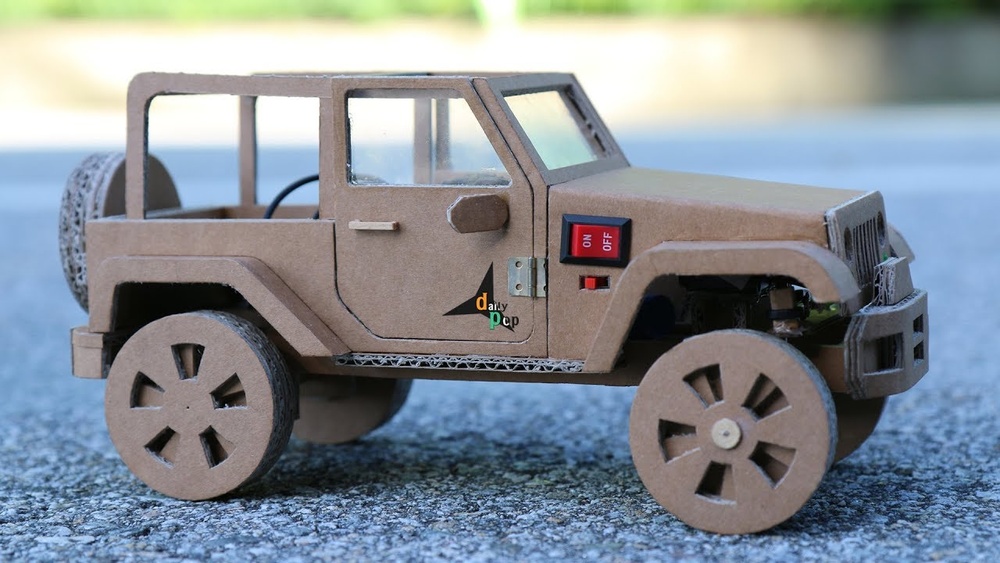
Building a jeep out of cardboard is a fun and rewarding project. It’s a creative way to recycle materials, and it can be a memorable craft for both kids and adults. With the right approach, you can make a sturdy, realistic model that not only looks great but can also be used for play or display.
Let’s break down the steps and tips you need to create your own cardboard jeep.
Planning Your Cardboard Jeep
Before you start cutting and gluing, it’s important to plan your project. Decide the size of the jeep based on who will use it. For example, a child-sized ride-on jeep will need to be much bigger than a desktop model. Most home projects use boxes from appliances or large shipments for a child-sized version.
Draw a simple sketch of the jeep you want to build. Mark out the main parts: body, hood, doors, wheels, and windshield. This will help you know how much cardboard you need and what shapes to cut.
Materials And Tools Needed
Gathering the right materials will make your work easier:
- Large cardboard sheets (from boxes)
- Strong glue (hot glue is best)
- Packing tape
- Box cutter or scissors
- Ruler and pencil
- Paint and brushes
- Plastic bottle caps or CDs (for wheels)
- Wooden skewers or dowels (for axles)
- Markers or stickers (for decoration)
If you want the jeep to carry weight (like a child), double up the cardboard layers for extra strength.
Step-by-step Guide To Building A Cardboard Jeep
Let’s look at how to make a simple but impressive cardboard jeep.
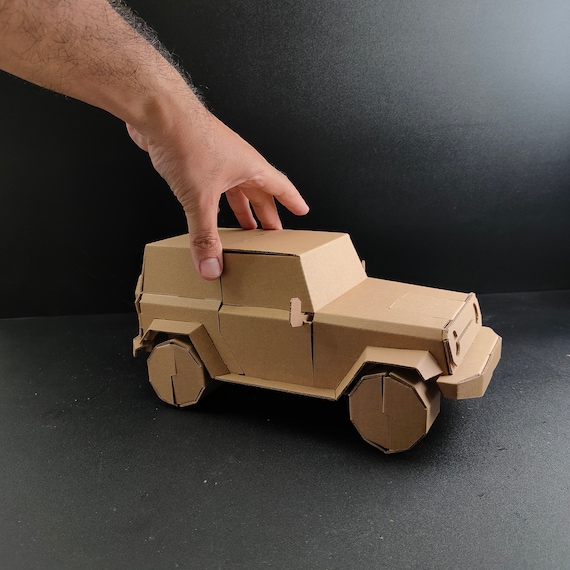
1. Build The Main Body
Start by making a rectangular box that will be the main chassis. Measure and cut two long side panels, a floor, a back panel, and a front panel. Use glue and tape to hold them together firmly.
For a ride-on jeep, make sure the box is big enough for a child to sit inside. Reinforce the bottom with extra layers if needed.
2. Shape The Front And Hood
The hood gives the jeep its classic look. Cut a slanted panel for the hood and attach it to the front of the box. You can use small cardboard strips inside as braces so the hood holds its shape.
Don’t forget to leave space for a windshield. You can create a simple windshield frame using thin strips of cardboard.
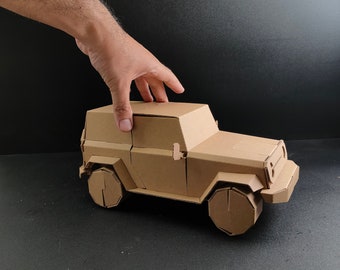
3. Add Doors And Fenders
Cut out doors on each side. If you want working doors, attach them with tape so they open and close. Add fenders above the wheels by bending strips of cardboard into arches and gluing them above each wheel area.
4. Make And Attach The Wheels
Wheels can be made from plastic bottle caps, old CDs, or thick round cardboard discs. For a realistic look, use CDs and cover them with black paper or paint. Attach the wheels to the jeep body using wooden skewers or dowels as axles.
Here’s how some wheel materials compare:
| Wheel Material | Strength | Look | Ease of Attachment |
|---|---|---|---|
| Plastic bottle caps | Medium | Simple | Easy |
| CDs/DVDs | High | Realistic | Moderate |
| Cardboard discs | Low | Customizable | Easy |
5. Build The Details
To make your jeep stand out, add details like:
- Headlights (bottle caps painted silver)
- Grill (drawn or made with glued-on strips)
- Spare tire (a small cardboard circle attached to the back)
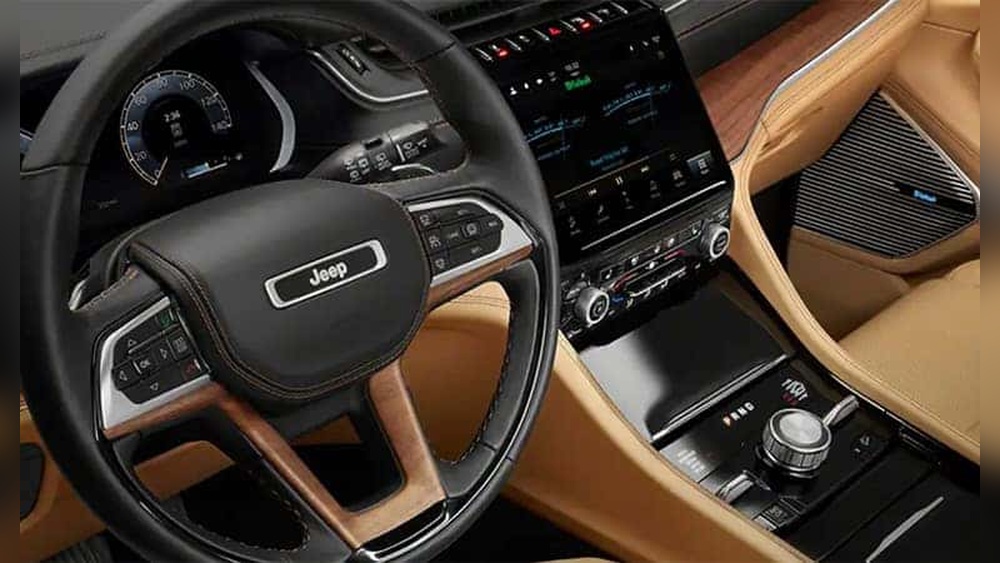
- Steering wheel (a small circle glued inside)
If you want windows, you can cut out openings or use clear plastic sheets.
Painting And Decorating
Once the structure is complete, it’s time to paint. Use acrylic paint for bold, long-lasting colors. Let each layer dry before adding another to avoid soggy cardboard. Add decals, stickers, or draw designs for a personal touch.
Here’s a quick look at paint types you might consider:
| Paint Type | Dry Time | Finish | Water Resistance |
|---|---|---|---|
| Acrylic | Fast | Matte/Glossy | Good |
| Tempera | Medium | Matte | Poor |
| Spray paint | Very Fast | Glossy | Very Good |
For safety, always paint in a well-ventilated area. If children are painting, choose non-toxic paints.
Tips For Making A Durable Cardboard Jeep
A common beginner mistake is using thin or weak cardboard. Choose double-wall boxes for better strength. Reinforce corners and base with extra strips of cardboard glued at right angles.
If your jeep will be used outdoors or for rough play, cover it with a thin layer of clear tape or a coat of clear varnish. This protects against moisture and helps the paint last longer.
Another tip: pre-fold all your bends before gluing. This prevents cracks and makes the lines sharper.
Inspiring Variations
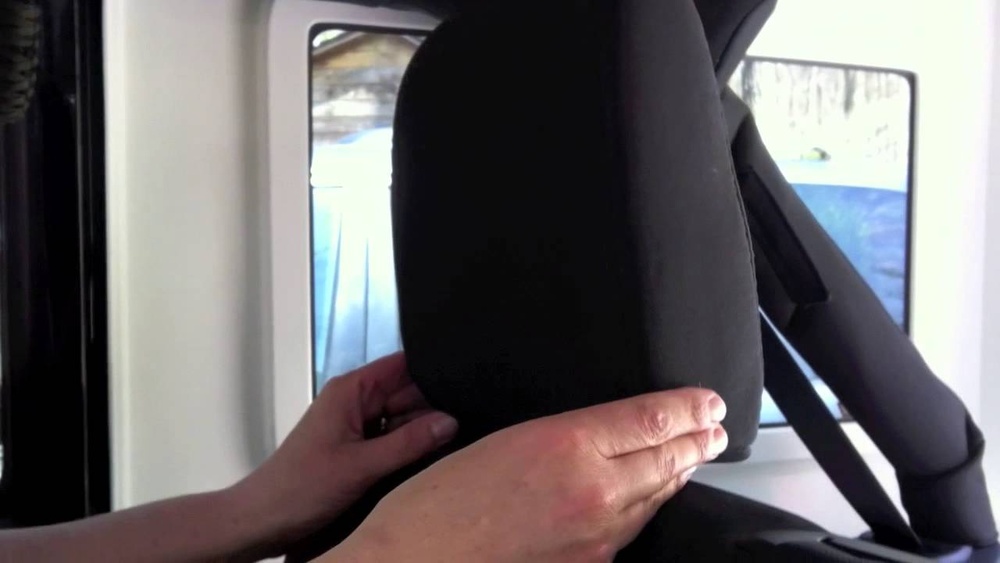
Don’t be afraid to experiment. Try adding a removable roof, or build headlights that actually light up using small LED tea lights. Some builders use colored paper or foam to add extra details like seats or dashboard controls.
You can also look up images of real jeeps for inspiration, from classic military jeeps to modern SUVs. Adjust the design to fit your favorite style.
Frequently Asked Questions
How Long Does It Take To Build A Cardboard Jeep?
For a simple model, expect to spend about 3 to 5 hours from start to finish. Adding more details or making a large, ride-on version can take a full day.
What Is The Best Glue To Use?
Hot glue is the best option because it dries quickly and holds well. For kids, white craft glue is safer but takes longer to dry.
Can I Make The Wheels Turn?
Yes, by attaching the wheels to a wooden dowel and running it through holes in the body, you can make working wheels. Secure the ends so the wheels spin but the dowel stays in place.
How Do I Make My Jeep Waterproof?
Cover the finished jeep with clear packing tape or use a water-based varnish. This helps protect against spills or light rain, but cardboard will never be fully waterproof.
Where Can I Find More Detailed Designs?
Check out websites like Instructables for step-by-step guides and photos from other builders.
Building a jeep with cardboard isn’t just about following steps—it’s about using your creativity and learning as you go. Whether your goal is a tough toy or a cool display piece, these methods will help you craft something unique and fun.