Inspecting control arm bushings is a key part of keeping your vehicle safe and comfortable. The control arm bushings connect the car’s suspension to the frame, helping absorb road bumps and keeping the wheels aligned. Worn bushings can cause uneven tire wear, steering problems, and noisy rides. If you want to check them yourself, knowing the signs and inspection steps can save you money and prevent bigger issues.
What Are Control Arm Bushings?
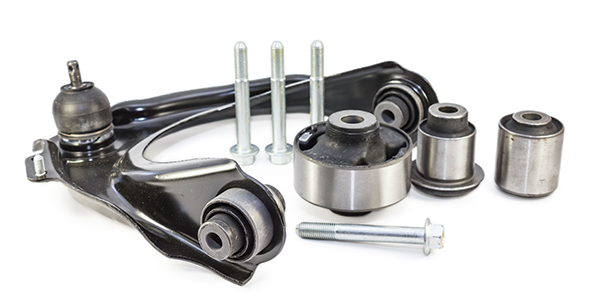
Control arm bushings are small rubber or polyurethane parts placed between the control arm and the car frame. Their main job is to reduce vibration and allow the suspension to move smoothly. Most cars use rubber bushings because they are quiet and cheap, but some high-performance cars use polyurethane bushings for better handling.
Here’s a quick comparison of common bushing materials:
| Type | Durability | Noise | Cost |
|---|---|---|---|
| Rubber | Moderate | Low | Low |
| Polyurethane | High | Medium | Medium |
| Solid Metal | Very High | High | High |
Signs Of Worn Control Arm Bushings
You don’t need to be a mechanic to spot problems with bushings. Some common signs include:
- Clunking noises: When you drive over bumps or make turns.
- Vibration: Felt in the steering wheel, especially at higher speeds.
- Uneven tire wear: Bushings affect wheel alignment, so tires wear faster on one side.
- Poor handling: The car may feel loose or wander on the road.
If you notice these symptoms, it’s time to inspect the bushings.
Tools You Need
Inspecting control arm bushings doesn’t require expensive equipment. You will need:
- Flashlight: For seeing under the car.
- Jack and jack stands: To lift the vehicle safely.
- Pry bar: To gently test movement.
- Gloves: For safety.
- Wheel chocks: To prevent the car from rolling.
Step-by-step Inspection Guide
Follow these steps to check your control arm bushings:
1. Park And Prepare
Find a flat, safe place to work. Put on gloves, set wheel chocks, and turn off the engine.
2. Lift The Vehicle
Use a jack to raise the car. Always place jack stands under the frame before crawling underneath. Never rely only on the jack.
3. Locate The Control Arms
Control arms are usually found behind each front wheel. They connect the wheel hub to the car’s frame.
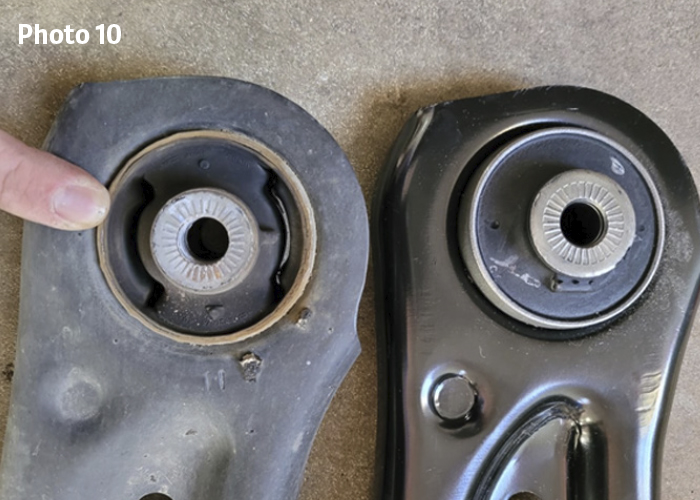
4. Visual Inspection
Look for obvious damage. Signs include:
- Cracked rubber
- Loose or missing bushings
- Leaking fluid (some bushings are fluid-filled)
Compare the left and right sides. Here’s what you might see:
| Condition | Visual Sign | Possible Cause |
|---|---|---|
| Good | Smooth, no cracks | Normal wear |
| Worn | Cracks, splits | Aging, heat |
| Damaged | Loose, missing | Impact, improper installation |
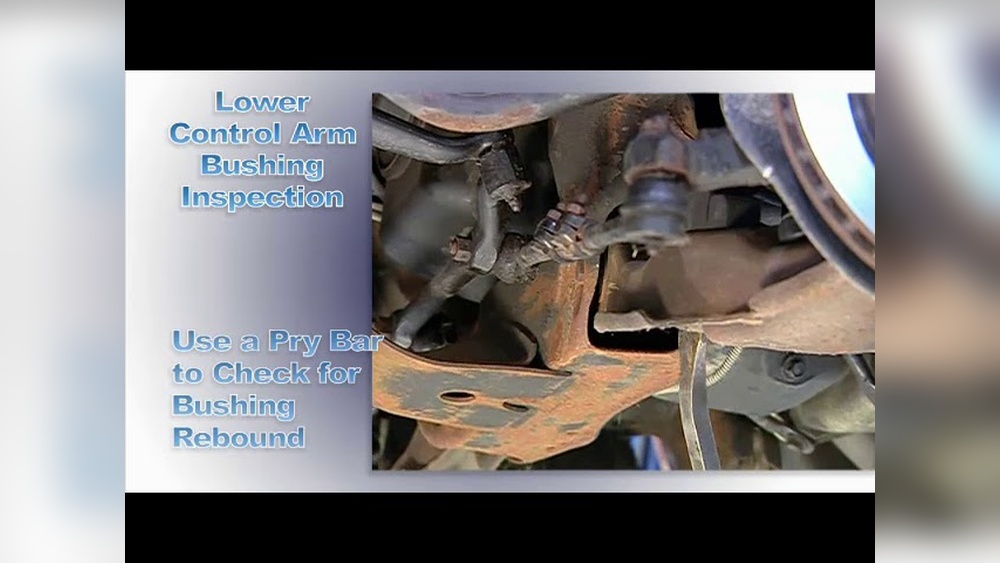
5. Physical Movement Test
Take a pry bar and gently push the control arm near the bushing. If it moves more than about 1/4 inch (6 mm), the bushing may be worn. Some movement is normal, but excessive play means the bushing is too soft or broken.
6. Check For Noise
Ask someone to turn the steering wheel while you watch the bushings. Listen for clunking or squeaking sounds. These noises often mean the bushing is not absorbing movement as it should.
7. Compare To Factory Specs
Check your vehicle’s manual for the normal movement range. If you don’t have this info, look for advice on trusted websites like WikiHow.
How Often Should You Inspect?
Most mechanics recommend inspecting control arm bushings every 30,000 to 50,000 miles. However, harsh driving conditions can cause faster wear. For example, driving on rough roads or in extreme temperatures may require checks every 20,000 miles.
Here’s a comparison of inspection frequency by driving conditions:
| Condition | Recommended Inspection |
|---|---|
| Normal city driving | Every 40,000 miles |
| Off-road/rough roads | Every 20,000 miles |
| Extreme heat/cold | Every 30,000 miles |
Extra Tips For Beginners
Many people miss these simple but important details:
- Clean the area first: Dirt can hide cracks and damage.
- Inspect both sides: Don’t assume both sides wear at the same rate.
- Check other suspension parts: Worn bushings may cause extra stress on ball joints or tie rods.
If you find damage, replace both bushings on the same axle. This keeps the suspension balanced.

When To Replace Vs. Repair
If bushings show minor cracks but no looseness, you may be able to drive for a while. However, if you notice movement, loud noises, or fluid leaks, replacement is best. Don’t just patch or glue bushings—this is unsafe.
Some shops offer polyurethane bushings for longer life, but these can be noisier. Always ask about warranty and expected lifespan before choosing new bushings.
Frequently Asked Questions
How Long Do Control Arm Bushings Last?
Most bushings last 50,000 to 100,000 miles, but this depends on driving conditions. Rough roads and heavy loads will shorten their life.
What Happens If I Ignore Worn Bushings?
Ignoring worn bushings can cause uneven tire wear, poor handling, and even loss of control. It can also damage other suspension parts.
Can I Drive With Cracked Bushings?
Small cracks may not be urgent, but if you notice movement or noise, it’s unsafe to drive. Replace bushings as soon as possible.
Are Polyurethane Bushings Better Than Rubber?
Polyurethane bushings last longer and improve handling, but they can be noisier and more expensive. Rubber bushings are quieter and cheaper, but wear faster.
Should I Replace Bushings Myself?
If you have mechanical experience and the right tools, you can replace bushings yourself. For most people, a mechanic is safer because special tools may be needed.
Inspecting control arm bushings regularly helps prevent costly repairs and keeps your car safe. Take your time, follow the steps, and don’t ignore warning signs. Checking bushings is a smart habit for every car owner.