Bleeding a clutch can feel intimidating if you have never done it before. However, the gravity bleed method is one of the simplest ways to remove air from a hydraulic clutch system.
It does not require special tools or a helper. With patience and a careful approach, you can restore proper clutch feel and performance at home.
What Is Gravity Bleeding?
Gravity bleeding uses the force of gravity to draw brake fluid through the clutch system. You open the bleed screw and let fluid flow down and out, carrying air bubbles with it.
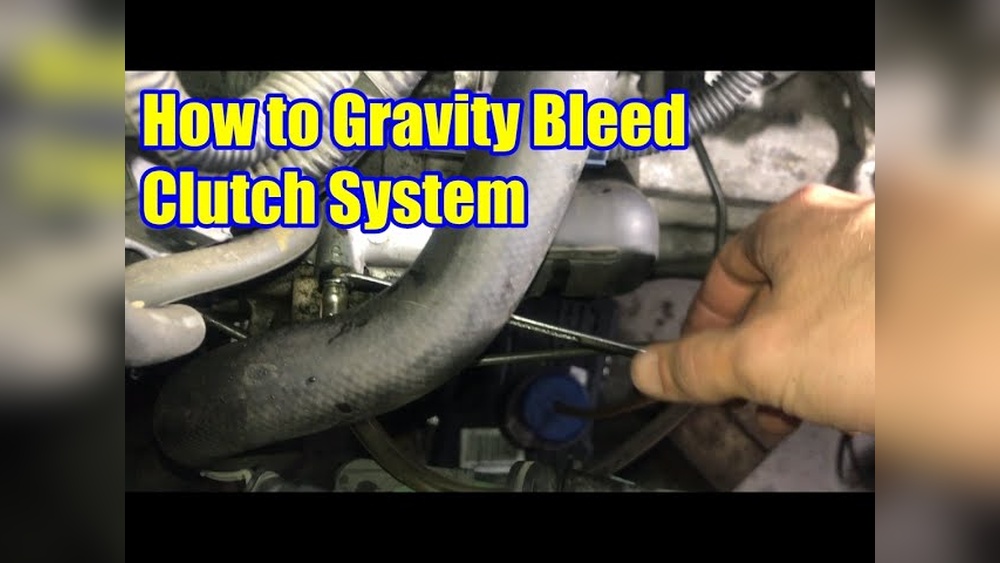
No pumping is needed. This method is especially useful for simple clutch systems and for those working alone.
When Should You Gravity Bleed A Clutch?
You should gravity bleed your clutch if:
- The clutch pedal feels spongy or soft.
- You recently replaced the clutch master or slave cylinder.
- You changed the clutch hydraulic line.
- Air entered the system during repairs.
If the system has heavy air or is completely empty, gravity bleeding might not be enough on its own. But for most small air bubbles, it works well and is a safe first step.
Tools And Materials Needed
Before starting, gather these items:
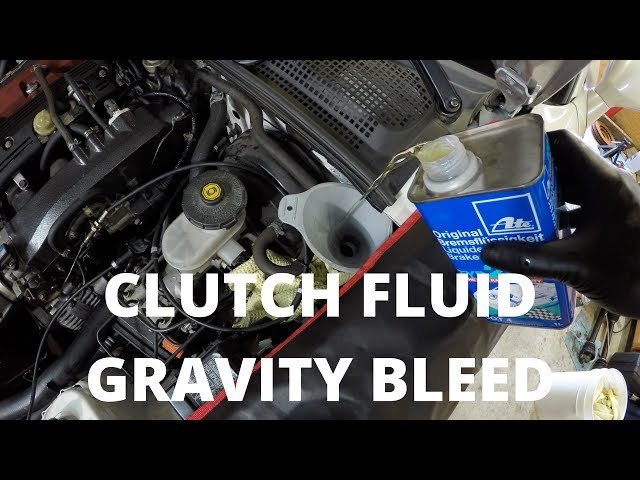
- New brake fluid (check your vehicle’s manual for the correct type, usually DOT 3 or 4)
- A small box-end wrench (usually 8mm, 10mm, or 11mm)
- Clear plastic tubing (about 2 feet long)
- Catch bottle or container
- Gloves and shop towels
- Safety glasses
Step-by-step Guide To Gravity Bleeding A Clutch
Follow these steps to perform a gravity bleed:
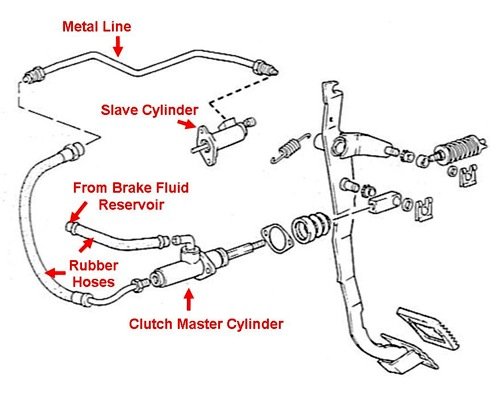
- Locate the clutch slave cylinder. It is usually on the transmission and has a small bleed nipple.
- Clean around the bleed screw with a rag to avoid dirt entering the system.
- Remove the master cylinder cap and check the fluid level. Top up if needed.
- Attach the clear tubing firmly over the bleed nipple. Place the other end into your catch container.
- Loosen the bleed screw (usually a quarter to half turn) using the box-end wrench. Fluid should start to slowly drip out.
- Let gravity do the work. Watch as fluid and air bubbles move through the tube. This can take 10–30 minutes.
- Monitor the fluid level in the master cylinder—never let it run dry, or you’ll introduce more air.
- Once only clear fluid (no bubbles) flows out, tighten the bleed screw.
- Remove the tubing and wipe any spilled fluid.
- Check the clutch pedal. It should feel firmer. If needed, repeat the process.
Example: Gravity Bleeding Time Vs. Manual Bleeding
Here’s a comparison to show how gravity bleeding stacks up:
| Method | Time Needed | Helper Needed? | Tools Required |
|---|---|---|---|
| Gravity Bleed | 10-30 min | No | Basic tools, catch bottle |
| Manual Pump Bleed | 5-10 min | Yes | Basic tools, 2 people |
| Pressure Bleed | 5-10 min | No | Pressure bleeder tool |
Tips For Best Results
- Always use fresh brake fluid. Old or contaminated fluid can damage seals.
- Bleeding is easier if the car is on a level surface.
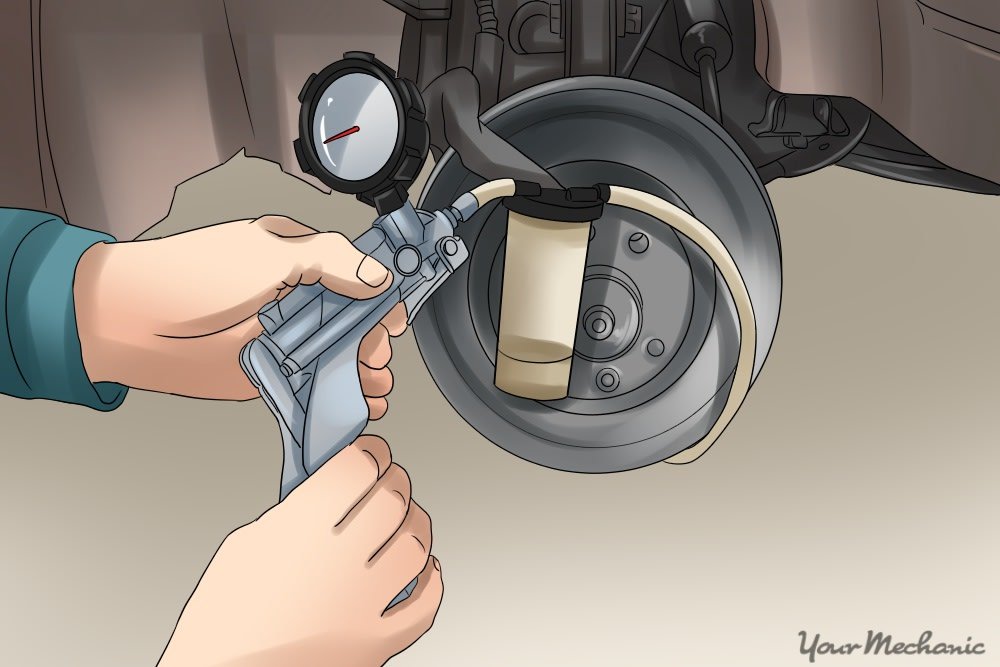
- If the clutch pedal is still soft, try a manual bleed after gravity bleeding.
- Take your time—rushing can introduce new air bubbles.
Common Mistakes To Avoid
Mistakes can make bleeding take longer or even damage the system:
- Letting the fluid reservoir run dry. This introduces more air.
- Over-tightening the bleed screw. This can strip threads or break the nipple.
- Using the wrong fluid type. Always check your owner’s manual.
- Ignoring leaks. Any leak means air can re-enter the system.
How Much Fluid Will You Use?
Most clutch systems take less than half a pint (about 250ml) to bleed. However, you should have at least 500ml on hand to be safe.
Fluid Usage Comparison
| System Type | Typical Fluid Used |
|---|---|
| Clutch only | 100–250 ml |
| Brake system (full flush) | 500–1000 ml |
Signs Of Successful Bleeding
You should notice these improvements after gravity bleeding:
- The clutch pedal feels firmer and more responsive.
- The pedal returns smoothly after you release it.
- You can shift gears easily, with no grinding or hesitation.
If you still have a soft pedal, repeat the process or try another method like manual bleeding.
Safety And Environmental Notes
Brake fluid is toxic and can damage paint. Always wear gloves and goggles.
Clean up spills right away and dispose of old fluid at a recycling center.
When To Seek Professional Help
If you:
- Can’t get a firm pedal after several tries
- See leaks from the slave or master cylinder
- Hear grinding or can’t shift gears
It’s best to have a mechanic check for deeper issues. Sometimes, parts need replacement, or more advanced bleeding methods are needed.
Frequently Asked Questions
What Is The Main Advantage Of Gravity Bleeding A Clutch?
The main advantage is simplicity. You don’t need special tools or a helper. Gravity does the work, making it perfect for home mechanics.
How Do I Know If All The Air Is Out Of My Clutch System?
You will see only clear fluid (no bubbles) coming out of the bleed tube. The clutch pedal should feel firm and normal. If it’s still soft, air may remain.
Can I Use The Same Fluid For The Clutch And Brakes?
Usually, yes—most cars use DOT 3 or DOT 4 brake fluid for both. Check your manual to be sure. Never mix different types.
What If Gravity Bleeding Does Not Work?
If gravity bleeding does not solve the problem, try manual bleeding or use a vacuum or pressure bleeder. Persistent problems may mean a leak or faulty part.
Where Can I Learn More About Clutch Bleeding Methods?
For more details and advanced techniques, visit the Wikipedia page on hydraulic clutches.
Gravity bleeding a clutch is a valuable skill for anyone who works on their own car. It’s simple, requires few tools, and can restore smooth clutch operation.
With care and patience, you’ll be back on the road with a responsive pedal and crisp gear changes.