Drawing an army jeep is a fun way to improve your sketching skills and learn about vehicle design. Many beginners struggle with drawing vehicles because of their complex shapes and details. But with simple steps, anyone can draw a realistic army jeep.
Whether you are a hobby artist, a student, or just want to make a cool picture, this guide will help you create a strong, accurate drawing. You will also learn some tips that most beginners miss, such as understanding proportions and adding realistic textures.
Understanding Army Jeep Design
Before you start drawing, it helps to know what makes an army jeep unique. These vehicles are used by military forces for transport and missions. They have a boxy shape, large tires, and tough features.
Here are some basic features of army jeeps:
- Boxy body
- Big, rugged tires
- Simple windshield
- Spare tire at the back
- Visible headlights
- Military markings (like stars or numbers)
Army jeeps are designed for rough terrain, so their shape is practical and strong. Understanding these features will help you draw a jeep that looks realistic.
| Feature | Army Jeep | Civilian SUV |
|---|---|---|
| Body Shape | Boxy, flat sides | Curved, smooth sides |
| Tires | Large, rugged | Medium, less rugged |
| Extras | Spare tire, markings | None or optional |
Materials You Need
To draw an army jeep, you only need a few basic supplies:
- Pencil (HB or 2B)
- Eraser
- Ruler
- Paper
- Colored pencils or markers (optional for color)
If you want your drawing to look more professional, use a ruler for straight lines. Colored pencils or markers help add detail, but they are not necessary for a basic sketch.

Step-by-step Drawing Process
Step 1: Sketch The Basic Shape
Start with the main body of the jeep. Draw a rectangle with rounded corners. This is the frame of the vehicle.
- Use a ruler for straight lines.
- Keep the body longer than it is tall.
Step 2: Add Wheels
Draw four circles for the tires. Place two at the front and two at the back. Make the tires large and slightly rugged, showing the jeep’s off-road ability.
- The front wheels should be closer to the corners.
- For realism, add a spare tire at the back.
Step 3: Draw The Windshield And Roof
Add a rectangle for the windshield on top of the body. Army jeeps have simple, flat windshields. Draw two thin lines for the roof supports.
- The windshield is smaller than the body.
- Make sure the angle matches the jeep’s design.
Step 4: Add Details
Now, add headlights, bumpers, and a grill at the front. Draw circles for headlights and a rectangle for the grill.
- Add small rectangles for the side mirrors.
- Draw lines for doors and windows.
- Place a star or number on the side to show military markings.
Step 5: Finalize And Shade
Go over your lines with a darker pencil to make them clear. Erase extra lines. Shade the tires to show depth. Add shadows under the jeep for realism.
- Use cross-hatching for texture on the tires.
- Add light shading to the body for a metallic look.
| Step | Key Focus | Common Beginner Mistake |
|---|---|---|
| Sketch Body | Proportions | Making body too small |
| Draw Wheels | Wheel size | Wheels too close together |
| Add Details | Headlights, markings | Forgetting military symbols |
Adding Realism: Tips Most Beginners Miss
Many beginner artists forget to check the proportions. Army jeeps have a longer body and larger tires than regular cars. Another detail is the texture. Use short lines to show the rough surface on tires and bumpers.
Some extra tips:
- Reference images: Use photos from the internet to check details.
- Perspective: Try drawing the jeep from different angles. Side view is easiest for beginners.
- Light source: Decide where the light comes from. Shade the opposite side for realism.
| Technique | Result |
|---|---|
| Cross-hatching | Rough texture |
| Layered shading | Depth and realism |
| Reference use | Accurate details |

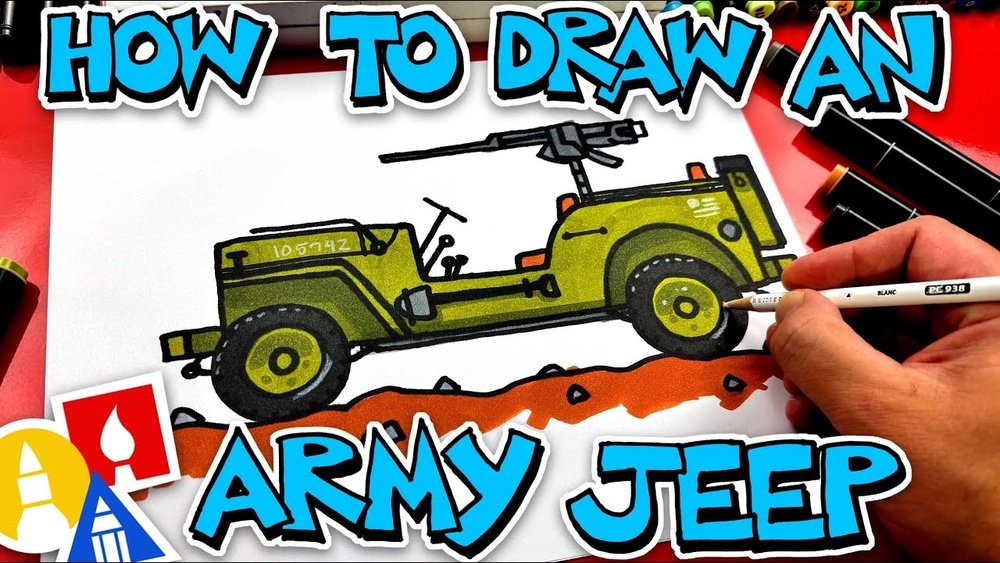
Coloring Your Army Jeep
If you want to add color, army jeeps are usually olive green or dark brown. Use colored pencils for a softer look or markers for bold lines. Add a white star or number to the side. Shade the tires black and add some gray for metal parts.
Some artists use digital tools, but traditional coloring gives a classic feel. For more tips and examples, you can check Wikipedia.
Frequently Asked Questions
How Long Does It Take To Draw An Army Jeep?
Most people can finish a basic drawing in 30–60 minutes. Adding details and color may take longer.
What Is The Best Angle For Beginners?
The side view is easiest. It shows the jeep’s shape and wheels clearly.
Can I Use A Pen Instead Of A Pencil?
Yes, but it’s harder to fix mistakes. Start with a pencil, then trace with pen if you want bold lines.
How Do I Make The Tires Look Realistic?
Use cross-hatching or short lines for texture. Make the tires slightly uneven to show wear.
What Size Should I Draw The Jeep?
A good size is 6–8 inches long on paper. This lets you add details without making the drawing too big.
Drawing an army jeep is both fun and educational. With these steps and tips, you can create a sketch that looks strong and true to the real vehicle. Remember to pay attention to proportions, use reference images, and add military markings.
With practice, your army jeep drawings will become more detailed and impressive.