Replacing the shift linkage bushings in your vehicle is one of those jobs that feels intimidating at first, but with the right guidance, it’s very manageable. Worn bushings can cause loose or sloppy gear shifting, making your drive less enjoyable and potentially unsafe. If you notice excessive play in your shifter or difficulty engaging gears, it’s likely time to change these small but important parts. This guide will walk you through the process clearly, step by step, so you can restore crisp shifting and save money on labor costs.
Understanding Shift Linkage Bushings
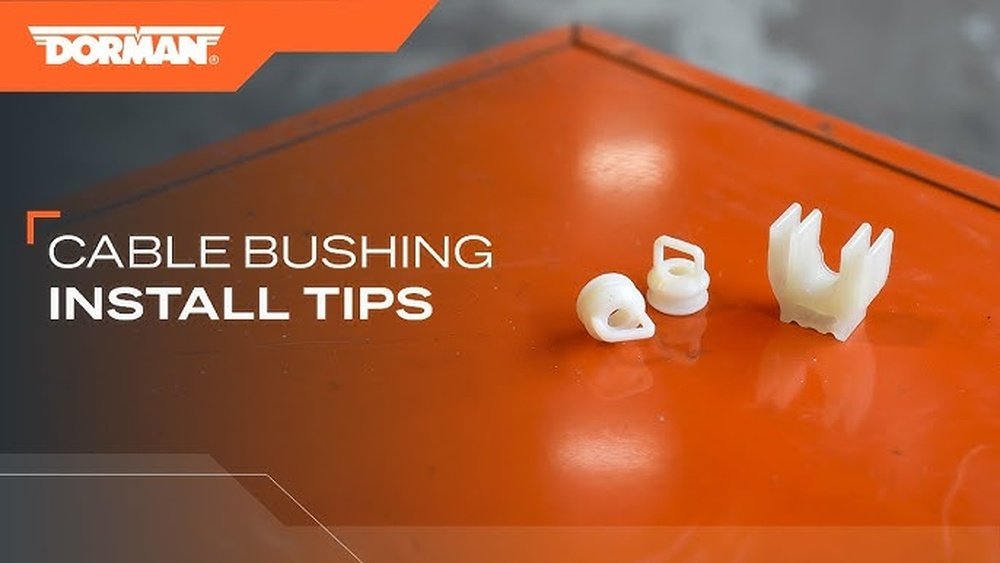
Shift linkage bushings are small parts, usually made of rubber or plastic, that cushion and connect the shift lever to the transmission. They absorb vibration and allow smooth movement. When these bushings wear out, the shifter can feel loose, making gear changes less precise.
Symptoms of worn bushings include:
- Shifter feels loose or floppy
- Difficulty finding gears
- Unusual noises when shifting
Many drivers overlook these symptoms, thinking it’s normal aging. However, changing bushings can bring back the original feel of your car’s shifter.
Tools And Materials You’ll Need
Before starting, gather these tools and materials:
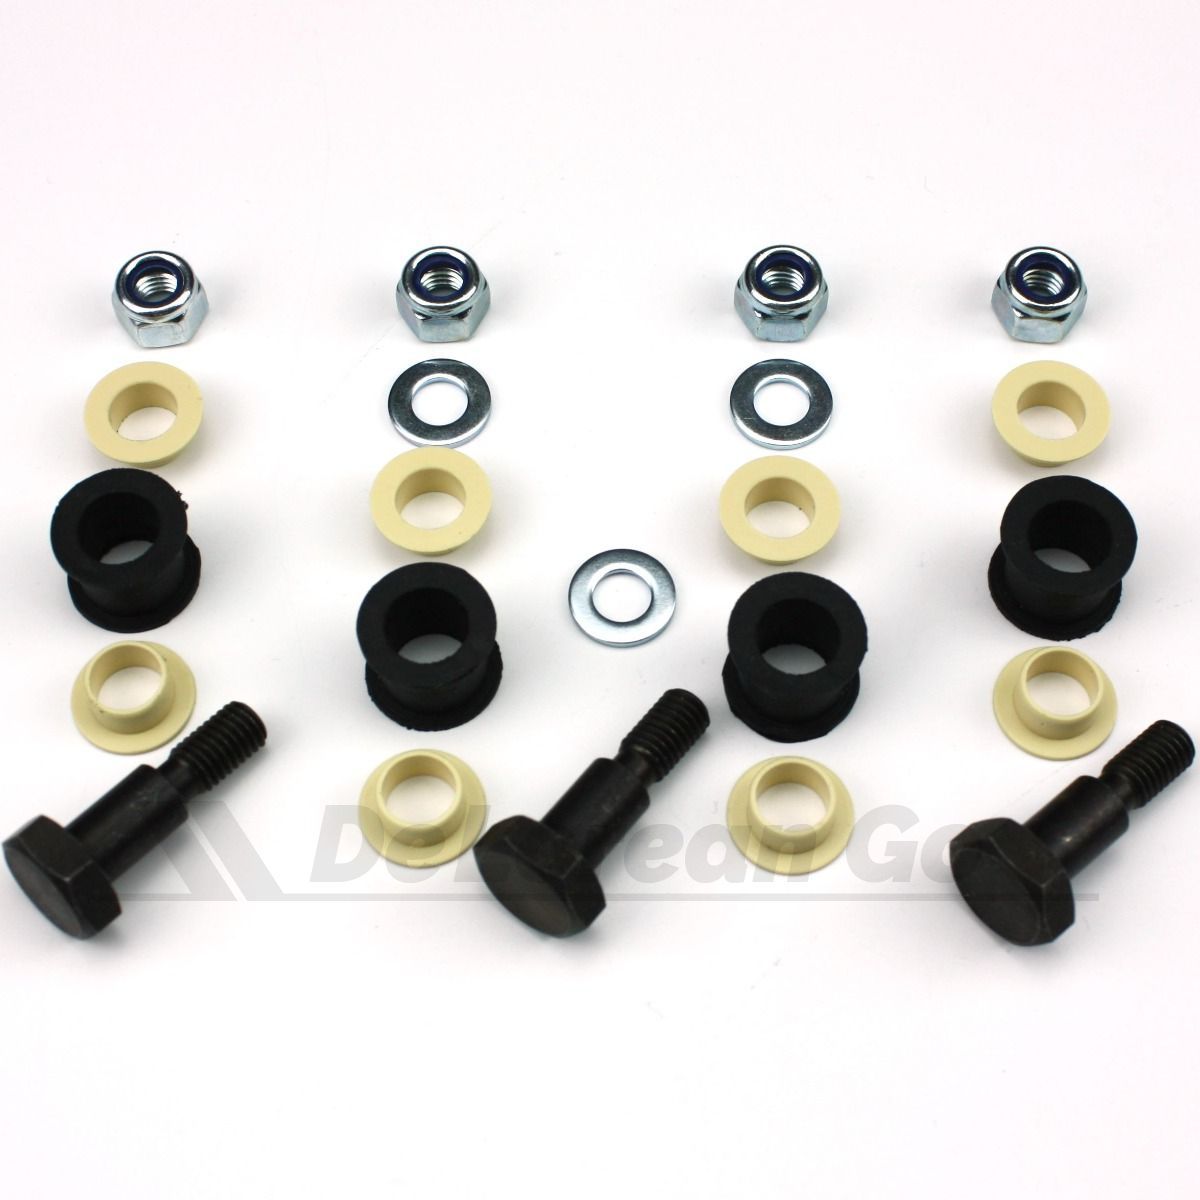
- New shift linkage bushings (vehicle-specific)
- Socket set and wrenches
- Flathead screwdriver
- Pliers
- Jack and jack stands (if needed)
- Penetrating oil
- Clean rags
- Grease or lubricant
It’s smart to check your vehicle’s manual for exact bushing types and locations. Some cars have multiple bushings, so buy a full set if needed.
| Tool | Purpose | Estimated Cost |
|---|---|---|
| Socket Set | Removing bolts | $25-$50 |
| Pliers | Removing clips | $10-$20 |
| Jack & Stands | Access under car | $40-$80 |
| Grease | Lubricating bushings | $5-$10 |

Step-by-step Guide To Changing Shift Linkage Bushings
Changing bushings is straightforward if you follow these steps carefully. Allow 1-2 hours for the job, depending on your experience.
1. Prepare Your Vehicle
- Park on a flat surface.
- Set the parking brake.
- If needed, raise the vehicle using a jack and secure with stands.
- Wear gloves for safety.
2. Locate The Shift Linkage
- Find the shift linkage underneath the car or inside the cabin, depending on your model.
- Look for the connection points where bushings are installed.
3. Remove The Old Bushings
- Spray penetrating oil on bolts and clips to loosen rust.
- Use a socket set or screwdriver to remove bolts holding the linkage.
- Carefully remove clips or pins with pliers.
- Pull out the old bushings; they may crumble or stick.
4. Clean And Inspect
- Wipe the linkage and surrounding area with a clean rag.
- Inspect for extra wear or damage—replace any parts if needed.
5. Install New Bushings
- Place new bushings into the linkage holes or slots.
- Some bushings require gentle tapping; use a flathead screwdriver.
- Apply grease for smooth movement.
- Reinstall clips, pins, and bolts tightly.
6. Test The Shifter
- Lower the vehicle if raised.
- Sit in the driver’s seat and test shifting through all gears.
- Look for smooth, direct movement with no play.
Practical Tips
- Take photos before removing parts to help with reassembly.
- If bushings are hard to fit, warm them slightly to soften.
- Avoid over-tightening bolts; it can damage bushings.
| Step | Time Estimate | Difficulty |
|---|---|---|
| Preparation | 10 min | Easy |
| Removal | 20 min | Medium |
| Installation | 20 min | Medium |
| Testing | 10 min | Easy |
Comparing Bushing Materials
Choosing the right material can affect shift feel and durability. Here’s a quick comparison:
| Material | Pros | Cons | Typical Lifespan |
|---|---|---|---|
| Rubber | Quiet, absorbs vibration | Wears out faster | 2–4 years |
| Polyurethane | Durable, firmer shift | Can squeak, less cushioning | 5–8 years |
| Metal | Longest-lasting, precise shift | No cushioning, noisy | 10+ years |
Most daily drivers prefer rubber or polyurethane bushings. Metal bushings are best for racing or performance builds.
Common Mistakes And How To Avoid Them
Many beginners make mistakes that can waste time or cause problems later:
- Not using enough lubricant—causes squeaks or stiff shifting.
- Losing small clips or pins during removal.
- Forgetting to torque bolts properly.
- Replacing only one bushing when others are also worn.
- Installing bushings backwards (check orientation).
If you avoid these mistakes, your repair will last longer and feel better.
Why Change Bushings Yourself?
A mechanic may charge $100–$200 for this job. Doing it yourself costs only $20–$50 in parts. Learning this skill gives you confidence and helps maintain your vehicle’s performance. Many car owners are surprised by how much improvement they feel after the swap.
For more technical details, see this Wikipedia page.

Frequently Asked Questions
What Are Shift Linkage Bushings?
Shift linkage bushings are small parts that cushion the connection between your gear shifter and transmission, making shifting smoother.
How Often Should Bushings Be Replaced?
Most bushings last 2–8 years, depending on material and driving conditions. Replace them when you notice shifter looseness or gear problems.
Can I Change Bushings Without Special Tools?
Yes, most bushings can be replaced with basic hand tools like wrenches and pliers. No advanced equipment is needed.
Is It Safe To Drive With Worn Bushings?
Driving with worn bushings is not dangerous, but it can lead to imprecise shifting and further wear on other parts.
Will Changing Bushings Improve Performance?
Yes, new bushings restore the original shift feel, improve gear engagement, and can make your driving experience more enjoyable.
Replacing shift linkage bushings is a practical task that pays off in better performance and lower maintenance costs. With careful steps and attention to detail, you’ll gain both skill and satisfaction from doing the job yourself.


