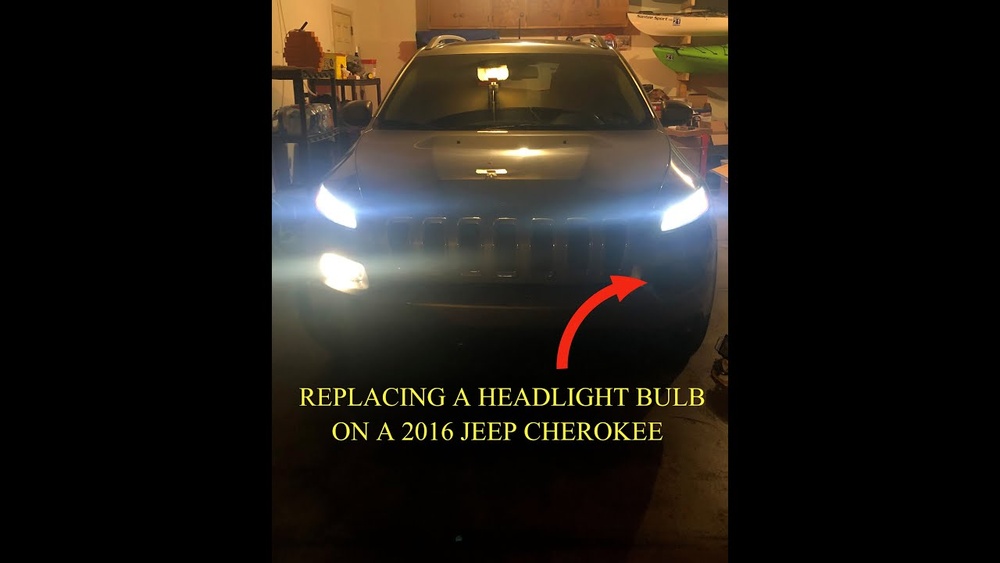
Changing a headlight on a 2016 Jeep Cherokee sounds simple, but if you haven’t done it before, it can be tricky. Headlights are essential for safe driving, so knowing how to replace them yourself saves time and money. This guide walks you through every step, explains what tools you need, and shares tips to make the process easier. Even if you’re new to car maintenance, you’ll find clear instructions and advice here. Many people pay mechanics for this job, but with a little patience, you can do it at home and learn more about your vehicle. This process also helps you avoid last-minute stress if a bulb fails at night or during bad weather.
Tools And Materials Needed
Before you start, gather these items:
- New headlight bulb (check your owner’s manual for the exact type; most 2016 Jeep Cherokee models use H11 bulbs)
- Gloves to protect the bulb from oil on your skin
- Screwdriver (usually Phillips)
- Socket wrench (10mm is common)
- Clean towel or rag
Most people forget gloves, but fingerprints on the bulb can cause it to fail early. If you don’t have a socket wrench, you can use a regular wrench, but it may take longer. A clean towel is useful for wiping dust or debris around the headlight area, which can help prevent dirt from getting into the assembly.
Some owners keep a small toolkit in their trunk, which is handy for unexpected bulb changes. If your Jeep has aftermarket covers or accessories, you may need additional tools, so check before starting.
Preparing Your Jeep Cherokee
Safety is important. Park your vehicle on a flat surface and turn off the engine. Remove the key from the ignition and let the car cool down for 10–15 minutes. Open the hood by pulling the release lever inside the vehicle, then use the prop rod to secure the hood.
If you’ve just driven, headlights can be hot. Letting the car cool reduces the risk of burns. Parking on a flat surface prevents the car from rolling, which is especially important if you’re working alone. If your garage is dark, turn on overhead lights or use a portable lamp.
Make sure you have enough space to move around the front of your Jeep.
Locate The Headlight Assembly
The headlight assembly is behind the front bumper, near the radiator. You may notice limited space, especially on the driver’s side. This is normal for Jeep Cherokees.
If you struggle to reach the bulb, try turning the wheels outward. This can create a little more room by moving the wheel well liner away from the assembly. Some people use a small mirror to see behind the assembly if space is tight.
The passenger side is usually easier to access, but always check both sides for extra covers or wiring.

Removing The Old Headlight Bulb
Follow these steps carefully:
- Find the back of the headlight assembly. You might need to move the air intake cover or washer fluid reservoir for better access.
- Disconnect the power connector. Squeeze the tab and pull it out gently.
- Turn the bulb holder counterclockwise (about a quarter turn). Remove the bulb from the housing.
- Set the old bulb aside. Do not touch the glass part of the new bulb with your fingers.
If parts seem stuck, don’t use too much force. Wiggling gently helps loosen clips or connectors without damage. Sometimes, dirt or corrosion can make connectors harder to remove. In that case, wipe with a dry rag or spray with a little electrical contact cleaner.
Common Mistakes
Many beginners forget to disconnect the battery. While not always needed, disconnecting the negative terminal prevents accidental shocks and protects sensitive electronics.
Another mistake is dropping screws or connectors inside the engine bay. Try placing removed parts in a small container or tray. If you lose a screw, use a magnetic pickup tool to retrieve it. Not marking the location of removed covers can also lead to confusion during reassembly, so consider labeling parts with sticky notes.
Installing The New Headlight Bulb
- Hold the new bulb by its base. Insert it into the housing, making sure it fits snugly.
- Turn the bulb holder clockwise until it locks.
- Reconnect the power connector.
- Test the new headlight before reassembling any covers or panels.
If the bulb doesn’t light up, check the connector for loose wires. Sometimes connectors get bent, so inspect for damage before securing. If you hear a click when reconnecting, the plug is secure. Avoid over-tightening the bulb holder, as this can crack the housing.
If you notice fog inside the assembly after installation, check the seal; moisture can cause bulb failure.

Side-by-side Comparison: Oem Vs Aftermarket Bulbs
Choosing between OEM (Original Equipment Manufacturer) and aftermarket bulbs can affect brightness and lifespan. Here’s a quick comparison:
| Type | Brightness (Lumens) | Average Lifespan (Hours) | Cost (USD) |
|---|---|---|---|
| OEM | 1,100 | 900 | 25-35 |
| Aftermarket | 1,300 | 750 | 15-25 |
OEM bulbs usually last longer, but aftermarket options can be brighter and cheaper. Some aftermarket bulbs offer special features, like whiter light or longer warranty. However, not all aftermarket bulbs fit perfectly or maintain factory beam patterns, so always check reviews and compatibility.
If you drive often at night, consider bulbs with higher brightness, but remember that extra bright bulbs can cause glare for other drivers.
Reassembling And Final Checks
After installing the bulb:
- Reattach any covers or panels you removed.
- Close the hood securely.
- Turn on the headlights and check both high and low beams.
- Make sure the light is aimed correctly. Misaligned headlights can reduce visibility.
Double-check all connectors and screws. Loose parts can cause rattling or poor electrical contact. If you notice flickering, check the power connector again. Take a short drive at night after replacement to see if the beam pattern looks normal. Sometimes small adjustments are needed to get the perfect aim.
Headlight Alignment Data
Proper alignment is critical. According to NHTSA, headlights should illuminate about 25 feet ahead on low beam. Here’s a quick reference:
| Beam Type | Distance (ft) | Height (inches) |
|---|---|---|
| Low | 25 | 22 |
| High | 100 | 36 |
If your headlights seem off, adjust them using the alignment screws on the assembly. Many drivers skip alignment, but it’s important for safety. Park in front of a wall and check the light pattern; both beams should be at the same height and not point too far up or down.

Practical Tips For Easy Headlight Replacement
- Wear gloves. Oils from your skin can shorten bulb life.
- Keep a spare bulb in your glove box for emergencies.
- Use a flashlight if working at night or in a garage.
- Take photos before removing parts, so you remember where everything goes.
- Don’t force the bulb into the socket. If it doesn’t fit easily, check for obstructions.
Many people miss step 4, but it’s helpful if you’re unsure about reassembly. Also, keep your workspace organized; a cluttered area can lead to mistakes or lost parts. If you replace one bulb, consider changing both, as the other may soon fail.
This keeps headlight brightness balanced and improves visibility.
Frequently Asked Questions
How Long Does It Take To Change A Headlight On A 2016 Jeep Cherokee?
Most people spend about 15–30 minutes on the job. It’s faster if you’ve done it before. If you encounter stuck connectors or covers, add 10 minutes for troubleshooting.
What Type Of Bulb Does The 2016 Jeep Cherokee Use?
Most models use an H11 halogen bulb. Always check your vehicle’s manual to confirm. Some trims, like Limited or Trailhawk, may use different bulbs for special lighting features.
Do I Need To Disconnect The Battery Before Changing The Headlight?
It’s not required, but disconnecting the negative terminal is safer, especially if you’re new to car repairs. If your Jeep has advanced electronics, this step can prevent accidental short circuits.
Can I Use Led Bulbs Instead Of Halogen?
Yes, but ensure they’re compatible with your vehicle and are legal in your area. Some LED bulbs can cause issues with headlight alignment or wiring. Before switching, check if your Jeep’s assembly supports LED heat and voltage.
Where Can I Find Reliable Instructions Or Bulb Types?
You can find official guidance at the Jeep Owner’s Manual. Forums and video tutorials can offer extra tips, but always verify information with your manual.
Replacing a headlight on your 2016 Jeep Cherokee is a practical skill that boosts confidence and keeps you safe on the road. With the right tools, careful steps, and attention to detail, you can handle the task quickly and avoid common mistakes. Remember to check your bulbs regularly and keep spares handy. With this guide, you’re ready to tackle headlight replacement like a pro. Even if it’s your first time, following these steps will help you succeed and keep your Jeep shining bright.