Is your 2004 Jeep Grand Cherokee’s brake light not working? Fixing it yourself is easier than you think.
Changing a brake light bulb might seem tricky, but with the right steps, you can do it quickly and save money. In this guide, you’ll find simple instructions that anyone can follow.
Keep reading to learn how to get your brake light shining bright again your safety and others on the road depend on it.
Tools And Materials Needed
Changing the brake light bulb on a 2004 Jeep Grand Cherokee is simple. Having the right tools and materials makes the task easier. Prepare everything before you start. It saves time and avoids frustration.
This guide lists all tools and materials needed. Each item helps you replace the bulb safely and quickly. No special skills required. Just basic tools and a new bulb.
Replacement Brake Light Bulb
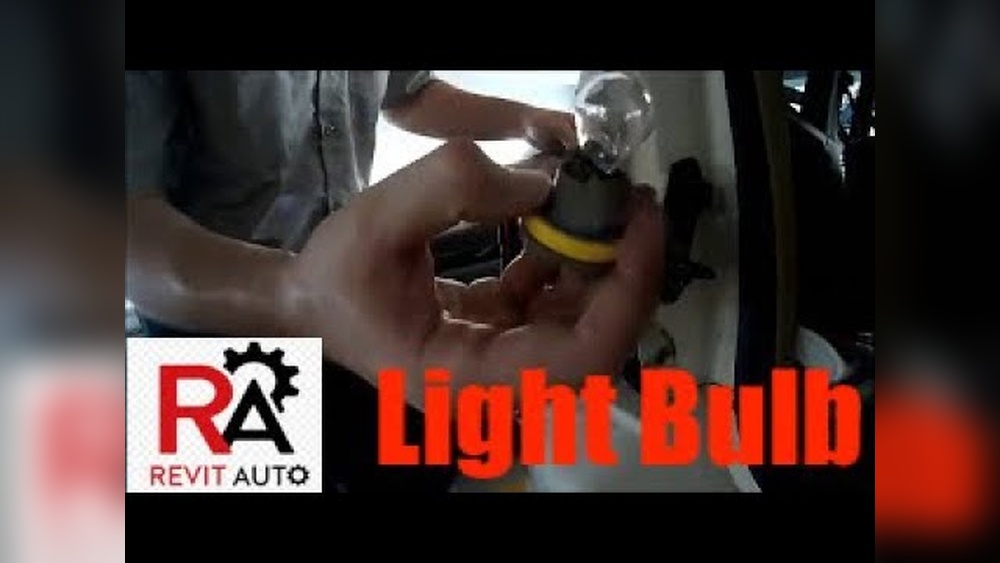
Use the correct bulb for the 2004 Jeep Grand Cherokee. The bulb type is usually 3157 or 3057. Check your owner’s manual or old bulb to confirm. A new bulb ensures bright and safe brake lights.
Screwdriver
A flathead or Phillips screwdriver helps remove screws. Some models may have screws holding the light cover. Use the right size to avoid stripping screws. A screwdriver is a must-have tool for this job.
Socket Wrench Set
Many Jeep Grand Cherokee brake lights use bolts instead of screws. A socket wrench set fits these bolts. Common sizes are 8mm or 10mm. This tool loosens and tightens bolts easily.
Gloves
Wear gloves to protect your hands. Gloves also keep the new bulb clean. Oils from skin can shorten bulb life. Use clean, lint-free gloves if possible.
Clean Cloth
Use a clean cloth to wipe the bulb socket and light cover. It removes dust and dirt. Clean surfaces help the new bulb fit well and work properly.
Locating The Brake Light Assembly
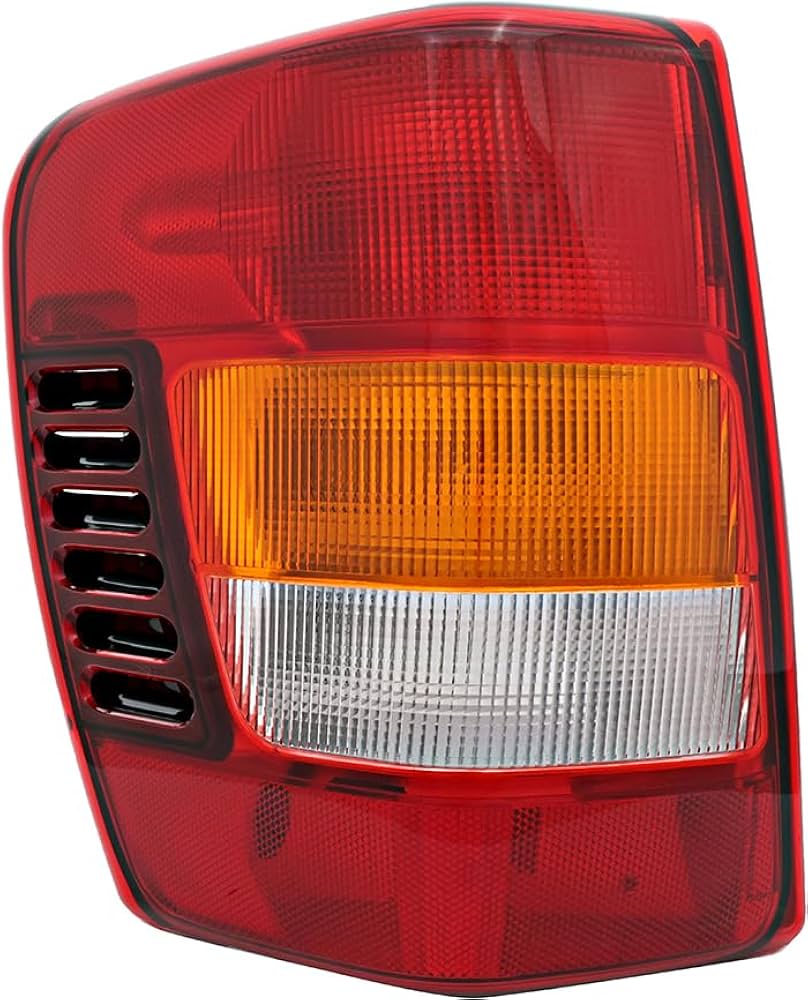
Finding the brake light assembly on a 2004 Jeep Grand Cherokee is the first step. It helps you change the bulb safely and quickly. The brake light assembly holds the bulbs that light up when you press the brake pedal.
This part is located at the back of the vehicle. Knowing its exact spot makes the replacement process easier. The brake light assembly is designed to be accessible for maintenance.
Locate The Rear Tail Light Housing
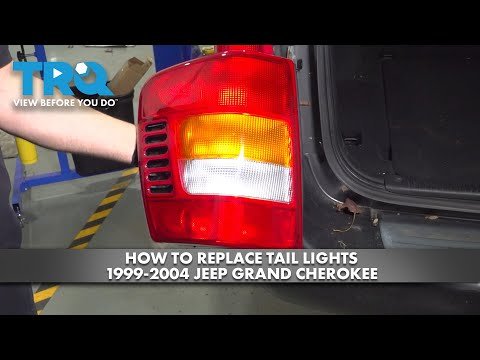
Stand behind your Jeep Grand Cherokee. Look at the rear corners of the vehicle. The brake light assembly is inside the tail light housing. It usually has red and clear lenses.
Open The Liftgate Or Rear Door
Open the rear liftgate fully. This gives you space to reach the brake light assembly. Some models may have a rear door instead of a liftgate. Clear space helps avoid damage during bulb replacement.
Remove The Interior Trim Panel
Inside the cargo area, find the panel covering the tail light housing. Carefully pull or unscrew it. This exposes the back of the brake light assembly. Use gentle force to avoid breaking clips.
Identify The Brake Light Bulb Socket
Look for the bulb socket inside the assembly. It is usually attached with a twist-lock mechanism. The brake light bulb socket is often the largest or middle socket. Turning it counterclockwise releases it for bulb removal.
Removing The Brake Light Cover
Removing the brake light cover on a 2004 Jeep Grand Cherokee is the first step to changing the brake light bulb. This part protects the bulb and keeps it secure. Taking it off carefully helps avoid damage to the cover and the vehicle. Follow simple steps to remove it safely.
Locate The Brake Light Cover Screws
Open the rear liftgate of the Jeep. Look near the brake light area for screws. These screws hold the cover in place. Use a flashlight if the screws are hard to see. Most often, there are two screws on each side.
Use The Right Tools
Grab a Phillips screwdriver or a flathead screwdriver. Check the screws to see which fits best. Using the wrong tool can strip the screws. Turn the screws counterclockwise to loosen them. Keep the screws in a safe spot for later.
Carefully Remove The Cover
After unscrewing, gently pull the brake light cover away. Avoid using force to prevent cracks or breaks. The cover might still be slightly stuck from clips. Wiggle it slowly to release the clips. Set the cover down on a soft surface.
Credit: www.youtube.com
Taking Out The Old Bulb
Removing the old brake light bulb from your 2004 Jeep Grand Cherokee is simple. This step is important before installing a new bulb. Careful handling keeps the process safe and easy.
Start by making sure the vehicle is off. This prevents any electrical issues or injuries. Locate the brake light assembly at the rear of your Jeep. Accessing the bulb requires opening the tail light housing.
Accessing The Tail Light Housing
Open the rear hatch or trunk to reach the tail light area. Look inside the vehicle behind the brake light. Remove any covers or panels blocking the housing. Use a screwdriver if needed. Be gentle to avoid damage.
Removing The Bulb Socket
Find the bulb socket inside the tail light housing. Grip it firmly and twist counterclockwise. The socket will come loose from the housing. Pull it out carefully, holding the bulb steady. Avoid pulling on the wires.
Hold the bulb and pull it straight from the socket. Some bulbs may require a slight push and twist to release. Check the bulb for any damage or black spots. Dispose of the old bulb properly. Keep your hands clean to avoid dirt on the new bulb.
Choosing The Right Replacement Bulb
Choosing the right replacement bulb for your 2004 Jeep Grand Cherokee brake light is important. The correct bulb ensures safety and proper function. A wrong bulb can cause poor lighting or damage the socket.
Understanding the type and size of the bulb helps you pick the right one fast. Knowing the bulb’s specifications also saves money and time. the key points for choosing the right replacement bulb.
Identifying The Bulb Type
The 2004 Jeep Grand Cherokee uses specific brake light bulbs. Most models use a 7443 or 3157 bulb type. Check your owner’s manual or the old bulb to confirm the type. Using the exact bulb type avoids fit and function problems.
Checking Bulb Wattage
Bulb wattage affects brightness and electrical load. Use a bulb with the same wattage as the original. Too high wattage may cause overheating. Too low wattage results in dim lighting. Match the wattage printed on the bulb or manual.
Choosing Between Led And Incandescent Bulbs
Incandescent bulbs are common and inexpensive. They work well but burn out faster. LED bulbs last longer and use less power. LEDs are brighter but cost more. Make sure LEDs are compatible with your Jeep’s wiring.
Considering Color And Brightness
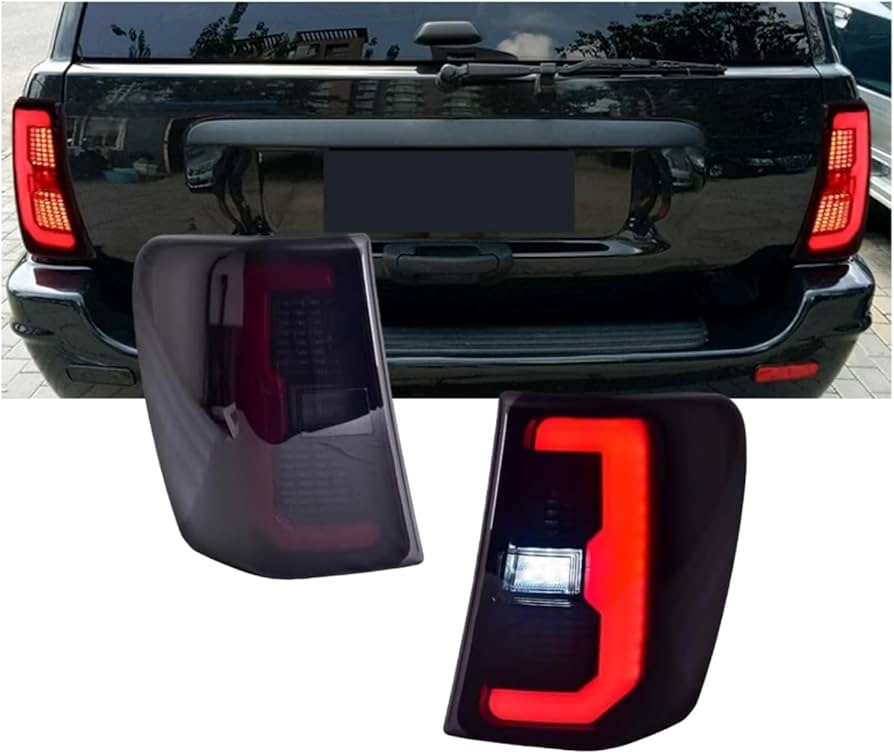
Brake lights must be red to meet legal standards. Choose a bulb that produces bright red light. Avoid bulbs with unclear or weak colors. Bright brake lights improve visibility and safety on the road.
Credit: www.amazon.com
Installing The New Bulb
Start by placing the new bulb carefully into the socket. Make sure it fits snugly and aligns with the connectors.
Test the brake light before closing the housing to ensure it works properly.
Preparing The New Bulb For Installation
Start by handling the new bulb carefully. Avoid touching the glass part with your fingers. Oils from your skin can shorten the bulb’s life. Use a clean cloth or gloves to hold it. Check the bulb type matches the original one. This ensures proper fit and function.
Inserting The Bulb Into The Socket
Place the bulb into the socket gently. Align the bulb’s base with the socket grooves. Push it in until it fits snugly. Do not force the bulb, or it may break. A secure fit prevents flickering or poor connection.
Reattaching The Tail Light Assembly
After the bulb is in place, put the tail light assembly back. Line it up with the vehicle’s body carefully. Press or screw the assembly until it locks firmly. Make sure all clips or screws are tight. This keeps the light secure while driving.
Testing The New Brake Light
Turn on the vehicle and press the brake pedal. Check if the new bulb lights up. Walk to the back and confirm the light is bright. A working brake light ensures safety and avoids fines. Replace the bulb again if it does not light.
Testing The Brake Light
Testing the brake light is an important step after changing the bulb. It ensures the new bulb works correctly and keeps you safe on the road. A brake light that does not work can cause accidents and traffic tickets.
Testing is simple and quick. It helps confirm the bulb is installed properly. Follow the steps carefully for the best results.
Using The Brake Pedal To Check The Light
Press the brake pedal slowly. Ask a friend to watch the brake light at the back. The light should turn on brightly as you press the pedal. If it does not light up, check the bulb installation again.
Checking The Brake Light With A Wall Or Garage Door
Park your Jeep facing a wall or garage door. Press the brake pedal and look at the light’s reflection on the wall. The reflection should be clear and bright. A weak or no reflection means the bulb may be faulty or not seated well.
Using A Mirror To Test The Brake Light Alone
Use a large mirror or place the Jeep near a reflective surface. Sit in the driver’s seat and press the brake pedal. Watch the brake light’s reflection closely. This method works well if no one is around to help.
Checking For Electrical Issues If Light Does Not Work
If the brake light does not turn on, check the fuse first. Inspect the brake light socket for corrosion or damage. Use a multimeter to test electrical connections. Fix or replace any damaged parts before installing a new bulb again.
Reassembling The Brake Light Components
Reassembling the brake light components on your 2004 Jeep Grand Cherokee is a key step after replacing the bulb. This part ensures the light works correctly and stays secure while driving. Take your time to avoid damaging any parts or misaligning the light assembly.
Follow each step carefully. Proper reassembly keeps your brake light safe from water and dirt. It also prevents the bulb from falling out or the light from flickering.
Aligning The Brake Light Housing
First, hold the brake light housing near its place on the vehicle. Match the tabs or slots on the housing with those on the car body. Make sure the housing fits snugly without forcing it. Proper alignment stops gaps where water can enter.
Securing The Screws Or Clips
Next, replace the screws or clips that hold the housing in place. Use a screwdriver or your hands, depending on the fastener type. Tighten each screw evenly to avoid cracking the plastic. Do not overtighten; this can break the housing or strip the screw holes.
Reconnecting The Electrical Connector
After securing the housing, plug the electrical connector back into the bulb socket. Push firmly until you hear a click or feel it lock. This connection powers the brake light. A loose connection can cause the light to fail.
Finally, test the brake light before finishing. Ask someone to press the brake pedal or use a brake pedal depressor. Check if the light glows brightly and stays steady. If it does not, recheck the bulb and connections.
Common Issues And Troubleshooting
Brake light bulbs in a 2004 Jeep Grand Cherokee can face common problems. These issues stop the brake lights from working correctly. Knowing these problems helps fix them fast. This keeps driving safe and avoids tickets.
Some problems come from the bulb itself. Others come from wiring or the fuse. Checking each part step-by-step makes it easier to find the trouble. Use this guide to spot and fix common brake light problems.
Burned Out Bulb
A burned out bulb is the most common issue. The light simply stops glowing. Check the bulb by removing it and looking inside. A broken filament means the bulb needs replacing.
Blown Fuse
The brake light fuse can blow and stop the lights. Find the fuse box under the dashboard or hood. Use the owner’s manual to locate the brake light fuse. Replace any blown fuse with the same type and size.
Faulty Brake Light Switch
The brake light switch is near the brake pedal. It sends power to the brake lights. If the switch breaks, lights won’t turn on. Test the switch by pressing the brake pedal. Replace the switch if needed.
Wiring Problems
Wiring can wear out or break over time. Damaged wires stop electricity from reaching the bulb. Look for loose, broken, or corroded wires. Fix or replace damaged wiring to restore the lights.
Socket Corrosion
Corrosion in the bulb socket blocks electricity flow. Check the socket for rust or green buildup. Clean the socket with a wire brush or sandpaper. Make sure the bulb fits tightly after cleaning.
Credit: www.amazon.com
<!– wp:rank-math/faq-block {"questions":[{"id":"faq-question-676ae4c96df1","title":"How Do I Access The Brake Light Bulb On A 2004 Jeep Grand Cherokee?","content":"To access the brake light bulb, open the rear liftgate and remove the tail light assembly. Use a screwdriver to loosen the screws and gently pull out the assembly. This exposes the bulb socket for easy removal and replacement.
“,”visible”:true},{“id”:”faq-question-e10e42761f68″,”title”:”What Type Of Bulb Fits The 2004 Jeep Grand Cherokee Brake Light?”,”content”:”The 2004 Jeep Grand Cherokee uses a 3157 dual-filament brake light bulb. This bulb serves as both the brake and tail light. Always confirm with your vehicle manual before purchasing a replacement bulb to ensure compatibility.
“,”visible”:true},{“id”:”faq-question-8246aa7a907c”,”title”:”How Long Does It Take To Change A Brake Light Bulb?”,”content”:”Changing the brake light bulb typically takes 10 to 15 minutes. It’s a simple process requiring basic tools and no special skills. This quick repair helps maintain vehicle safety and avoids traffic fines.
“,”visible”:true},{“id”:”faq-question-8453f380fcc0″,”title”:”Can I Replace The Brake Light Bulb Without Removing The Tail Light?”,”content”:”No, you must remove the tail light assembly to reach the brake light bulb. The bulb is secured inside the assembly, so removal is necessary for proper access and replacement.
“,”visible”:true}]} –>How Do I Access The Brake Light Bulb On A 2004 Jeep Grand Cherokee?
To access the brake light bulb, open the rear liftgate and remove the tail light assembly. Use a screwdriver to loosen the screws and gently pull out the assembly. This exposes the bulb socket for easy removal and replacement.
What Type Of Bulb Fits The 2004 Jeep Grand Cherokee Brake Light?
The 2004 Jeep Grand Cherokee uses a 3157 dual-filament brake light bulb. This bulb serves as both the brake and tail light. Always confirm with your vehicle manual before purchasing a replacement bulb to ensure compatibility.
How Long Does It Take To Change A Brake Light Bulb?
Changing the brake light bulb typically takes 10 to 15 minutes. It’s a simple process requiring basic tools and no special skills. This quick repair helps maintain vehicle safety and avoids traffic fines.
Can I Replace The Brake Light Bulb Without Removing The Tail Light?
No, you must remove the tail light assembly to reach the brake light bulb. The bulb is secured inside the assembly, so removal is necessary for proper access and replacement.
Conclusion
Changing the brake light bulb on your 2004 Jeep Grand Cherokee is simple. You only need a few tools and a bit of time.
Follow the steps carefully to avoid mistakes. A working brake light keeps you safe on the road.
Check your lights regularly to avoid problems. Now, you can fix the brake light yourself.
Save money and stay confident while driving. Give it a try today.