Changing a blinker bulb might sound complicated, but it’s a task that most car owners can do themselves. Replacing a burnt-out signal light is not just about convenience—it’s a key safety step. A working blinker ensures you can alert other drivers when you turn or change lanes.
Ignoring a broken indicator can lead to traffic tickets or, worse, accidents.
This guide will walk you through the process, with clear steps, practical tips, and important reminders. Whether you drive a sedan, SUV, or truck, you’ll learn how to replace your blinker bulb quickly and safely.
Understanding Blinker Bulbs
Before starting, it’s helpful to know the basics about blinker bulbs. These small bulbs are usually located in your vehicle’s headlights or tail lights. The two main types are incandescent and LED bulbs. Incandescent bulbs are more common in older vehicles, while LEDs appear in newer models. Most cars use either a 1157 or 3157 bulb type, but always check your owner’s manual to confirm.
The chart below compares the two main types:
| Type | Lifespan | Brightness | Cost |
|---|---|---|---|
| Incandescent | ~1,000 hours | Medium | Low |
| LED | ~25,000 hours | High | Higher |
Tools And Materials Needed
Gathering the right tools and materials before you start makes the process faster and safer. Here’s what you’ll need:
- Replacement bulb (check your manual for the exact type)
- Screwdriver (flathead or Phillips, depending on your car)
- Gloves (latex or cotton to avoid touching the bulb)
- Clean cloth
Some cars may need a socket wrench or trim removal tool. Having a small flashlight can help you see in tight spaces.
Steps To Change A Blinker Bulb
Changing a blinker bulb usually takes 10–20 minutes. The steps can vary by vehicle model, but most follow a similar process.
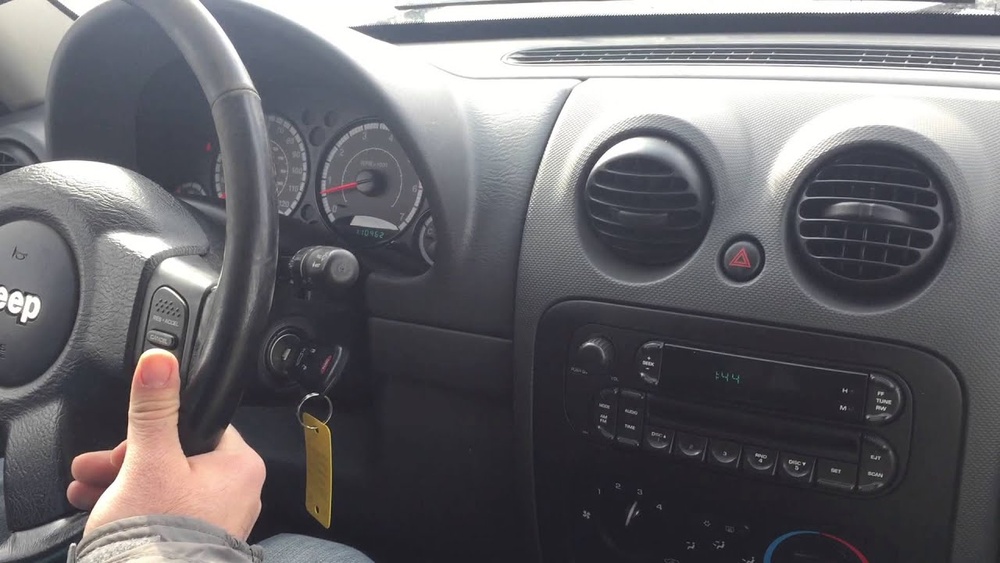
1. Turn Off Your Vehicle
Safety comes first. Make sure your car is turned off and the keys are removed from the ignition. This prevents electrical shock or accidental movement.
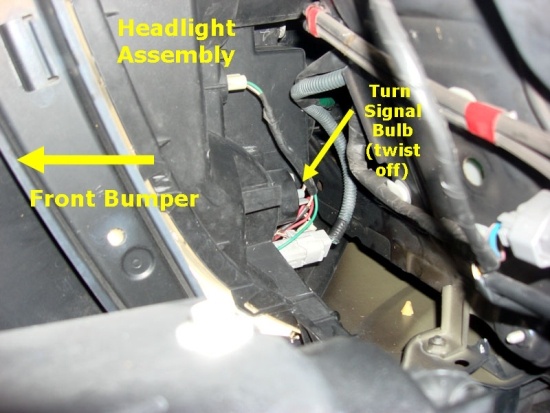
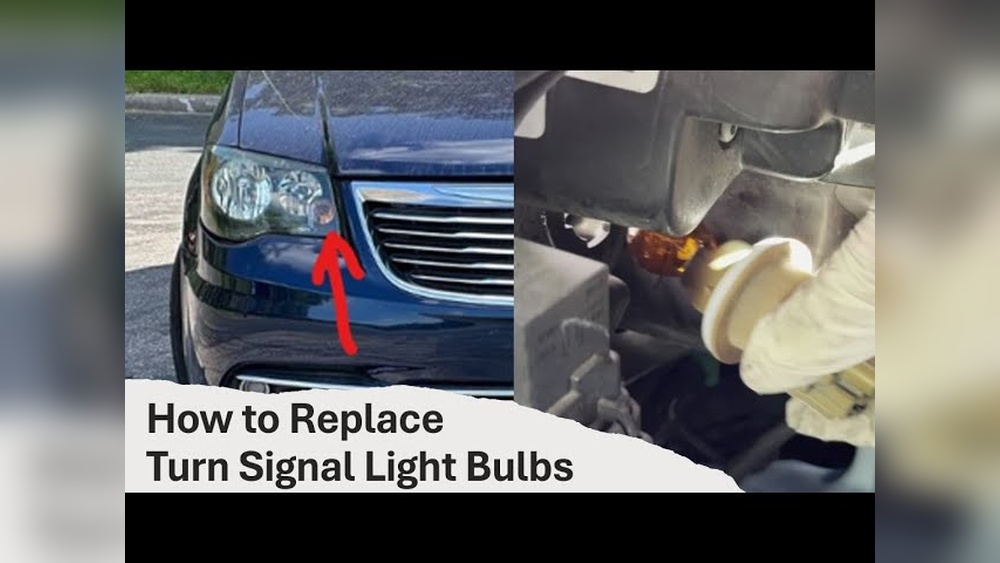
2. Locate The Blinker Bulb
Open your hood or trunk, depending on whether you’re replacing a front or rear bulb. Most front blinker bulbs are behind the headlight assembly; rear bulbs are in the tail light housing.
Look for a diagram in your manual, or check for a plastic cover or screws holding the light assembly.
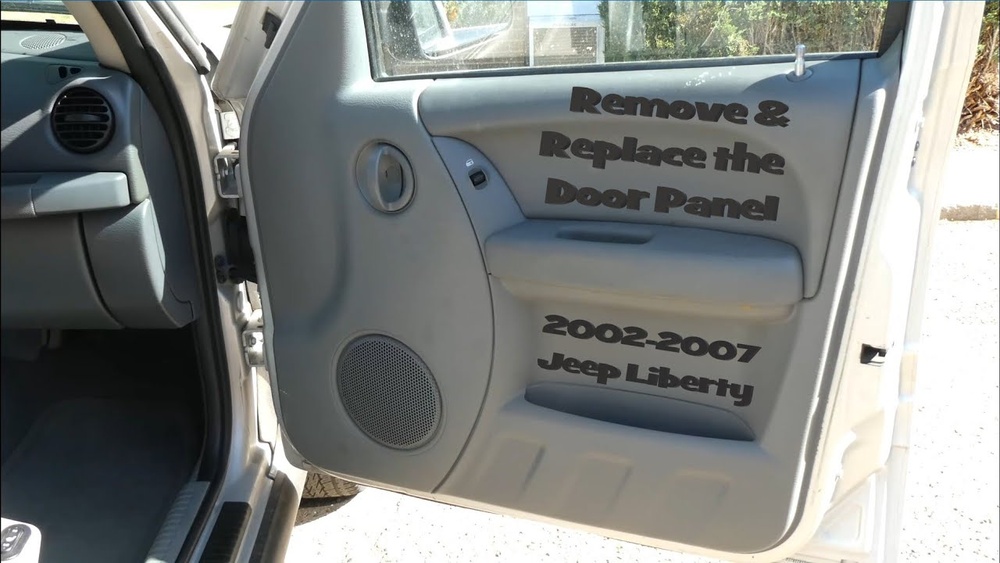
3. Remove The Light Assembly
In many cars, you’ll need to unscrew or unclip the assembly. Some vehicles let you access the bulb by turning a socket behind the light—no need to remove the full assembly.
Gently pull out the light assembly or socket. If you feel resistance, double-check for hidden screws or tabs.
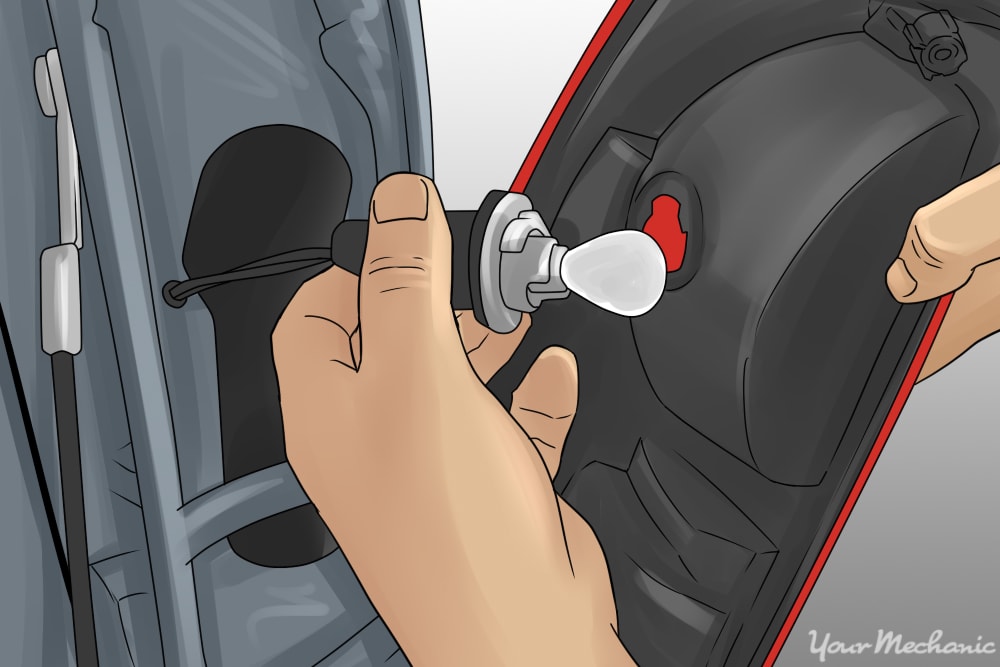
4. Remove The Old Bulb
Twist the bulb socket counterclockwise to release it. Pull the old bulb straight out—some may need a gentle wiggle. Avoid touching the glass with your fingers, as oil can shorten the bulb’s life.
5. Install The New Bulb
With gloves on, insert the new bulb into the socket. Make sure it’s seated fully and facing the right direction. Re-insert the socket into the assembly and twist clockwise to lock.
6. Test The New Blinker
Before reassembling everything, turn on your car and activate the indicator. Check that the new bulb flashes correctly. If it doesn’t light up, remove and reinstall to make sure it’s seated properly.
7. Reassemble And Secure
Once you confirm the bulb works, replace any covers, screws, or clips. Make sure everything is tight and aligned.
Common Mistakes To Avoid
Many beginners make simple errors when changing a blinker bulb. Here are the top mistakes and how to avoid them:
- Touching the bulb glass with bare hands. Oil from your skin can cause hot spots, leading to early burnout.
- Forgetting to check both sides. If one blinker bulb dies, the other may fail soon. Replace both if possible.
- Forcing parts. If a screw or clip won’t move, don’t force it. Check for hidden fasteners or consult your manual.
- Buying the wrong bulb type. Even similar-looking bulbs may not fit. Always match the part number.
- Not testing before reassembly. Save time by checking the bulb before putting everything back.

Practical Tips For Longer Bulb Life
If you want your blinker bulbs to last longer, these tips will help:
- Use gloves when handling all bulbs.
- Avoid frequent on-off cycling, which wears out bulbs faster, especially incandescent types.
- Keep assemblies clean and dry to prevent corrosion.
- Upgrade to LED bulbs if your vehicle supports them. LEDs use less energy and last much longer.
Cost And Time Comparison
Here’s a quick comparison of changing the bulb yourself versus visiting a mechanic:
| Option | Cost Range | Time Spent |
|---|---|---|
| DIY | $5–$20 (bulb only) | 10–20 minutes |
| Mechanic | $30–$80 (parts & labor) | 1–2 hours (including wait) |
Doing it yourself saves money and time, and gives you confidence for future repairs.
When To See A Professional
Most blinker bulbs are easy to change. However, some cars have complex assemblies or require removing bumpers. If you can’t reach the bulb or feel uncertain, it’s best to ask a mechanic. Modern vehicles with advanced lighting systems may also require professional help. For more detailed service info, check resources like the National Highway Traffic Safety Administration.
Frequently Asked Questions
How Do I Know If My Blinker Bulb Is Burnt Out?
Signs include a fast blinking indicator on your dashboard, no blinking sound, or the signal light not illuminating. Sometimes, you’ll hear a rapid clicking noise.
Can I Replace A Blinker Bulb With An Led?
Yes, if your vehicle supports LED bulbs of the same size and socket type. Some cars may need a resistor to prevent hyper-flashing.
Do I Need Any Special Tools?
Most cars only need a screwdriver. Some may require a socket wrench or trim tool. Always check your vehicle’s manual first.
How Long Does A New Blinker Bulb Last?
Incandescent bulbs last about 1,000 hours. LEDs can last up to 25,000 hours, depending on quality and usage.
Is It Safe To Drive With A Broken Blinker Bulb?
No. Driving without a working blinker is unsafe and illegal in most places. Replace it as soon as possible to avoid accidents or fines.
Changing your own blinker bulb is a simple way to keep your car safe and road-legal. With the right tools and a little patience, you’ll save money and gain confidence in basic car maintenance.