Meta description: How To Remove Jeep Top Alone: follow safe steps, use the right tools, avoid common mistakes, and confirm model-specific details before starting.
If you searched for How To Remove Jeep Top Alone, this guide helps you approach the topic carefully. The keyword relates to a Doors Top procedure. Start with the correct model information, gather suitable tools, and test the result before returning the Jeep or related product to normal use.
Use this article as an editorial DIY draft. Confirm model-specific instructions before publishing or beginning work.
Quick Answer
For How To Remove Jeep Top Alone, confirm the exact model, year, trim, and installed equipment. Park safely. Prepare the tools. Follow the approved sequence. Inspect the result twice.
| Stage | Action | Reason |
|---|---|---|
| Confirm | Identify the exact model and equipment | Parts and steps may vary |
| Prepare | Review the manual and gather tools | Reduces mistakes |
| Work | Protect yourself and the vehicle | Avoids injury and damage |
| Inspect | Check fasteners, connectors, fluids, settings, or labels | Catches errors early |
| Test | Verify the result before normal use | Confirms the task is complete |
Before You Start
Take reference photos. Photos help with wiring routes, clips, fasteners, brackets, labels, and part orientation. Store small parts in labeled containers.
Work on a stable, level surface. Keep children and pets away from the work area unless the task involves supervised toy maintenance. Wear gloves and eye protection when needed.

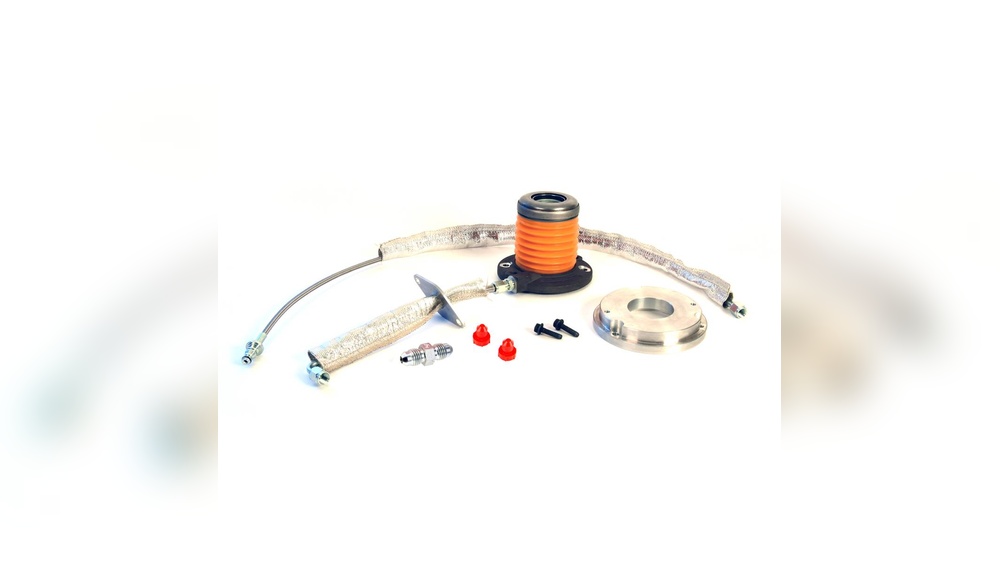
Tools and Supplies
| Tool or supply | Purpose |
|---|---|
| Basic Hand Tools | Supports safe work during this procedure |
| Trim-Safe Tools | Supports safe work during this procedure |
| Storage Blankets | Supports safe work during this procedure |
| Helper For Heavy Parts | Supports safe work during this procedure |
| Owner'S Manual | Supports safe work during this procedure |
| Phone Camera | Records the original layout, labels, and settings |
| Protective Cloth | Protects trim and painted surfaces |
Step-by-Step Guide
Step 1: Park level and review model-specific removal steps
Park level and review model-specific removal steps.
Pause and inspect the result before moving forward. Stop if anything looks damaged, unsafe, or different from the manual.
Step 2: Protect painted surfaces and prepare safe storage
Protect painted surfaces and prepare safe storage.
Pause and inspect the result before moving forward. Stop if anything looks damaged, unsafe, or different from the manual.
Step 3: Disconnect wiring, straps, clips, and retaining hardware only where instructed
Disconnect wiring, straps, clips, and retaining hardware only where instructed.
Pause and inspect the result before moving forward. Stop if anything looks damaged, unsafe, or different from the manual.
Step 4: Lift heavy parts with help and store them securely
Lift heavy parts with help and store them securely.
Pause and inspect the result before moving forward. Stop if anything looks damaged, unsafe, or different from the manual.

How To Verify the Result
Inspect for loose fasteners, pinched wiring, disconnected plugs, leaks, damaged trim, unusual noises, warning lights, heat, or charging problems where relevant.
Test the result while parked when possible. When a road test is required, choose a safe low-speed area. Stop immediately if steering, braking, shifting, temperature, electrical behavior, or charging behavior changes.

Common Mistakes To Avoid
Skipping the Model Check
Similar Jeep names may hide different parts, controls, and procedures.
Starting Without Reference Photos
Photos reduce confusion during reassembly and help you restore the original layout.
Using the Wrong Tool
A poor-fit tool may damage fasteners, trim, wiring, or connectors.
Forcing a Stuck Part
Stop when a part refuses to move. Check for hidden clips, screws, retaining tabs, corrosion, or model-specific release steps.
Ignoring Warning Lights
A warning after service deserves attention. Save the warning details and inspect the recent work before clearing anything.
Frequently Asked Questions
Is How To Remove Jeep Top Alone suitable for DIY work?
Some basic tasks are suitable with the correct tools and instructions. Stop when the task affects safety systems or exceeds your skill level.
Do all Jeep models use the same steps?
No. Procedures differ by model, year, engine, transmission, trim, and installed equipment.
Should I disconnect the battery first?
Only when the approved procedure requires it. Battery disconnection may affect settings and modules.
What if a warning light appears afterward?
Stop, record the warning, inspect your work, and scan the correct module when needed.
When should I choose professional service?
Use professional service for brakes, airbags, steering, drivetrain internals, hybrid systems, security systems, and unsafe conditions.
How should I verify the result?
Inspect while parked first. Use a safe low-speed test when needed and stop if the vehicle behaves differently.
Final Thoughts
How To Remove Jeep Top Alone becomes easier when you prepare carefully. Confirm the model or product. Gather the tools. Follow an approved sequence. Inspect the result before normal use.
For road vehicles, review the official Mopar owner’s-manual portal. Use the official NHTSA recall lookup when checking recalls.
How To Organize the Work Area
A clean workspace saves time during How To Remove Jeep Top Alone. Arrange tools on a tray and store small parts in labeled containers.
Keep a flashlight nearby. Protect painted panels and interior trim with clean towels.
When the job takes more than one session, write down your progress so you can return without guessing.
Why Model-Specific Information Matters
Jeep parts and procedures change across models and years.
For How To Remove Jeep Top Alone, check the VIN, trim, engine, transmission, accessory label, or battery label when relevant.
Generic advice helps you plan. Model-specific information tells you exact locations, specifications, and limits.
Post-Service Monitoring
Watch the result closely after completing How To Remove Jeep Top Alone. Listen for new sounds and look for warning lights, leaks, loose parts, vibration, heat, or charging problems.
Complete a second inspection after a short test period. Stop using the vehicle or product when anything feels unsafe.
How To Avoid Damage During Reassembly
Reassembly deserves the same care as removal. Align clips before applying pressure. Start threaded fasteners by hand.
Reconnect plugs fully and confirm locking tabs engage. Route wiring away from hot, sharp, and moving parts.
Compare the result with reference photos before normal use.
How To Organize the Work Area
A clean workspace saves time during How To Remove Jeep Top Alone. Arrange tools on a tray and store small parts in labeled containers.
Keep a flashlight nearby. Protect painted panels and interior trim with clean towels.
When the job takes more than one session, write down your progress so you can return without guessing.
Why Model-Specific Information Matters
Jeep parts and procedures change across models and years.
For How To Remove Jeep Top Alone, check the VIN, trim, engine, transmission, accessory label, or battery label when relevant.
Generic advice helps you plan. Model-specific information tells you exact locations, specifications, and limits.