Replacing the throw out bearing in a Jeep Wrangler can make a big difference in how your clutch feels and sounds. If you hear a squeaking or grinding noise when pressing the clutch pedal, the throw out bearing could be the problem. This guide will help you understand the steps, tools, and best practices for a successful replacement. Even if you are not a professional mechanic, you can do this repair with some patience and basic skills.
What Is A Throw Out Bearing?
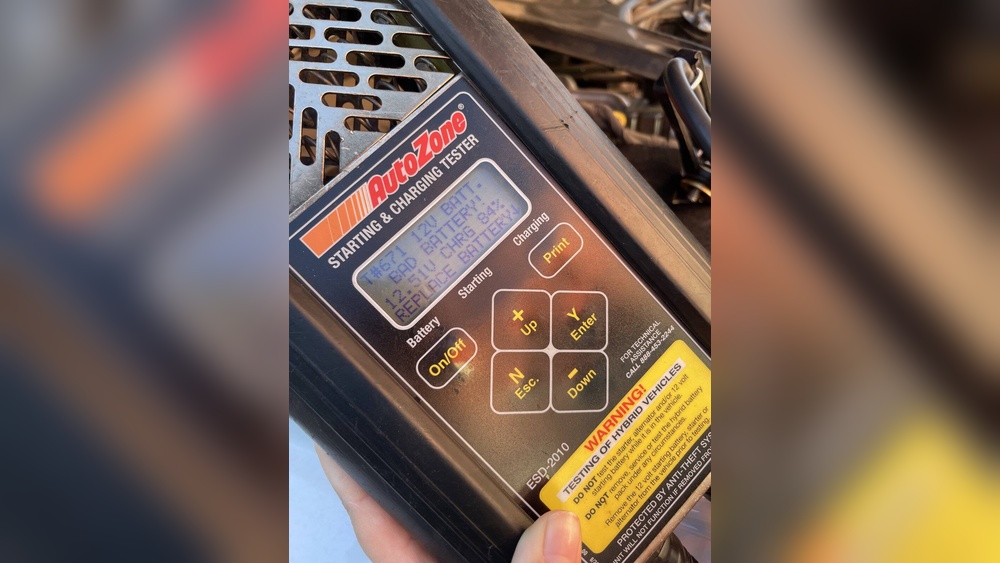
The throw out bearing is a small part inside the clutch system. Its job is to push against the pressure plate when you press the clutch pedal. This disconnects the engine from the wheels, allowing you to shift gears smoothly. Over time, the bearing can wear out, causing noise and making it harder to shift.
Signs Your Throw Out Bearing Needs Replacing
1. Noise When Pressing Clutch
A worn bearing often makes a squealing or grinding sound when you use the clutch.

2. Clutch Pedal Feels Rough
If your pedal vibrates or feels stiff, the bearing may be failing.
3. Difficulty Shifting Gears
Trouble getting into gear can mean the bearing is not working well.
Ignoring these signs can lead to more expensive repairs, so early replacement is smart.
Tools And Parts You Will Need
- Floor jack and jack stands
- Socket set and wrenches
- Transmission jack (strongly recommended)
- Screwdrivers
- Pry bar
- Clutch alignment tool
- Replacement throw out bearing (for your specific Wrangler model)
- Clutch kit (optional but advised)
- Safety glasses and gloves
Having the right tools makes the job much safer and faster. If you do not have a transmission jack, you can rent one from an auto parts store.
Preparation Steps
1. Park On Level Ground
Make sure your Jeep is on a flat, stable surface.
2. Disconnect The Battery
Always remove the negative terminal to avoid electrical accidents.
3. Lift The Vehicle
Use a floor jack to raise your Wrangler and secure it with jack stands under the frame.
4. Remove The Driveshaft
For most models, you must remove the front and rear driveshafts. Mark their positions for easy reinstallation.
5. Take Off The Transfer Case Skid Plate
This gives you clear access to the transmission.

Removing The Transmission
1. Unbolt The Transmission Crossmember
Support the transmission with a jack before removing the crossmember.
2. Disconnect Linkages And Wires
Label any connections to help with reassembly.
3. Remove The Transmission Bolts
There are usually 6-8 bolts holding the transmission to the engine.
4. Separate The Transmission From The Engine
Slide the transmission straight back. Do not let it hang or tilt, as this can damage components.
This step is heavy and awkward. Having a friend to help lowers the risk of injury.
Replacing The Throw Out Bearing
Once the transmission is out, you will see the clutch assembly and the throw out bearing on the input shaft.
Steps:
1. Remove The Clutch Fork
The bearing sits on the clutch fork. Slide it out gently.
2. Inspect The Clutch Kit
Check the clutch disc and pressure plate for wear. If they are worn, it’s wise to replace the whole clutch kit now.
3. Install The New Bearing
Grease the contact points with high-temperature grease. Fit the new bearing onto the fork.
4. Check For Smooth Movement
The fork and bearing should move easily by hand.
Reinstalling The Transmission
1. Align The Clutch
Use a clutch alignment tool to ensure the disc is centered.
2. Slide The Transmission Back
Move the transmission straight in without forcing it.
3. Reconnect Bolts, Linkages, And Wires
Tighten all bolts to the recommended torque.
4. Reinstall The Driveshafts And Skid Plate
Use your marks to line up the shafts correctly.
5. Lower The Vehicle And Reconnect The Battery
Cost And Time Comparison
Here is a simple comparison to help you plan your repair:
| Method | Estimated Cost | Estimated Time |
|---|---|---|
| DIY | $150 – $300 | 5-8 hours |
| Professional Mechanic | $700 – $1200 | 1-2 days (including shop wait) |

Common Mistakes To Avoid
- Not labeling wires or linkages – This can make reassembly frustrating.
- Forgetting to align the clutch disc – The transmission will not fit if the disc is off-center.
- Skipping the clutch kit inspection – Replacing only the bearing may lead to another teardown soon.
A common beginner error is forgetting to support the transmission properly. Dropping it can damage both the transmission and your Jeep’s floor.
Practical Tips For Success
- Take photos as you work. They help you remember bolt locations and wire routing.
- Clean all surfaces before reassembly for better clutch performance.
- Replace the pilot bearing if it shows any wear.
- Use thread locker on key bolts for extra safety.

When To Seek Professional Help
If you do not have the right tools or feel unsure, it’s best to let a mechanic handle it. The job is not easy, and mistakes can cause bigger problems. For official repair details, check the Jeep Wrangler page.
Quick Reference: Key Steps Vs. Difficulty
This summary table shows the hardest steps:
| Step | Difficulty (1=Easy, 5=Hard) | Special Tools Needed? |
|---|---|---|
| Lift Vehicle & Secure | 2 | Jack Stands |
| Remove Transmission | 5 | Transmission Jack |
| Install Bearing | 3 | Clutch Alignment Tool |
| Reinstall Everything | 4 | Basic Hand Tools |
Final Thoughts
Changing the throw out bearing in your Jeep Wrangler is a serious job, but it’s possible with good planning and attention to detail. Always double-check your work and use quality parts. If you hear new noises after reassembly, check all connections and mounts again. With patience and care, your Jeep will be back on the road and shifting smoothly.
Frequently Asked Questions
How Do I Know My Throw Out Bearing Is Bad?
Listen for a squealing or grinding noise when you press the clutch pedal. You may also feel a rough or vibrating pedal.
Can I Replace Only The Throw Out Bearing?
Yes, but it’s smart to check and possibly replace the whole clutch kit if it’s worn. This prevents future problems and saves labor.
Do I Need To Remove The Transmission?
Yes. The only way to access the throw out bearing is by removing the transmission from the Jeep.
How Long Does This Repair Take For A Beginner?
Expect to spend 6 to 10 hours if it’s your first time. Take breaks and do not rush.
What Happens If I Ignore A Bad Throw Out Bearing?
The bearing can fail completely, making the clutch unusable and possibly damaging other parts. This leads to more expensive repairs.