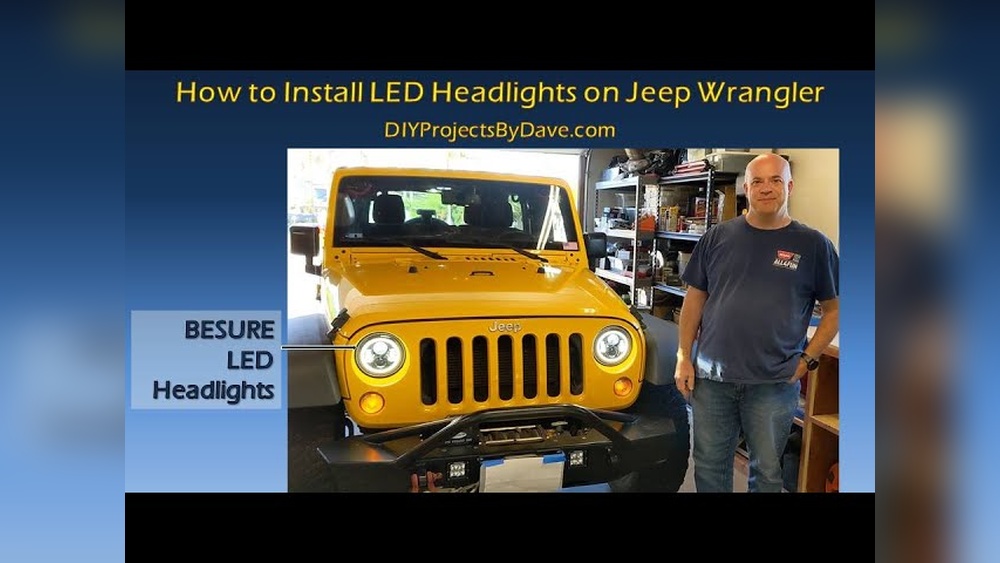
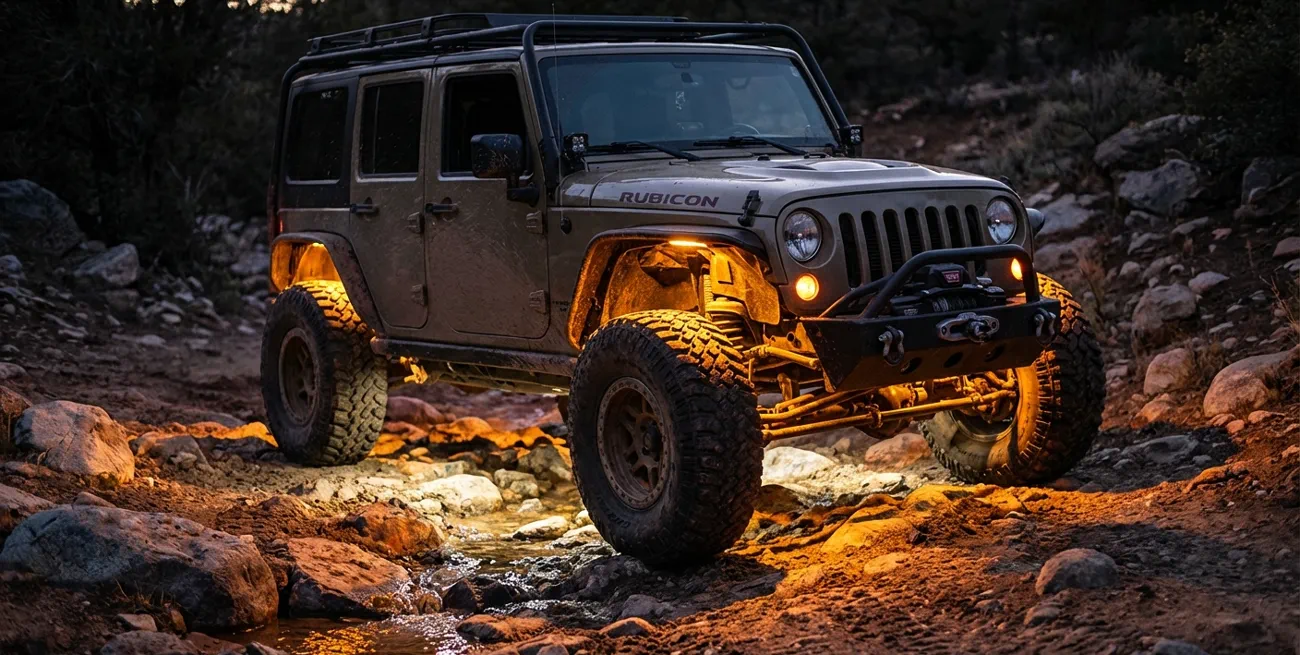
Installing lights on your Jeep Wrangler is one of the best upgrades for adventure lovers. Whether you want more visibility for night driving, or just want your Jeep to stand out, new lights can make a big difference. This guide will walk you through everything you need to know, from choosing the right lights to step-by-step installation. Even if you’re not a mechanic, you can do this project safely and confidently.
Choosing The Right Jeep Wrangler Lights
Before you start, decide which lights fit your needs. There are several types, and each has its own advantages. Here’s a quick comparison:
| Type | Main Use | Brightness (Lumens) | Estimated Price |
|---|---|---|---|
| LED Light Bars | Off-road & wide area | 8,000–30,000 | $100–$400 |
| Fog Lights | Low visibility | 800–2,000 | $50–$200 |
| Spotlights | Focused beam | 1,500–5,000 | $70–$250 |
| Headlights (LED/HID) | General driving | 2,000–6,000 | $120–$350 |
LED lights are the most popular today. They last longer, save battery power, and give strong light. For off-road or camping, consider an LED light bar. For daily driving, upgraded headlights or fog lights are smart choices.
Preparing For Installation
Getting ready is just as important as the install itself. Here’s what you need:
- Lights: Make sure they fit your Jeep model (JK, JL, etc.)
- Mounting brackets: Often included, but check before buying.
- Wiring harness: Needed for most aftermarket lights.
- Basic tools: Screwdrivers, pliers, socket set.
- Safety gear: Gloves and safety glasses.
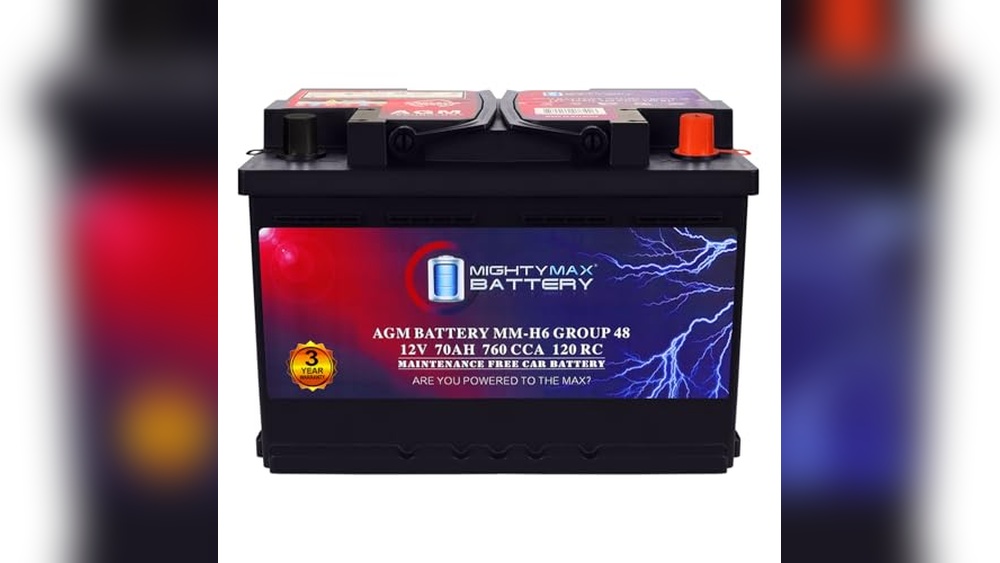
A common mistake: forgetting to disconnect the battery. Always disconnect it before you touch any wiring. This prevents shocks and protects your Jeep’s electronics.

Step-by-step Installation Guide
Let’s break down the process so you can follow each step easily. Most installations are similar, but always check the instructions for your specific lights.
Mounting The Lights
- Choose the mounting location: Popular places are the front bumper, windshield pillars, and roof.
- Attach the brackets: Use the hardware provided. Tighten bolts securely, but do not over-tighten.
- Position the lights: Adjust the angle for best coverage. You can fine-tune later.
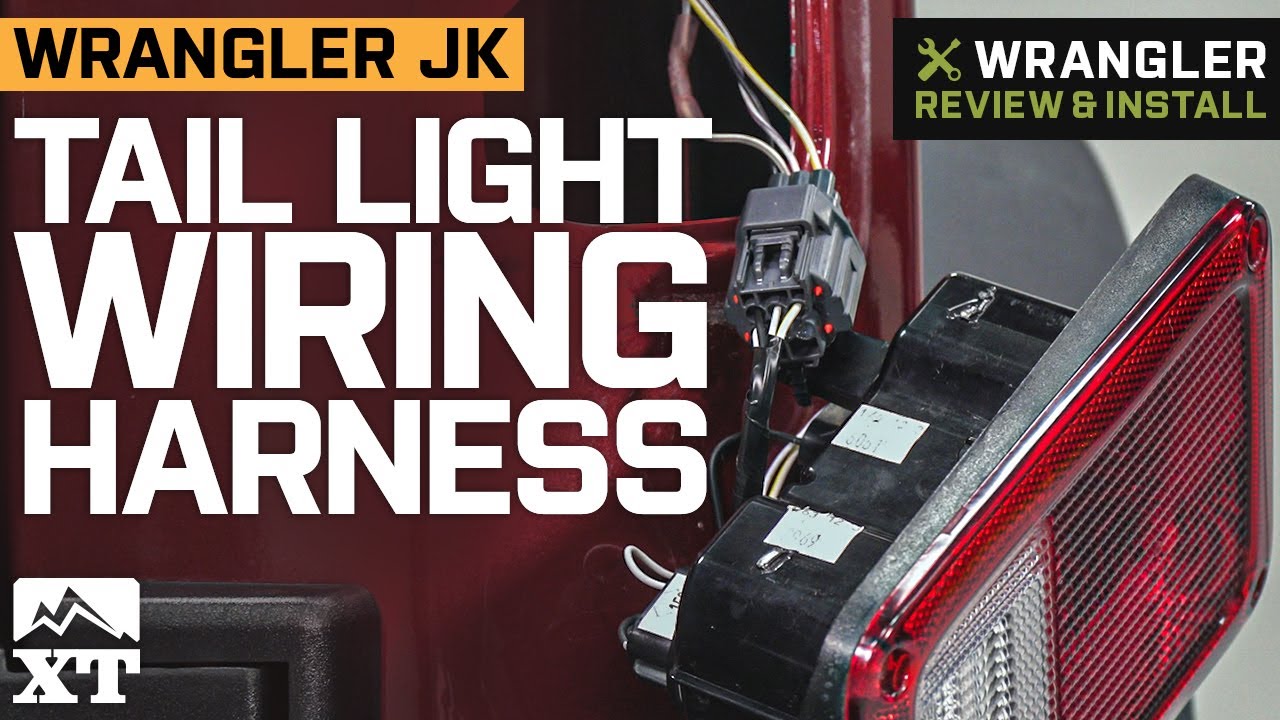
Wiring The Lights
Wiring is where many beginners feel unsure. Here’s how to do it safely:
- Run the wires: Route the wiring harness from the lights to the battery area. Keep wires away from moving parts and hot surfaces.
- Connect to the relay and switch: Most kits include a relay and switch. Follow the color codes in your kit—usually red for power, black for ground.
- Secure the wires: Use zip ties to keep everything neat and prevent damage.
A helpful tip: If you add more than one light, use a multi-switch controller. This keeps your dashboard organized and makes controlling each light simple.
Connecting To The Battery
- Attach positive wire: Connect to the battery’s positive terminal.
- Attach ground wire: Connect to the negative terminal or a solid metal part of the body.
- Install the fuse: Always use the fuse provided. It protects your Jeep from electrical problems.
Testing And Adjusting
Once connected, test each light:
- Turn on the switch.
- Check for proper function.
- Adjust the angle if needed.
If the lights flicker or don’t turn on, check all connections. Sometimes, loose terminals or broken wires cause problems.
Common Mistakes And How To Avoid Them
Even experienced Jeep owners make errors. Here are two mistakes beginners often miss:
- Skipping the fuse: Without a fuse, an electrical short can damage your Jeep’s wiring or even start a fire.
- Mounting lights too high: If lights are above the legal height, you can get a ticket. Check local laws before installation.
Another tip: Avoid using cheap wiring kits. Poor quality wires can melt or break, causing serious issues.
Real-world Example
A Jeep Wrangler owner in Colorado installed a 20-inch LED light bar for night trail rides. He used quality brackets and a waterproof harness. After testing, he noticed the lights drained the battery faster than expected. He solved this by installing a dual battery setup, which gave him extra power for long trips.
This shows that planning ahead can save you trouble later.
Jeep Wrangler Light Installation Comparison
For more clarity, here’s a quick table comparing install times for different light types:
| Light Type | Estimated Install Time | Difficulty |
|---|---|---|
| Headlights | 45–60 minutes | Easy |
| Fog Lights | 60–90 minutes | Medium |
| Light Bar | 90–120 minutes | Medium–Hard |
| Spotlights | 60–100 minutes | Medium |
Useful Resources
If you want more details or wiring diagrams, Jeep’s official site has useful guides and specs for each Wrangler model.
Frequently Asked Questions
How Do I Know Which Lights Are Legal For My Jeep Wrangler?
Check your local laws and regulations. Some states limit light height, brightness, and color. Using DOT-approved lights is a safe choice.
Can I Install Lights Without Drilling Holes?
Yes. Many brackets use factory holes or bolt onto existing parts. Always choose mounts made for your Jeep model to avoid damage.
What Tools Do I Need For Installation?
You’ll need screwdrivers, pliers, a socket set, and zip ties. Some installs may require a drill, but most are simple with basic hand tools.
Do I Need A Relay For Every Light?
If you’re installing multiple lights, use a relay for each circuit. This protects your wiring and ensures safe operation. Single lights often come with their own relay.
How Can I Prevent Battery Drain From Extra Lights?
Install lights with energy-efficient LEDs and use a dual battery system for heavy use. Always turn off lights when not needed.
Installing lights on your Jeep Wrangler is a rewarding project. With the right lights, careful planning, and proper tools, you’ll improve both the look and function of your Jeep. Don’t rush—take your time to do it safely. Your adventures will be brighter, and your Jeep will be ready for anything.