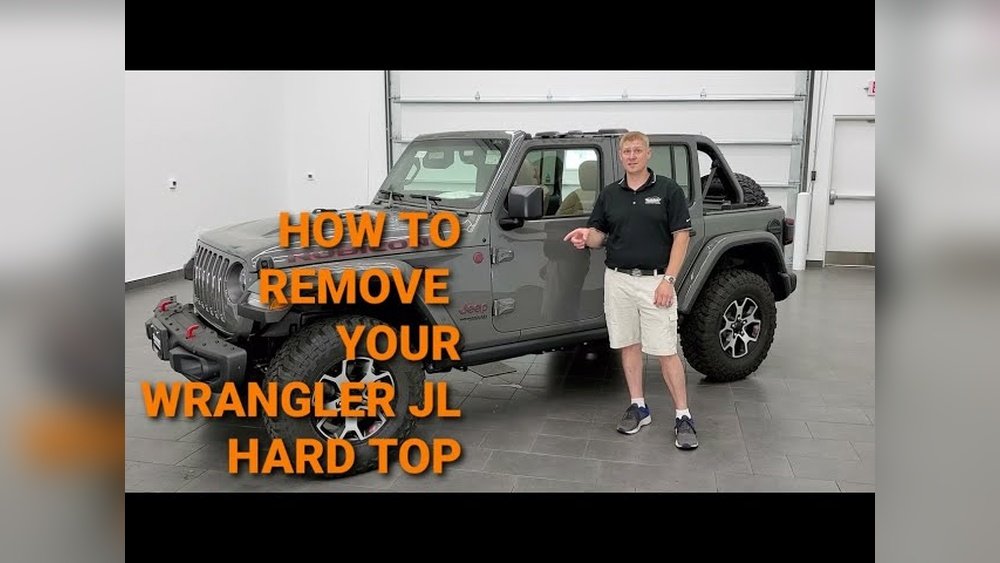
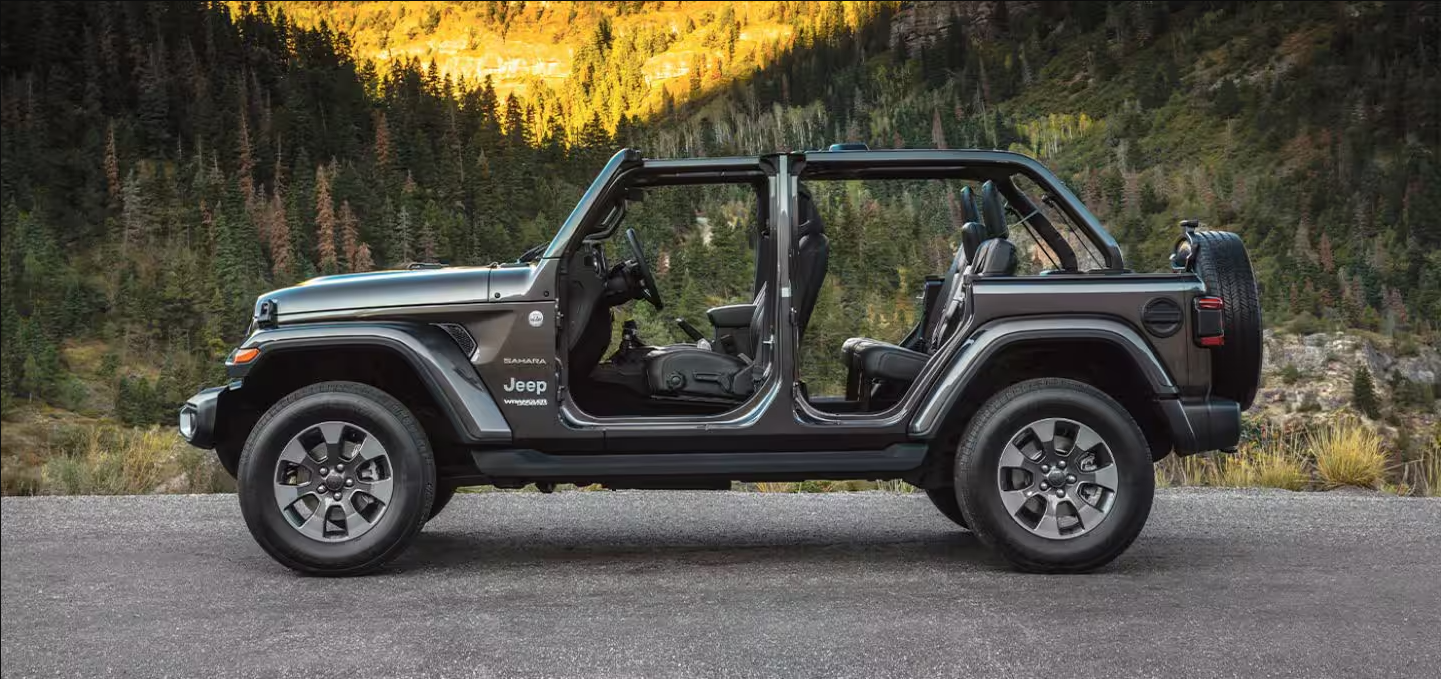
Removing the 3 piece hard top from your Jeep is a task many owners tackle when the weather turns nice. The process may seem tricky at first, but with the right steps, tools, and safety tips, you can do it smoothly. Whether you own a Jeep Wrangler or a similar model, taking off the hard top lets you enjoy open-air driving and gives you flexibility for modifications.
This guide covers everything you need to know: the tools required, step-by-step instructions for each section of the top, safety advice, and practical tips that most beginners miss. If you’re new to this, you’ll find clear explanations, helpful warnings, and answers to common questions.
Tools And Preparation
Before you start, gather these essentials:
- Torx bit set (usually T40 and T50)
- Ratchet or screwdriver with compatible bits
- Storage bags for hardware (bolts, screws)
- A friend or helper for lifting the larger section
- Gloves to protect your hands
Check your Jeep’s manual for any special instructions. Most Wrangler models have similar hardware, but details may vary. Make sure your vehicle is parked on a flat surface, and disconnect any wiring for lights or defrost systems before removing the top. This prevents damage and keeps things safe.
Removing The Front Panels (freedom Panels)
The front two panels, often called Freedom Panels, are the easiest to remove. They cover the driver and passenger seats and are designed for quick detachment.
- Unlock the latches: There are usually six latches inside—two above each seat and two at the center. Flip these open.
- Remove the sun visor bolts: If your model has small bolts near the sun visors, use your Torx bit to remove them.
- Lift the panels: With the latches open and bolts out, gently lift each panel off. They’re lightweight but can scratch easily, so handle with care.
- Store safely: Place the panels in a soft bag or wrap them in a towel to prevent damage. Never leave them exposed to direct sunlight for long periods.
Many owners forget to check for seal integrity when reinstalling. Always inspect the rubber seals for dirt or damage. Clean them before putting panels back—otherwise, leaks can develop.
Removing The Center Section
The center section connects the front panels to the rear portion. This part is larger and needs a bit more attention.
- Locate the bolts: There are usually 6–8 Torx bolts along the inside edge. Refer to your manual for exact locations.
- Disconnect wiring: If your Jeep has a rear defroster or wiper, unplug the wiring harness. Look for a small clip near the driver’s side.
- Remove bolts: Use your Torx bit and ratchet to loosen and remove all bolts. Place them in a labeled bag.
- Lift the section: With bolts and wires disconnected, gently lift the center section. This piece is heavier, so ask a friend to help.
Some owners try to lift this section alone, which can lead to scratches or injury. Always get help, especially if you’re working in tight spaces.
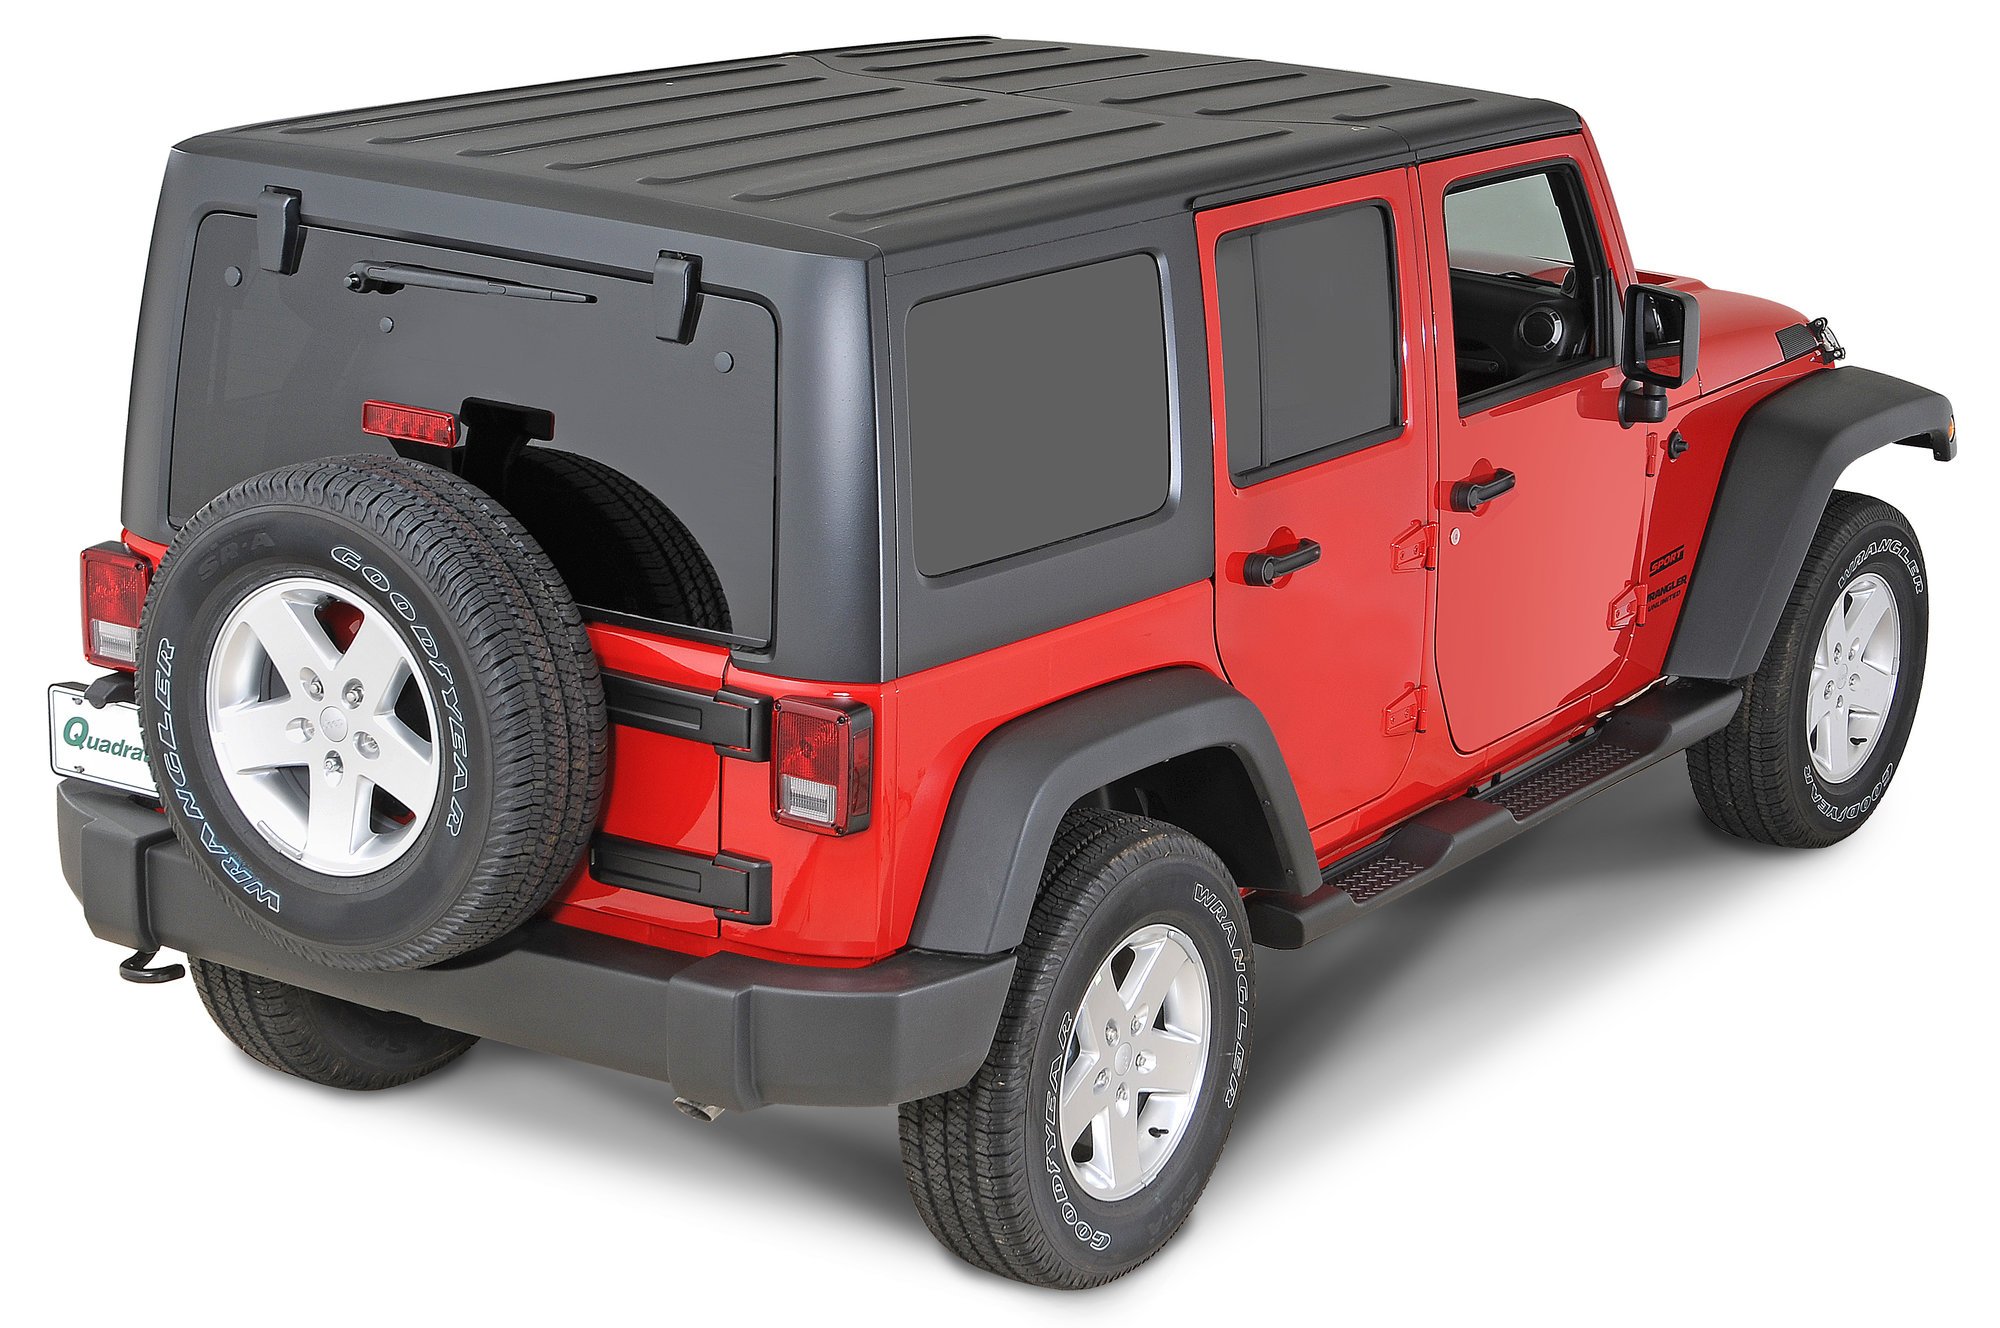
Removing The Rear Section
The rear section is the largest and covers the back seats and cargo area. It’s the final and most challenging part.
- Check for additional bolts: There may be extra bolts near the tailgate or side panels. Remove them using your Torx bit.
- Inspect the seal: Look for dirt or debris on the rubber seals. Clean these to ensure a tight fit when reinstalling.
- Lift off the rear section: With all bolts removed, coordinate with your helper to lift the rear section off the Jeep. Move slowly to avoid bumping the paint or windows.
- Store properly: Place the rear section upright in a safe spot, ideally on a padded surface. Avoid stacking items on top.
A common mistake is forgetting to mark bolt locations. Use masking tape or small stickers to remember where each bolt came from. This makes reinstallation much easier.
Comparison: 3 Piece Hard Top Vs. Soft Top
Here’s how the 3 piece hard top compares to a soft top for Jeeps:
| Feature | 3 Piece Hard Top | Soft Top |
|---|---|---|
| Weather Protection | Excellent | Moderate |
| Noise Level | Low | High |
| Ease of Removal | Medium | Easy |
| Security | High | Low |
| Weight | Heavy | Light |
Key Safety Tips
- Always use two people for lifting larger sections.
- Store hardware properly to avoid losing bolts.
- Disconnect wiring before removing any section.
- Inspect seals each time you reinstall.
Here’s a quick summary of common mistakes and how to avoid them:
| Mistake | How to Avoid |
|---|---|
| Lifting alone | Always ask a friend to help |
| Forgetting to disconnect wires | Check all connectors before removal |
| Losing bolts | Use labeled bags or containers |
| Damaging seals | Clean and inspect seals before reinstallation |
Practical Tips Most Beginners Miss
- Mark bolt locations with colored tape or stickers—this saves time during reinstallation.
- Photograph the process as you go. If you get confused, photos help you remember how each piece fits.
- Check for updates: Jeep models change hardware sometimes. Look up your exact year and model for any special notes in forums or on the official Jeep site.
For more detailed instructions, you can visit the Jeep Owners Manual.
Frequently Asked Questions
How Long Does It Take To Remove The 3 Piece Hard Top?
For most people, it takes 30–60 minutes. If you’re new, plan for a bit longer, especially if you’re careful with storing panels and bolts.
Do I Need Special Tools?
Yes. You need a Torx bit set (usually T40 or T50), a ratchet, and storage bags. These tools are common and can be found at auto stores.
Can One Person Remove The Hard Top Alone?
It’s possible for the front panels, but not recommended for the center and rear sections. They are heavy and awkward, so always ask a friend to help.
Will Removing The Hard Top Void My Warranty?
No. Removing the hard top is designed for Jeep owners. As long as you follow the manual and don’t damage wiring or seals, your warranty remains safe.
How Should I Store The Hard Top Panels?
Store panels in soft, padded bags or wrap them in towels. Keep them upright and away from direct sunlight or moisture to prevent warping and scratches.
With the right approach, removing your Jeep’s 3 piece hard top becomes simple and safe. Take your time, follow these steps, and enjoy the freedom of open-air driving. If you plan ahead and avoid common mistakes, you’ll have a smooth experience every time.


