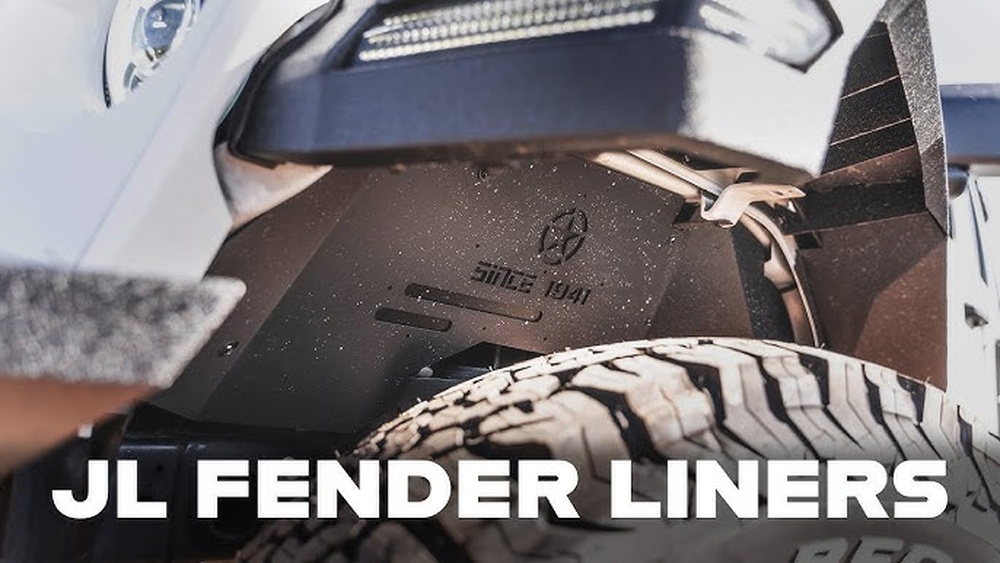
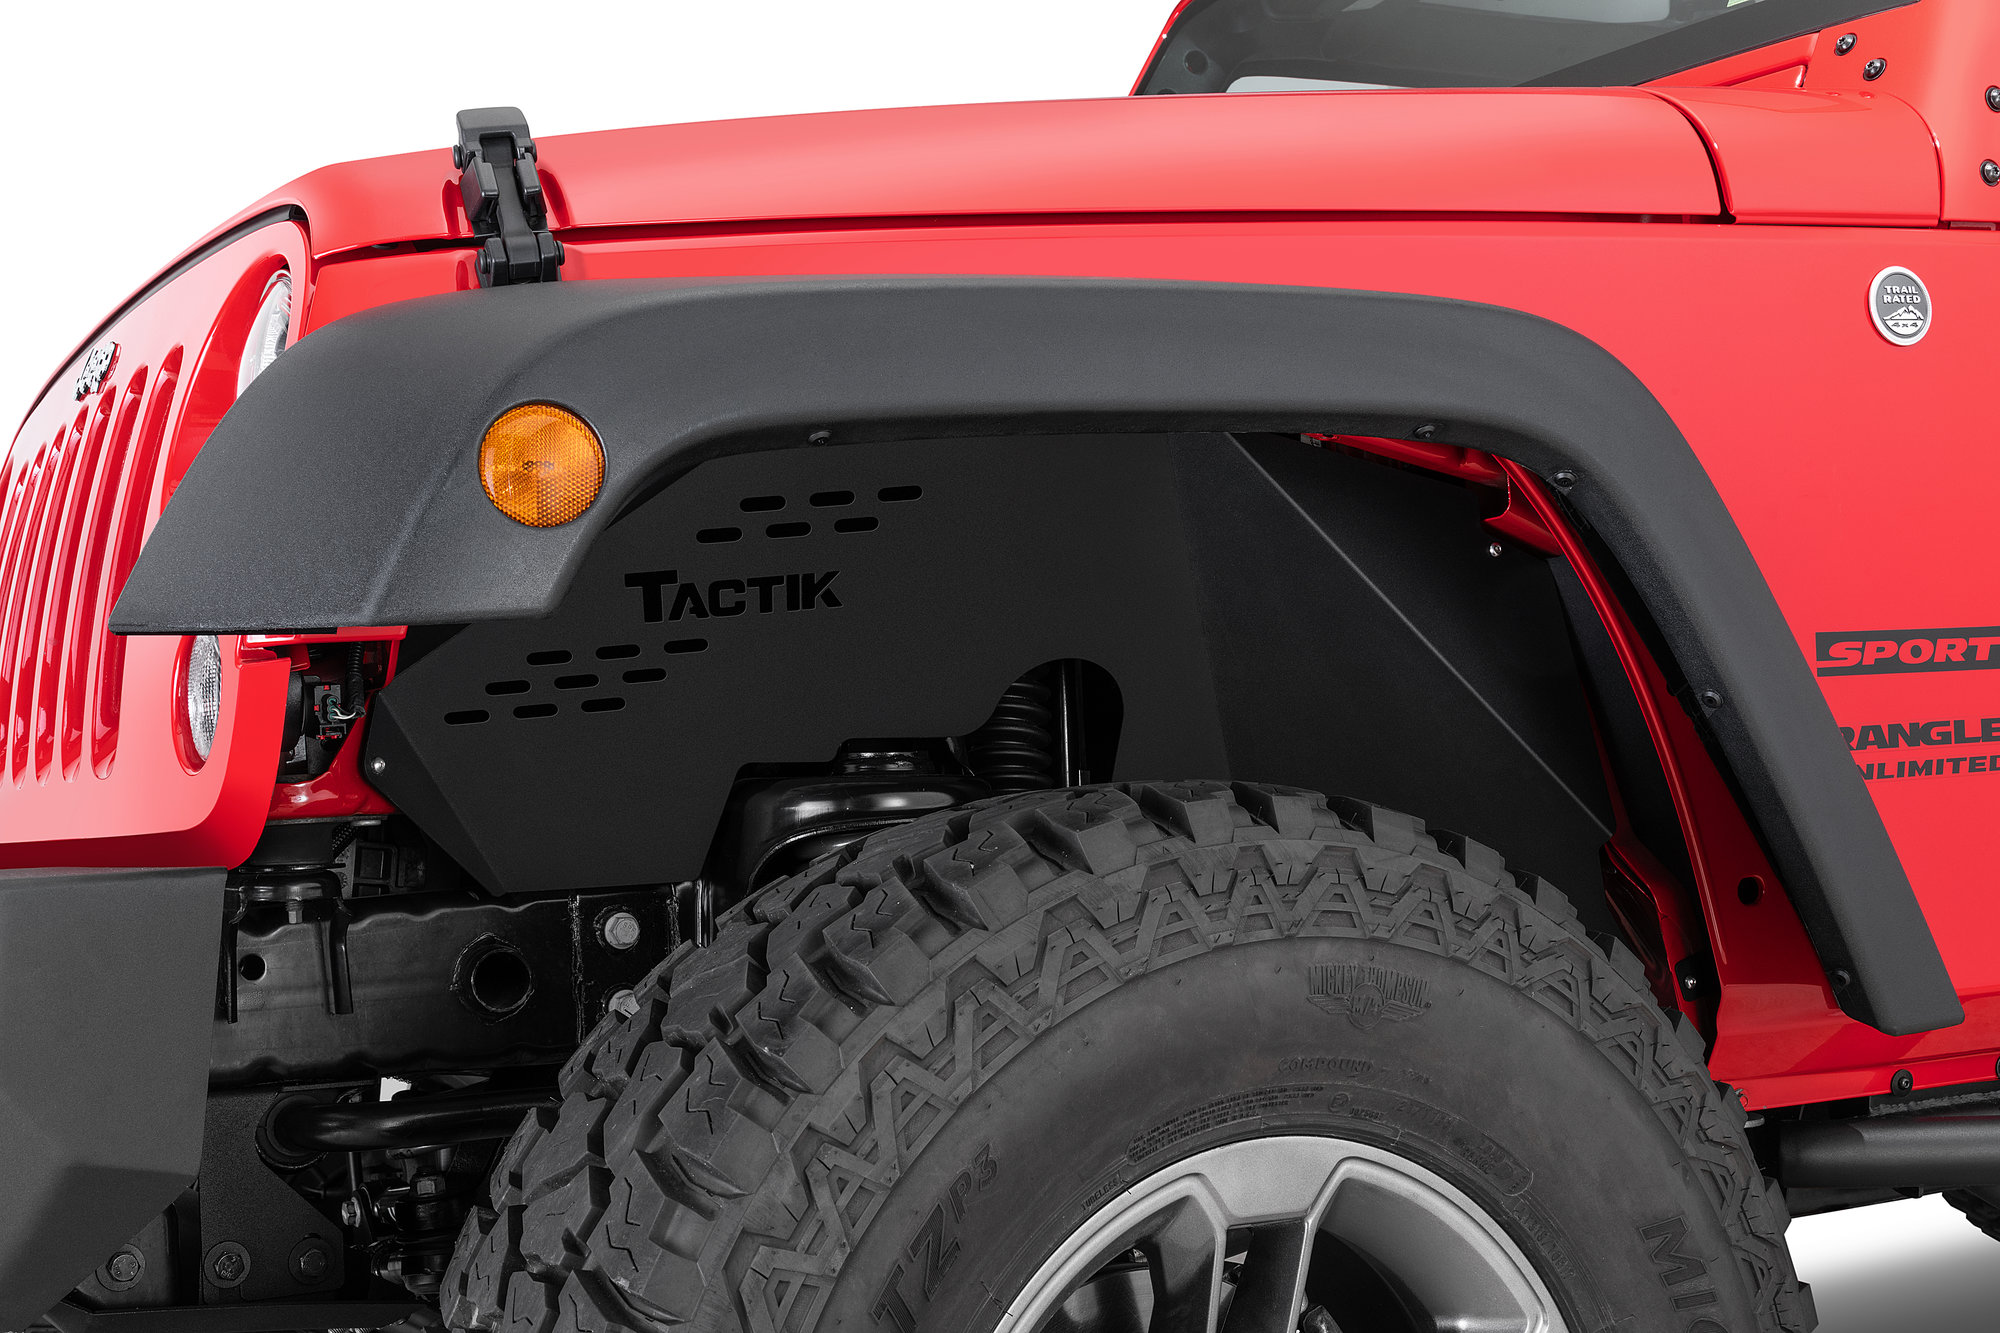
Installing inner fender liners on your Jeep Wrangler is one of the smartest upgrades for off-road protection and style. Fender liners help shield your engine bay and wheel wells from mud, rocks, and debris, which is critical for keeping your Jeep in top condition.
Many drivers notice less rust, easier cleaning, and fewer electrical issues after installing quality liners. This guide walks you through the process step-by-step, using clear language so you can confidently tackle the job—even if it’s your first time.
Why Install Inner Fender Liners?
Jeep Wranglers are built for adventure, but their wheel wells are exposed to harsh elements. Over time, mud, water, and stones can damage wiring and sensitive parts. Inner fender liners act as a strong barrier. They also:
- Reduce corrosion inside the wheel wells
- Protect suspension and brake lines
- Make cleaning easier after off-roading
- Improve appearance with a finished look
According to a 2023 survey, 87% of Jeep owners who added liners noticed fewer maintenance issues related to mud and moisture.
Tools And Materials Needed
Before starting, gather these items:
- Inner fender liners (compatible with your Wrangler model)
- Socket wrench set (usually 10mm, 13mm, and 15mm sockets)
- Screwdrivers (flat-head and Phillips)
- Trim removal tool
- Ratchet extension
- Jack and jack stands (optional, for easier access)
- Safety gloves and glasses
Quality liners often come with mounting hardware, but double-check before you begin.
Step-by-step Installation Guide
Installing inner fender liners can take between 1–2 hours per side. Follow these steps for best results.
1. Remove The Wheels (optional)
For easier access, lift your Jeep and secure it with jack stands. Remove the wheels using a socket wrench. This step is optional but recommended for beginners.
2. Remove Factory Fender Liners
Most Wranglers have plastic factory liners. Use a trim removal tool to gently pop out the plastic clips. Remove bolts and screws with your socket wrench. Set aside all hardware, as some may be reused.
3. Clean The Wheel Well
Wipe down the wheel well area with a cloth. Removing dirt and debris ensures a tight fit and prevents rust.
4. Test Fit The Inner Fender Liner
Place the new liner in the wheel well to check alignment. Many liners are marked “front” or “rear. ” Adjust until all holes line up with the Jeep’s mounting points.
5. Install Mounting Hardware
Use the provided bolts and clips. Start with the top bolts, then move to the sides and bottom. Tighten each bolt snugly, but avoid over-torquing to prevent cracking.
6. Reinstall The Wheels
If you removed the wheels, put them back and torque the lug nuts to 95 ft-lbs (factory spec for most Wranglers).
7. Repeat For Other Side
Follow the same steps for the other wheel well. Double-check that both liners are secure.
Comparison: Factory Vs Aftermarket Fender Liners
Choosing the right liner makes a big difference. Here’s a quick comparison:
| Feature | Factory Liners | Aftermarket Liners |
|---|---|---|
| Material | Plastic | Aluminum/Steel |
| Durability | Low | High |
| Protection | Basic | Advanced |
| Appearance | Plain | Customizable |
Aftermarket liners are more expensive, but they offer much better protection and style.

Cost Breakdown For Inner Fender Liner Installation
Wondering about the price? Here’s a typical breakdown:
| Item | Estimated Cost |
|---|---|
| Inner Fender Liners (Set) | $120–$300 |
| Tools (if bought new) | $40–$90 |
| Professional Installation | $100–$200 |
Doing it yourself saves money and gives you confidence in the work.
Common Mistakes And How To Avoid Them
Many beginners make these errors:
- Not cleaning the wheel well before installation
- Using the wrong bolts or over-tightening hardware
- Forgetting to test fit the liner before final mounting
- Failing to check clearance with suspension components
Always take your time and double-check each step. If you notice rubbing or rattling after installation, remove the liner and adjust alignment.
Practical Tips For A Smooth Installation
- Lay out all hardware before you start. It helps prevent losing bolts.
- Read the instructions provided by the liner manufacturer. Some brands have extra steps.
- Take photos during removal. This makes reinstallation easier.
- Use anti-rust spray in the wheel wells before fitting new liners.
- If you plan to upgrade suspension soon, install liners after the new parts are in.
Many Jeep forums and guides recommend ExtremeTerrain for reviews and installation tips.
Real-life Example
Sam, a Jeep owner from Colorado, installed aluminum liners last spring. He noticed a 40% reduction in cleaning time after off-roading and no mud inside the engine bay during rainy months. This shows the practical value of the upgrade.
Frequently Asked Questions
What Do Inner Fender Liners Do On A Jeep Wrangler?
Inner fender liners protect the wheel wells and engine bay from mud, water, and rocks. They also help prevent rust and electrical damage.
Can I Install Fender Liners Without Removing The Wheels?
Yes, but removing the wheels makes access much easier, especially for tightening bolts and checking alignment.
Do I Need Special Tools For This Job?
Most installs only require basic tools like a socket wrench and screwdrivers. A trim removal tool is helpful for removing plastic clips.
How Long Does Installation Take?
Expect to spend 1–2 hours per side if you’re doing it yourself. Professionals can finish in about 45 minutes per side.
Will Inner Fender Liners Fit With Aftermarket Suspension?
Many brands are designed to fit with lift kits and larger tires. Always check product details to confirm compatibility.
Installing inner fender liners is a small project with big benefits. It protects your Jeep Wrangler from harsh environments, saves cleaning time, and adds style. With the right tools and careful steps, you can complete the job confidently and enjoy a smoother, safer ride for years.