Removing the tail lights on a Jeep is a task many owners take on themselves.
Whether you’re upgrading to LED lights, replacing a broken unit, or simply cleaning up the wiring, knowing how to do this safely and correctly can save you money and headaches.
Jeep tail lights are designed for easy access, but the process is not always obvious. With the right tools and a careful approach, you can remove the tail lights in less than an hour, even if you’re new to car maintenance.

Tools And Materials Needed
Before starting, gather these items to make the process smoother:
- Flathead screwdriver
- Phillips screwdriver
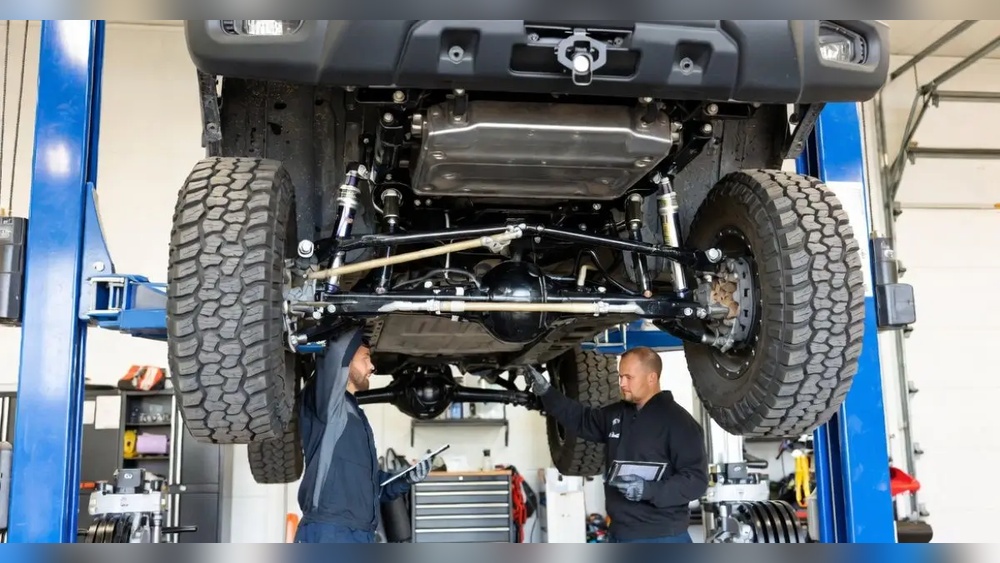
- Socket wrench set (usually 8mm or 10mm)
- Torx bit (for some Jeep models)
- Clean cloth
- Protective gloves
Having the correct tools is important. Using the wrong screwdriver can strip screws, making removal much harder. For most Jeep Wranglers and Cherokees, you only need a Phillips screwdriver and a socket wrench.
Step-by-step Guide To Removing Jeep Tail Lights
Follow these steps closely to avoid damaging your vehicle:
1. Open The Rear Hatch Or Trunk
Start by opening the rear hatch or trunk. This gives you access to the screws holding the tail lights in place. Make sure your Jeep is parked on a flat surface and the engine is off.
2. Locate The Tail Light Screws
Look for the screws around the tail light assembly. For most Jeep Wranglers, there are two or four screws on the outside edge. Cherokee models may have screws inside the hatch. Consult your owner’s manual for the exact location.
3. Remove The Screws
Use your screwdriver or socket wrench to remove each screw. Keep them in a safe place—you’ll need them to reattach the lights later. Here’s a quick comparison of screw types found in Jeep models:
| Jeep Model | Screw Location | Tool Needed |
|---|---|---|
| Wrangler JK | Outer edge | Phillips screwdriver |
| Cherokee | Inside hatch | Socket wrench |
| Grand Cherokee | Side panel | Torx bit |
4. Gently Pull Out The Tail Light
After removing the screws, gently pull the tail light away from the body. Do not force it if it feels stuck, check for missed screws or clips. Some models have plastic clips that can break if pulled too hard.
5. Disconnect The Wiring Harness
The tail light is connected by a wiring harness. Press the release tab and gently pull the connector apart. Avoid pulling on the wires themselves, as this can damage the harness.
6. Remove The Tail Light Assembly
Once the wiring is disconnected, the tail light can be fully removed. Place it on a clean cloth to prevent scratches. If you’re replacing the unit, compare the new and old assemblies to check fit and connector type.
Here’s a simple table comparing common tail light connector types:
| Connector Type | Appearance | Removal Method |
|---|---|---|
| Push tab | Small plastic tab | Press and pull |
| Twist lock | Round socket | Twist counterclockwise |
| Clip | Metal or plastic clip | Lift and pull |
7. Inspect And Clean The Area
Before installing a new tail light, inspect the mounting area for dirt, rust, or damage. Clean with a cloth and check for broken clips or torn rubber gaskets. Fixing these issues now prevents leaks and electrical problems.

Practical Tips And Common Mistakes
- Don’t rush: Take your time, especially when disconnecting wires. Rushing can break tabs or damage the wiring.
- Check the manual: Jeep models differ. Even among Wranglers, year-to-year changes affect screw and clip placement.
- Label connectors: If you’re working on multiple tail lights, label each connector so you don’t mix up left and right sides.
- Wear gloves: Sharp edges inside the tail light cavity can cause cuts.
A mistake many beginners make is forgetting to disconnect the battery. While not always necessary, it’s safer to disconnect the negative terminal to avoid short circuits.
Reinstallation And Testing
After removing the tail light, reinstallation is mostly the reverse process:
- Connect the wiring harness securely.
- Place the tail light assembly into position.
- Reinsert screws and tighten them—do not overtighten, as you can crack the plastic.
- Test the lights: Turn on your Jeep and check brake, turn, and reverse lights.
If the lights don’t work, double-check the connector and fuses. Sometimes, a simple loose connection is the cause.

How Long Does It Take?
For most Jeep owners, removing tail lights takes 20–40 minutes per light. If it’s your first time or the screws are rusty, plan for up to an hour. Experienced mechanics can do this in less than 15 minutes.
Cost Comparison
Here’s a quick comparison of costs related to tail light removal and replacement:
| Option | Estimated Cost | Pros | Cons |
|---|---|---|---|
| DIY Removal | $0–$50 | Save money, learn skill | Risk of mistakes |
| Mechanic | $80–$150 | Professional work | Higher cost |
| Dealership | $150–$300 | Factory parts, warranty | Most expensive |
Doing it yourself is usually the best option for simple tail light removal. However, if your Jeep has custom wiring or advanced lighting, consider expert help.

Frequently Asked Questions
How Do I Know Which Tail Light Bulb To Buy?
Check your Jeep’s owner manual or remove the bulb and read the number printed on it. Most Wranglers use 3157 or 7443 bulbs, but confirm before buying.
Can I Remove Tail Lights Without Disconnecting The Battery?
Yes, but it’s safer to disconnect the negative terminal to prevent electrical shorts. If you’re only changing bulbs, this step is less critical.
Will Removing Tail Lights Void My Warranty?
Replacing or removing tail lights usually does not void your warranty. However, damage caused by improper installation might not be covered. Always follow Jeep guidelines.
What If The Tail Light Doesn’t Come Out Easily?
Check for hidden screws or clips. Some models have extra fasteners inside the trunk or under trim panels. Use gentle force and avoid prying with metal tools.
Where Can I Find Official Jeep Maintenance Instructions?
Visit the official Jeep website or your local dealership. You can also find detailed guides at Autoblog, which offers model-specific information.
Removing Jeep tail lights is a practical skill that saves time and money. By following these steps, you reduce risk and keep your vehicle in top shape. Always take care with wiring and remember patience leads to better results.