Are you ready to bring your drawing skills to a new level? Learning how to draw a Jeep is not only fun but also a great way to improve your artistic abilities.
Whether you’re a beginner or someone looking for an easy step-by-step guide, this article will walk you through the process in a simple and clear way. Imagine creating your own detailed Jeep sketch that you can proudly display or share.
Keep reading, and by the end, you’ll have the confidence to draw a Jeep that looks just right. Let’s get started and turn your vision into reality!
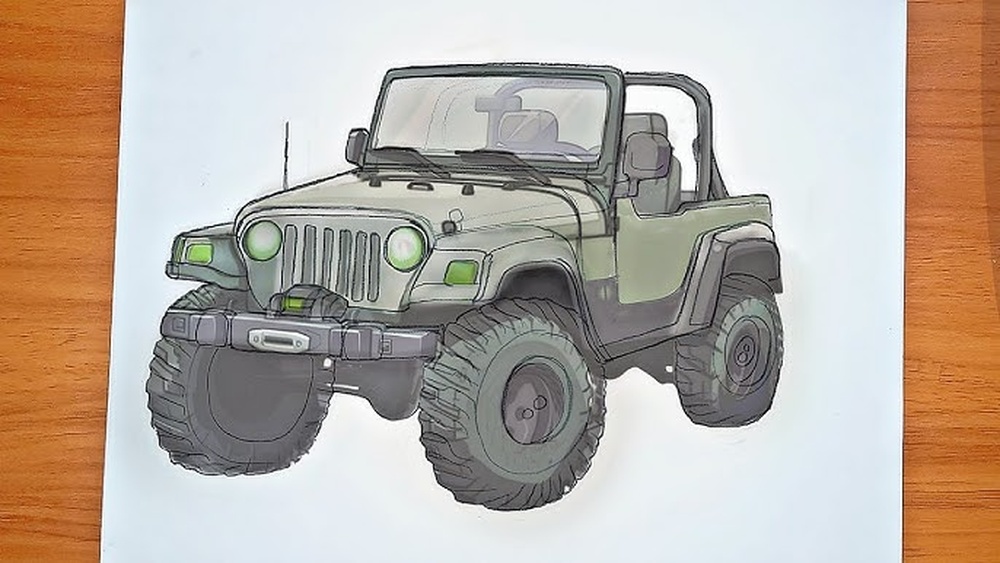

Materials Needed
Gathering the right materials makes drawing a Jeep easier and more fun.
Simple tools help you focus on your drawing skills without distraction.
Paper
Choose smooth, white drawing paper. It works well with pencils and colors.
Use a sketchbook or loose sheets depending on your preference.
Pencils
Start with a basic pencil, like a 2B, for light outlines.
Use softer pencils, such as 4B or 6B, for shading and darker lines.
Eraser
A good eraser helps fix mistakes and clean up your drawing.
Consider a kneaded eraser for gentle corrections without damaging paper.
Ruler
A ruler helps draw straight lines for the Jeep’s body and details.
It keeps your shapes accurate and neat.
Colored Pencils Or Markers
Use colored pencils or markers to add color to your Jeep drawing.
Choose colors that match real Jeep designs or your own style.
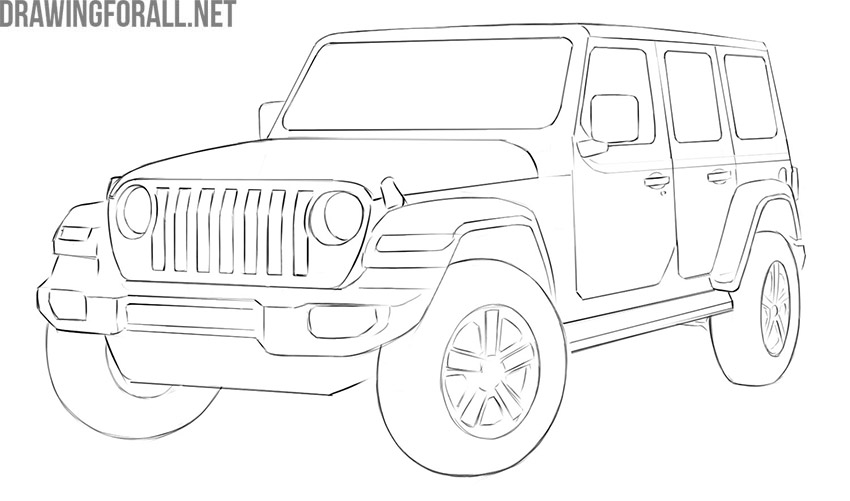
Basic Shapes For Jeep Outline
Starting your Jeep drawing with basic shapes makes the process simple and clear. These shapes act as a guide for the Jeep’s structure. They help maintain the right proportions and angles. Using simple shapes also breaks down the complex design into easy steps.
Focus first on large shapes that form the body and wheels. Then add smaller shapes to detail windows, lights, and other parts. This approach keeps your drawing balanced and accurate.
Rectangle For The Jeep Body
Begin with a large rectangle to outline the main body. This shape shows the Jeep’s length and height. Make it wider than tall for the classic Jeep look. Keep the edges slightly rounded for a natural feel.
Circles For Wheels
Draw two circles under the rectangle for the wheels. Position them evenly spaced near the front and back ends. The circles should be big enough to support the body shape. These circles will guide the wheel placement and size.
Squares And Rectangles For Windows
Add smaller rectangles or squares on the top part of the body. These shapes form the windows and windshield. Place them evenly to keep the Jeep’s cabin clear and balanced. Slightly tilt the front window rectangle for a realistic angle.
Lines For Details And Frame
Use straight lines to connect the shapes and add details. Draw lines for the door edges, roof, and bumper. These lines help define the Jeep’s frame and give it structure. Keep your lines light to adjust them as needed.
Drawing The Wheels
Drawing the wheels of a Jeep is a crucial step. Wheels give the vehicle its strong and rugged look. Focus on making them round and detailed. Well-drawn wheels make your Jeep drawing look real and dynamic.
Sketching Wheel Circles
Start by drawing two large circles for the wheels. Use a compass or trace a round object. Make sure the circles are even and placed correctly. The front wheel is usually slightly smaller or the same size as the rear wheel. Keep your lines light so you can adjust them later. This step sets the base for adding details.
Adding Tire Details
Inside each circle, draw a smaller circle for the rim. Add spokes or bolts inside this smaller circle. Around the outer circle, sketch the tire tread. Use short lines or patterns to show the tire texture. This adds depth and realism. Don’t forget to shade lightly for a 3D effect. The tire details bring your Jeep’s wheels to life.
Creating The Jeep Body
Creating the Jeep body is an exciting step in drawing this iconic vehicle. Focus on simple shapes to build the basic structure. Start by outlining the main frame, keeping the proportions balanced. The body gives the Jeep its bold and rugged look. Each part, from the fenders to the hood, adds character. Follow clear steps to make your drawing easy and accurate.
Drawing The Fenders
Begin with the fenders that sit above the wheels. Use curved lines to shape the rounded edges. Make sure the fenders are wide enough to cover the tires. Draw them slightly flared to show the Jeep’s tough style. Keep the lines smooth and connected to the main body frame. These shapes protect the wheels and add depth to your sketch.
Sketching The Doors
Next, outline the doors on each side of the Jeep. Draw rectangles or squares with rounded corners for a simple look. Include small details like the door handles and hinges. Position the doors evenly between the front and rear fenders. Use light lines to mark the window areas inside the doors. This step helps define the Jeep’s passenger area clearly.
Adding The Hood And Front
Now, focus on the front part of the Jeep. Sketch a flat, slightly sloped hood above the front grille. The hood should connect smoothly with the windshield base. Add details like the grille slots and round headlights to capture the Jeep’s face. Use straight and curved lines to show the metal contours. This part brings the Jeep’s strong personality to life.
Adding Windows And Windshield
Adding windows and the windshield gives your Jeep drawing a realistic look. These elements show the vehicle’s shape and style. They also add depth and detail.
Start with the windshield. It stands at the front and is usually large and angled. Then sketch the side and back windows. These frames help define the Jeep’s cabin area.
Drawing The Front Windshield
Begin by drawing a rectangle with slightly slanted sides. This shape forms the front windshield. Keep the lines clean and straight. The windshield should tilt backward to show perspective. Add a thin frame around it to represent the glass edges. You can add a small line in the middle for the separation between glass panes if your Jeep model has it. Shade lightly inside the windshield to suggest glass reflection. Avoid making it too dark, as glass is clear.
Sketching Side And Back Windows
Draw the side windows as rectangles aligned with the Jeep’s body shape. Place them behind the front windshield. Use straight lines for the top and bottom edges. The back window is smaller and sits at the rear side. Connect the windows with thin frames to outline the glass sections. Remember to keep the lines neat and proportional to the Jeep’s size. Light shading inside the windows adds a glass effect. Do not forget to leave small gaps for door frames or window seals.
Detailing The Jeep Features
Detailing the Jeep features brings your drawing to life. It adds character and realism. Each part plays a role in capturing the Jeep’s rugged look.
Focus on the unique details that make Jeeps recognizable. Sharp lines, bold shapes, and sturdy parts stand out. Take your time to draw each element carefully.
Drawing The Grill And Headlights
Start with the grill at the front. Jeep grills have vertical slots that are evenly spaced. Draw straight, narrow rectangles side by side.
Next, add round headlights on both sides of the grill. Keep them symmetrical for balance. Use circles with small inner circles to show light bulbs.
Include small details like the frame around the grill. This helps define the front face of the Jeep clearly.
Adding The Brush Guard
The brush guard protects the Jeep’s front. Draw a thick bar crossing over the grill and headlights. It usually curves around the edges.
Add vertical bars connecting the top and bottom bars. Keep the lines strong and straight. This part shows the Jeep’s rugged readiness for off-road.
Keep the brush guard simple but bold. It should look sturdy and tough.
Sketching Side Mirrors And Handles
Side mirrors sit near the front doors. Draw small rectangles with rounded edges. Attach them to the Jeep with thin lines representing arms.
Door handles are small but important. Sketch tiny horizontal rectangles or ovals on the doors. Position them where you would open the door.
These details add realism and make the Jeep look complete. Keep shapes clear and clean for easy recognition.
Final Touches And Coloring
Adding the final touches and coloring your Jeep drawing brings it to life. This stage highlights details and creates a polished look. It is important to work carefully to keep lines clean and colors vibrant. The right finishing steps turn a simple sketch into a vivid artwork.
Inking The Drawing
Start by tracing your pencil lines with a fine-tip pen. Use steady strokes to avoid smudges. Ink the main outlines thicker for strong edges. Add thinner lines for smaller details like door handles and tires. Let the ink dry fully before erasing pencil marks. This step sharpens your drawing and prepares it for color.
Coloring Tips And Techniques
Choose colors that match a real Jeep or your own design. Use colored pencils, markers, or watercolors for a smooth finish. Apply light layers first, then build up darker shades for depth. Blend colors gently to avoid harsh lines. Highlight shiny parts like windows and lights with white or light gray. Shadows under the Jeep make it look grounded. Take your time to create a balanced and lively image.
Tips For Beginners
Starting to draw a Jeep can feel tricky for beginners. Simple tips make this process easier. These tips help build skills step by step. They guide you to create a better drawing with less stress.
Focus on learning the basics first. Drawing a Jeep becomes fun and rewarding as you practice. Keep your tools ready and enjoy each step of your drawing journey.
Using Reference Images
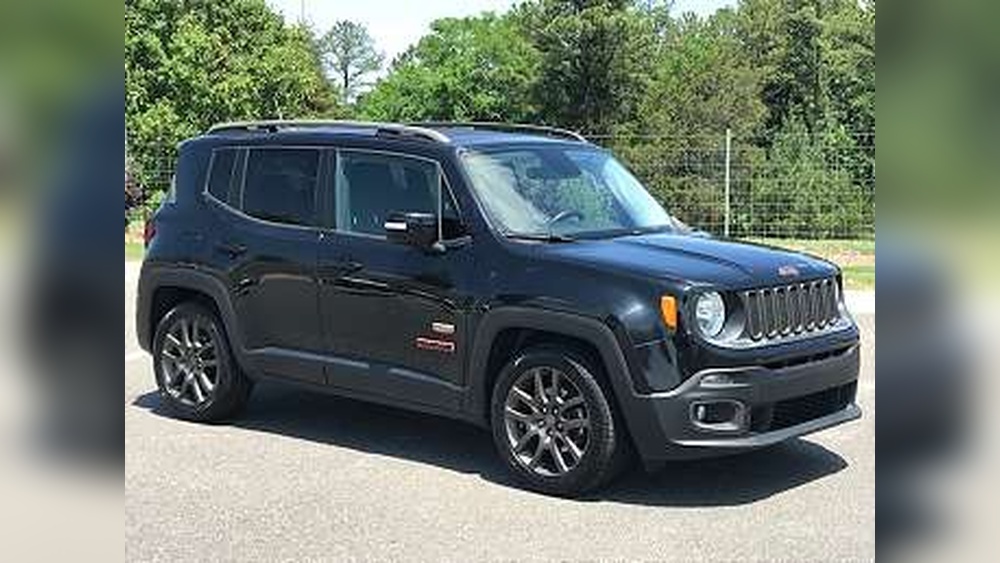
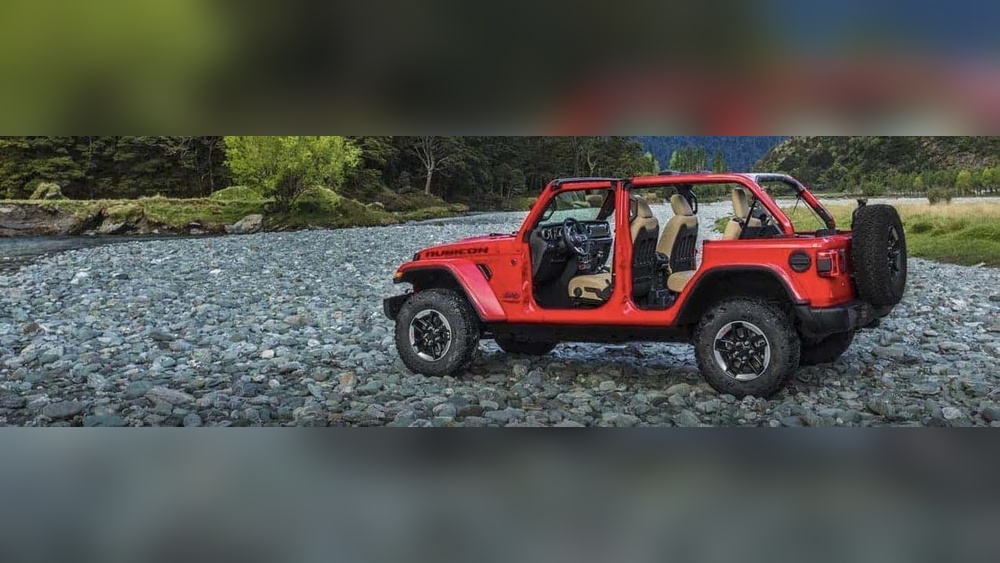
Reference images show the real shape and details of a Jeep. Look at different pictures to understand its parts. Use these images to copy the Jeep’s body, wheels, and windows. This helps you draw more accurately. Keep the images close while you sketch. It also improves your observation skills.
Practicing Basic Shapes
Jeep drawings start with simple shapes. Draw rectangles for the body and circles for the wheels. Use squares and lines to form windows and doors. Breaking the Jeep into shapes makes it easier to draw. Practice these shapes until you feel confident. Then, connect them to build your Jeep outline.
Patience And Taking Breaks
Drawing takes time and focus. Move slowly and do not rush your work. If you feel tired, stop and rest for a few minutes. Short breaks clear your mind and improve your drawing. Return to your Jeep sketch with fresh eyes. Patience makes your drawing sharper and more detailed.

Frequently Asked Questions
How To Make A Jeep For Kids?
Build a kid’s jeep by assembling a sturdy frame, adding wheels, a motor or pedals, and safety features like seat belts. Paint it with bright colors. Use lightweight materials and ensure all parts are secure for safe play.
How To Draw A Very Realistic Car?
Start with basic shapes to form the car’s structure. Add smooth curves following the outline. Sketch detailed features like headlights, wheels, and reflections. Use shading for depth and realism. Refine lines and erase guidelines for a polished, realistic car drawing.
What Are Easy Things For 5 Year Olds To Draw?
Easy things for 5-year-olds to draw include simple shapes like circles and squares, animals like cats or dogs, flowers, suns, and basic cars or houses. These subjects help develop fine motor skills and creativity while keeping drawing fun and manageable.
What Are The Unspoken Jeep Rules?
Jeep owners always wave to each other. Respect trails by yielding uphill vehicles. Keep Jeeps clean after off-roading. Never block trails or parking spots. Maintain your Jeep for safety and reliability.
Conclusion
Drawing a Jeep can be simple and fun with practice. Start with basic shapes and add details step by step. Keep your lines light at first, then darken them once you are happy. Use references to help with proportions and features.
Most importantly, enjoy the process and don’t rush. With time, your Jeep drawings will improve and feel more natural. Keep practicing, and each sketch will get better. Drawing is about patience and creativity, so have fun on this artistic journey!